WELCOME GARDEN FRIENDS, HAPPY TO SEE YOU!
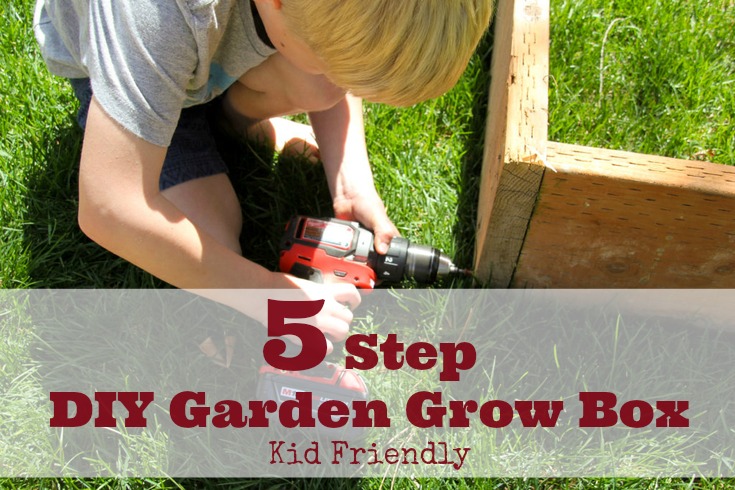
Want to have a garden this year? Wondering where to begin? Start with this simple garden grow box that you and your children can create together. Here are some simple guidelines that worked for me.
Before heading to your local lumber yard, decide what size of box you want or have room for. For this example, we are building a 4 foot by 6 foot box, which is a great size just right for the new little gardeners who will help to create it. However, you can make it the size that fits the space you have.
Garden grow box SUPPLIES:
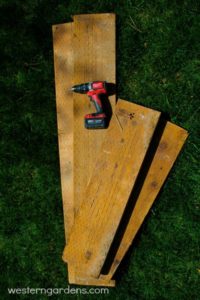
SUPPLIES: 2 10′ boards cut into 2 six feet and 2 four feet lengths. Smaller hands can handle the 4′ boards!
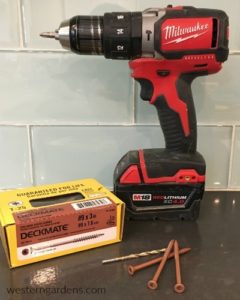
SUPPLIES: Deck screws, drill bit, power drill and/or screw driver, and those helping hands.
1. Two 2’’x8’’ x 10’ long pressure treated beams: (approx. $14 each) Make sure they are straight by pulling them out and looking down the side of them. Also make sure they aren’t severely bowed or have big knot holes. If you don’t have a chop saw at home, have someone at the lumber yard cut both of your boards at 6’. You will be left with two 6’ pieces and two 4’ pieces. This also makes it easier to transport them home. You can also rummage through your scrap wood at home and see if you have something that is at least 6” in depth.
2. A package (or at least 12 pieces) of #9 2 1/2’’ Deck screws: (approx $10 or less) You could also use #10 3’’ screws. They come in a few different colors so you can get a box to match the wood so they are less noticeable. Most of these screws have a star driver head. Some boxes come with a bit to fit them, but check just to make sure.
3. Drill bit a little smaller than your screws (optional but highly recommended): For a #9 screw, a drill bit size of 3/32 is recommended. Pre-drilling holes prevents the wood from splitting and ruining the board. If this sounds like Greek to you, take your screw and look for a drill bit that is slightly smaller in diameter. Or ask someone at the lumber store; they’d be more than happy to help! This is an essential step if you’d like to involve kids. You pre-drill the holes, and then let the child drive in the screws.
4. Weed block or Landscape fabric: If you have an area that is prone to a lot of weeds, put down some weed block or landscape fabric before you set your box in place. Layers of old newspaper in the bottom of your box can work too. Another option is to spray the weeds using Killz-All or Weed-Free Zone. If you do this, make sure not to cover the sprayed weeds for 7-10 days giving the chemicals time to kill the weeds. There is no problem using these products on edible vegetable gardens. The product only works to kill the unwanted plant via the plant’s leaves.
5. Power Drill and/or Screw Driver.
Garden grow box ASSEMBLY:
Putting the box together is easier if you have an extra set of hands, but some rocks or a wall will do if you’re doing this project solo. Enlist the help from a child by asking them to hold one of the boards up for you. The box can be assembled in a few different ways, or styles.
Option A: Assemble each board on the outer part of the corner on one end, and then inner part of the corner on the other.

Option B: Assemble the shorter 4′ boards on the outside of of the 6′ boards or vice versa.

Step 1: Take a 6’ board and a 4’ board and put them together at a right angle. Make sure they are flat against each other. Using your drill bit, pre-drill 3 holes in a line at the top, middle and bottom of the side.

Step 2: Then switch to your screw bit or use a screw driver and drive 3 screws into the holes you just drilled. You should now have two boards creating a right angle or an “L” Shape.
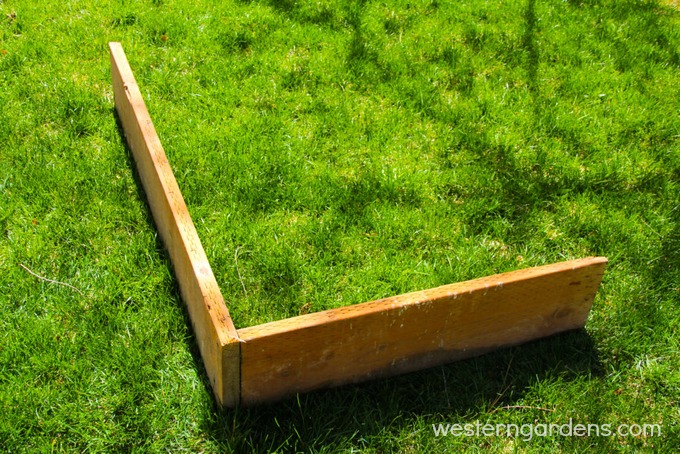
Step 3: Now add the other 6’ board and repeat the pre-drilling and driving the screws.
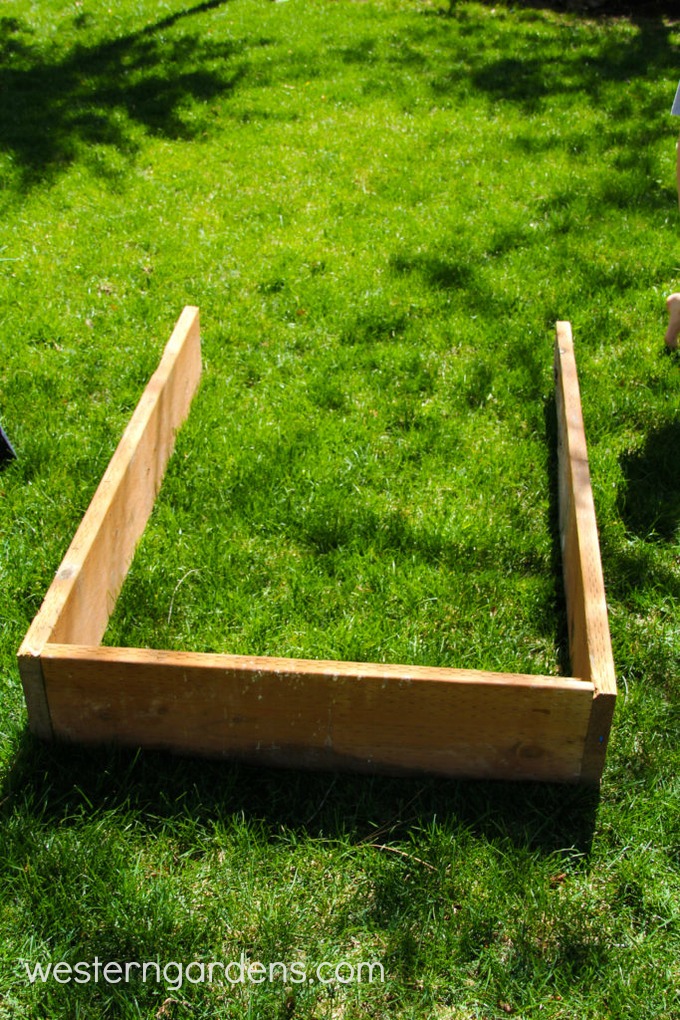
Step 4: Repeat with the last 4’ board.
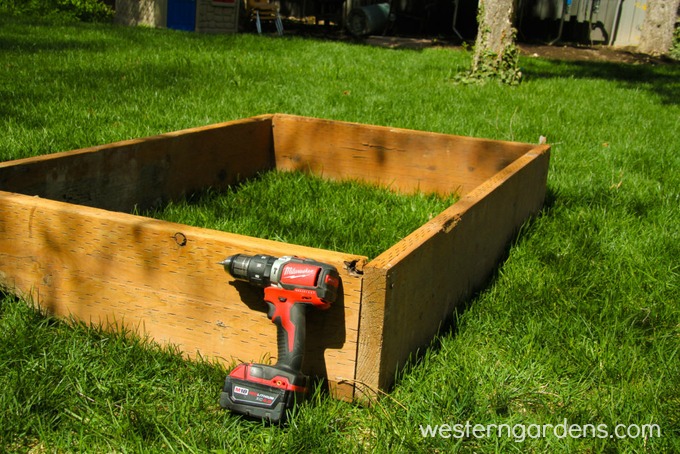
Step 5: Set your box in its place. To help cut down on weeds, place a layer of landscape material from your independent garden store.
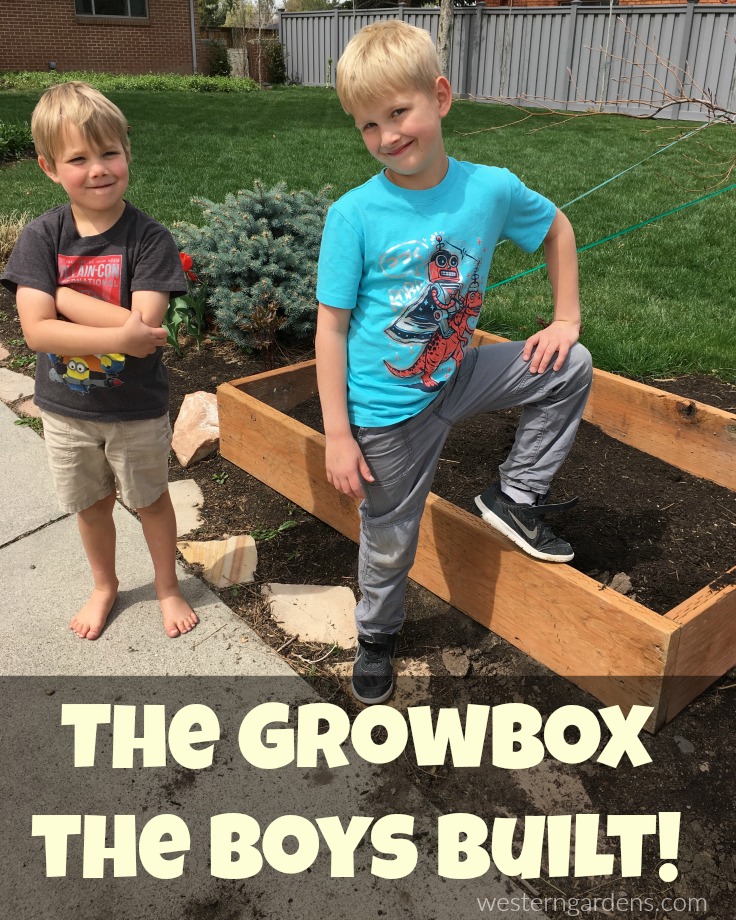
The fun has just begun. Fill with quality soil and get those seeds and plants ready! The box is!
Now you are ready to fill with a high quality dirt. Bumper Crop from your local independent garden center, like Western Garden centers, is an experienced gardener’s favorite!
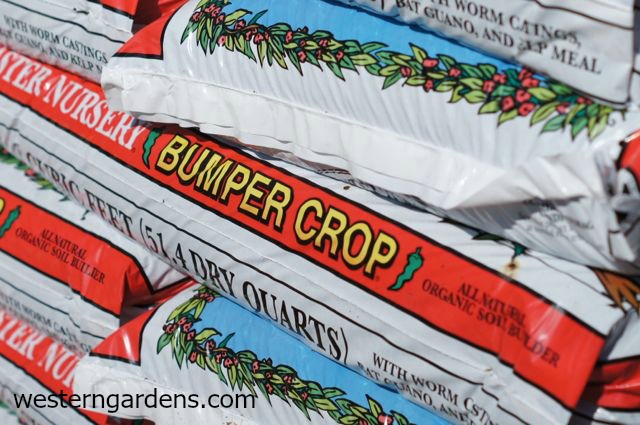
Bumper Crop for your soil is a gardener’s favorite.
Stay tuned for the next episodes of this Kids in the Garden experience. Their love for gardening is growing, but see what plants these two choose to grow in their grow box!
Vanessa Roush
Latest posts by Vanessa Roush (see all)
- Gluten and Dairy Free Peach Cobbler - August 26, 2017
- Six Favorite Shade Trees to Beat The Heat - August 17, 2017
- How to Create a Green Privacy Screen - August 10, 2017