• Skip to primary navigation
  • Skip to main content
  • Skip to primary sidebar

Western Garden Centers

for what grows here

  • Home
  • How To
  • Gift Cards
  • Calculate Mulch
  • Locations
    • Store Hours
    • About
    • Garden Shop Employment Team
  • Weddings
    • Salt Lake City, UT
    • West Valley, UT
  • Blog
    • Gardening
    • Recipes

Gardening

How to Calculate Mulch

April 2, 2016 by Western Gardens

Welcome!  We’re so glad you’re here!

Are you looking for a simple way to calculate how much mulch to buy for your garden this year?  Then you’ve come to the right place!  

Need mulch for your flower beds, but don't know how much to get? Here's a quick & easy way to figure it out!

We’re making it easy for you to calculate just how much mulch you’ll need to get the correct coverage for your garden.  This simple formula will make it quick and painless for you to figure out how much to buy without the headache of getting way too much or coming up short.

But wait!  Do you really need to worry about mulch?  Can’t you just skip it?

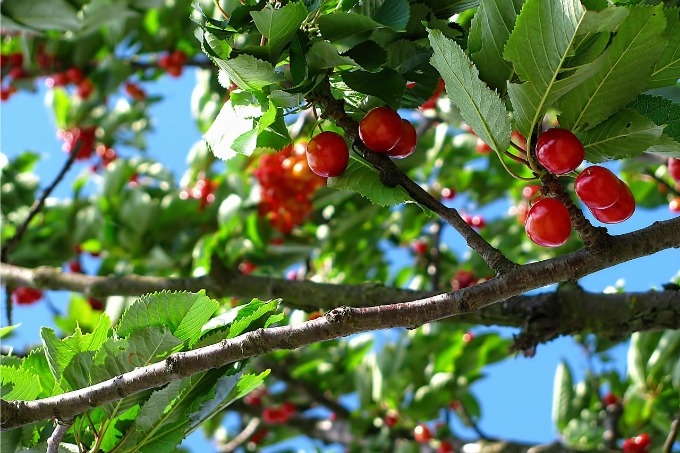
Putting mulch on your garden beds is important for several reasons:  

  1. It provides nutrients to the soil that last year’s plants took  
  2. It helps with weed control (and who doesn’t need that?!)
  3. It reduces soil heat by 10°
  4. It gives your beds a fresh look

To calculate how much mulch you should buy for your garden, we need to use a little bit of math.  Don’t let this scare you!  It’s actually really simple, and we’re going to break it down so you know exactly what numbers you need and what to do with them.  

There are several ways to calculate cubic feet (which is what we’re after), so if you’ve used a different equation that you like better, keep using it!  We’re sharing how we like to do it.  The general equation we use looks like this: (AxD)/324.

Click NEXT to see how to work the equation!

2

Image courtesy of winnod at FreeDigitalPhotos.net

Pages: Page 1 Page 2 Page 3

Filed Under: Gardening, How To Tagged With: Gardening, How To, Mulch, Utah

April Gardening To-Do List

March 30, 2016 by Western Gardens

April Gardening To-Do List | Easy Garden Tips | How to Garden in Utah | Beginning Gardener

Welcome gardening friends, thanks for stopping by!

If you’re excited to work in your yard or garden, but not sure where to start now that Spring is here, then you’ve come to the right place!  We’ve put together a list for you of things to do throughout the month.

April Gardening To-Do List
You may not need to do everything on this list.  For example, if you don’t have shade trees to fertilize or seedlings to harden off, skip over those items on the list.  Just pick what applies to your yard and plan out when you will do it all throughout the month!

April Gardening To-Do List

April Gardening To-Do List

➺Plant all trees and shrubs

➺Fertilize lawns with a pre-emergent fertilizer to prevent weed seeds from germinating (if not done in March), repeat in 6 weeks if you had a difficult weed problem last year.

➺Fertilize lawns with a regular fertilizer if you plan to seed your lawn/bare patches
in your lawn (if not done in March), repeat every 6 weeks.  See Westerns 4 step program for the season.

➺Fertilize trees and shrubs

➺Thin Out seedlings you began indoors

➺Harden Off Seedlings by moving them to a cool place like a garage for two
or three days before planting them outside

➺Fertilize seedlings with a root starter during/after transplant

➺Aerate Lawn if not done in the Fall.  If you have a new lawn of 2 years or less, no need to aerate.

➺Water Lawn only if needed, or to water in fertilize, water early in the day or at night

➺Remove or Spray Weeds when they first appear

➺Seed Bare Patches in Lawn do NOT use a pre-emergent fertilizer, OR you can plan to lay seed in September if you have already used a pre-emergent. Not sure how?  See our article on Seeding Bare Patches in a Lawn!

➺Spurge & Crabgrass Control if not already done

➺Drain Snow Blower Gas and run it until it quits

➺Lay Sod any time you can find it, you can plant it

➺Deep Soak Trees & Shrubs if rainfall is inadequate

➺Harden Off Tender Annuals before planting outside

➺Spray Fruit Trees for fungus and pests with Fertilome Fruit Tree Spray AFTER the
flowers have fallen off

➺Do a Second Planting of lettuce & radish

➺Transplant kohlrabi, lettuce, onions, broccoli, cabbage, cauliflower, etc

➺Plant Outside
Until May 1st: kohlrabi, lettuce, parsnips, potatoes, rhubarb, asparagus, cabbage, spinach, turnips
Until May 15th: onions & peas
Until June 15th: carrots & endive
Until July 1st: cauliflower, parsley, swiss chard
Until July 15th: beets & broccoli
Until Sept 1st: radishes

March Gardening To Do List | Things to do in your yard and garden all month long

Be sure to check out our May Gardening To-Do List!

*This list is not exhaustive.  If we have overlooked something you’d like to see on this list, tell us in a comment below!

Filed Under: Gardening, To-Do List Tagged With: Gardening, Lawn Care, Monthly To-Do List, tips, Utah, Western Gardens

History of Western Gardens

March 22, 2016 by Western Gardens

History of Western Gardens
About Western Gardens, the history that makes our local company interesting!

Western Garden Centers (commonly known as Western Gardens to our customers) was established at the downtown location in 1957 by S.W. Clayton and Dwight Walton, who had previously managed the Porter-Walton Company, which began is 1905.  We are the uninterrupted retail continuation of this original Porter-Walton Company.  Today Western Gardens is owned and managed by three Utah gardeners (including S.W.’s son and grandson!) with the goal of being the preferred garden shop for Wasatch Front gardeners.

About Western Gardens, the history that makes our local company interesting!

Our West Valley store opened in 1962, and in 1972 moved to 3033 West 3500 South.  In November of 2000 we moved the West Valley Western Garden Center to 4050 West 4100 South, where we’re still gardening today.

About Western Gardens, the history that makes our local company interesting!

Western Gardens in Sandy was opened in the Spring of 1979 at 9201 South 1300 East.  The greenhouses there were previously used by a grower, and we converted the site to retail use.  Our current building went up at the same location in 2007.

When we rebuilt the Sandy store in 2007, we added a wedding venue called Atrium Weddings.  In 2011, we renovated our historic downtown location to create a second reception center called Ivy House Weddings.  These beautiful facilities continue to grow in serving the wedding and event community with wonderful gathering places for families and businesses.

Western Gardens provides trees, shrubs, annuals, perennials, gardening supplies, organic solutions and plant material for the urban garden and gardener.  Our goal is to be the best customer to our suppliers (most of which are local Utah companies), create the most enjoyable workspace for our amazing staff, and offer the best products at the best prices for our wonderful customers.  We are the Utah garden experts.  We are Western Gardens, for what grows here.

About Western Gardens, the history that makes our local company interesting!

Filed Under: Gardening Tagged With: Gardening, History, Utah

March Gardening To-Do List

March 1, 2016 by Western Gardens

March Gardening To Do List | Things to do in your yard and garden all month long

Welcome gardening friends, thanks for stopping by!

If you’re excited to work in your yard or garden, but not sure what to do in the uncertain early Spring weather, then you’ve come to the right place!  We’ve put together a list of things to do throughout the month.

March Gardening To Do List | Things to do in your yard and garden all month longYou may not need to do everything on this list.  For example, if you don’t have fruit trees to fertilize or a sprinkler system to check, skip over those items on the list.  Just pick what applies to your home and yard and plan out when you will do it all throughout the month!

March Gardening To Do List | Things to do in your yard and garden all month longMarch Gardening To-Do List

➺Fertilize fruit trees (6 weeks prior to bloom)

➺ Fertilize lawns with a Pre-Emergent Fertilizer to prevent weed seeds from germinating

➺Fertilize lawns with a regular fertilizer if you plan to seed your lawn/reseed bare patches in your lawn

➺Prune trees & shrubs (especially those damaged by winter snows), roses, fruit trees

➺Apply Dormant Oil Spray to trees (before bud break)

➺Yard Clean Up remove winter debris and remaining annuals from last year

➺Plan your planting schedule for veggie and flower gardens, drawing a diagram is very helpful

➺Check Sprinkler System for winter breakage, pressurize your system, etc.

➺Inventory Your Tools to make sure you have everything you need

➺Plant Some Early Spring Colors such as pansies, ranunculus, iberis, primrose, etc.  Check out our helpful article for 8 easy tips for Planting an Early Spring Flower Pot!

➺Plant Seeds Indoors: eggplant, peppers, tomatoes, begonias, dahlias, etc

➺Plant Outside:
Raspberries & Strawberries
Until May 1st: kohlrabi, lettuce, parsnips, potatoes, rhubarb, asparagus, cabbage, spinach, turnips
Until May 15th: onions & peas
Until June 15th: carrots & endive
Until July 1st: cauliflower, parsley, swiss chard
Until July 15th: beets & broccoli
Until Sept 1st: radishes

March Gardening To Do List | Things to do in your yard and garden all month long

Filed Under: Gardening, To-Do List, Utah Gardening

Compost and Amending Soil

February 23, 2016 by Becky

Compost | Amending Soil | Why you should STOP tilling your garden!  www.westerngardens.comCompost | Amending Soil | Why you should STOP tilling your garden!

Compost and amending soil can seem tricky and intimidating if you’re not sure where to start.  It’s actually a simple process that will give you great results in your garden and better nutrition in your harvest.  We’re breaking it down for you and explaining why we recommend {or don’t recommend!} different products and processes.  Let’s get started!

compost and soil ammendments | gardening | how toAmending Soil–What is it, Why and How Often?

Amending soil means adding organic matter to your garden in order to give back the nutrition your fruits & veggies took from it last year to grow your healthy, beautiful plants.  Without soil amendments, your garden could be deficient in different nutrients necessary to grow healthy plants and yield a strong harvest.  You should amend your soil every year by placing a 2-3″ layer of compost over your garden beds.

Why Compost?

Also called Gardener’s Gold or  Black Gold, compost is both partially decomposed organic matter {mostly plants and the manure of plant-eating animals} and the microbes that do the decomposing.  Because it is made up primarily of plant matter, compost contains the right proportion of the elements needed for plant growth.  Compost does many things for your soil, including:

  • Provides Nutrition  It’s the source of all basic nutrition for plants.
  • Improves Soil Structure  It separates soil particles and creates aeration, and nurtures the organisms that build and maintain it.
  • Increases the Ability of Soil to Retain Water Compost can hold up to 6 times its weight in water.
  • Contributes to the Health of Plants  May help prevent some diseases and promotes plant growth.
  • Moderates Soil pH  Most compost is already the ideal pH for optimal plant growth, and will help moderate the pH level in the soil.
  • Feeds Soil Organisms  Compost is the food source for many, many organisms whose activities greatly improve soil structure, increase aeration and water retention, and make it easier for plant roots to grow.  Compost feeds not only worms, but also soil bacteria and fungi, protozoa, nematodes, and more.  (The Vegetable Gardener’s  Bible, 142)

compost and soil ammendments | gardening | how to

Bumper Crop

Bumper Crop Organic Soil AmendmentNot everyone can compost because of space, time, location, or other reasons.  You can still amend your soil even if you don’t save your kitchen scraps and lawn clippings!  Our favorite soil amendment is Bumper Crop, a compost with an organic fertilizer, mycorrhizae (a beneficial bacteria that supports stronger root systems), worm castings (lots of plant-ready nutrients), and kelp meal (filled with micro-nutrients).  This is what we use in our own gardens, and recommend to our customers.

Click NEXT to find out why you might NOT want to till your garden!

Next Button


Images courtesy of winnod and posterize at FreeDigitalPhotos.net

Pages: Page 1 Page 2

Filed Under: Gardening, Tips & How To's, Yard Care Tagged With: compost, dirt, flowers, gardening, how to's, soil, tilling, veggies, Western Gardens

January & February Gardening To-Do List

January 1, 2016 by Western Gardens

January February Gardening To Do List | Things to do in your yard and garden all month longJanuary February Gardening To Do List | Things to do in your yard and garden all month long

Welcome gardening friends, thanks for stopping by!

January February Gardening To Do List | Things to do in your yard and garden all month long
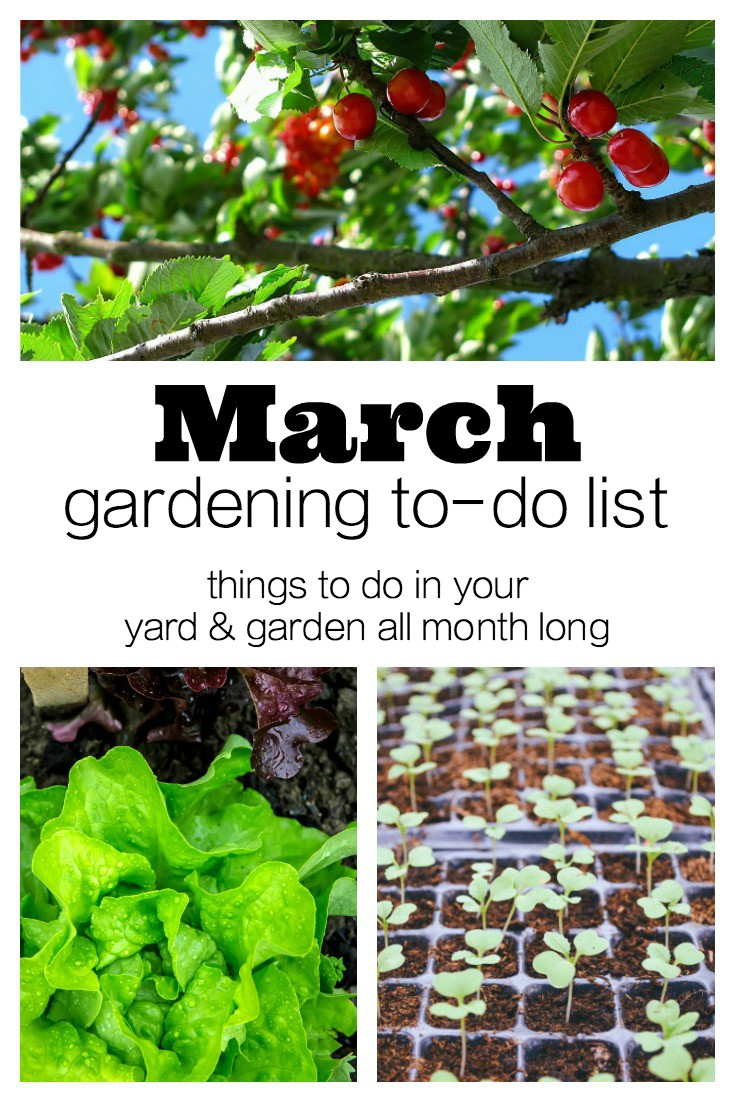
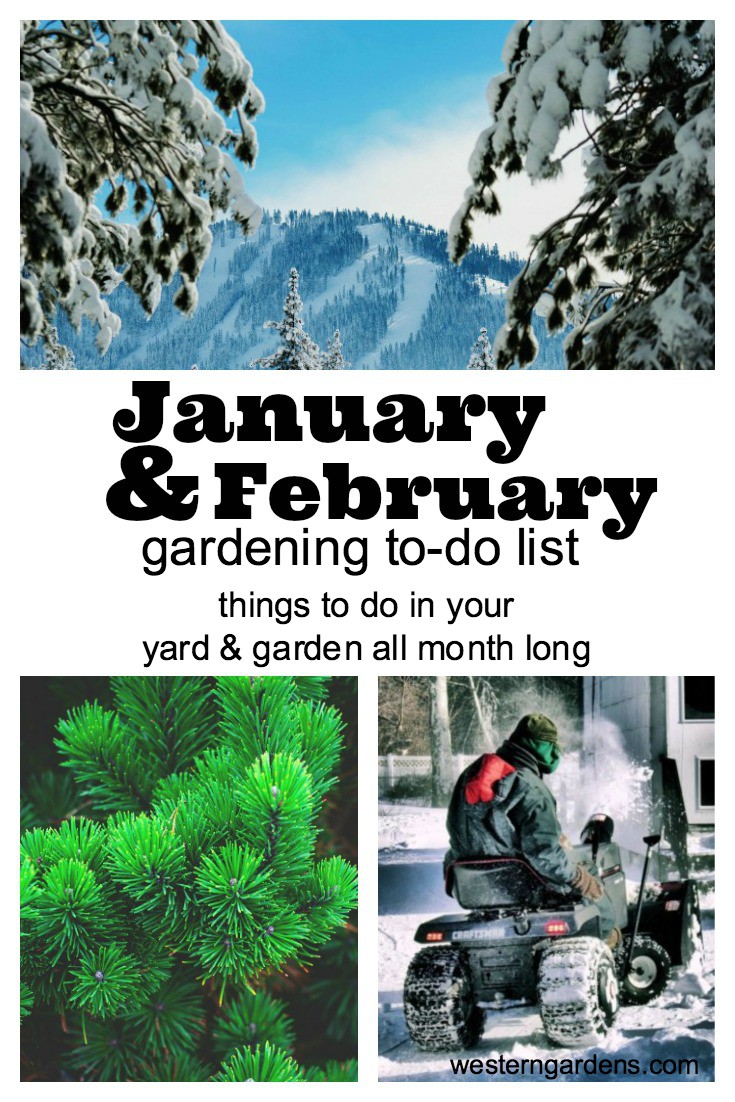
If you’re excited to work in your yard or garden, but not sure what to do in the Winter weather, then you’ve come to the right place!  We’ve put together a list of things to do to keep your yard in top shape.

January & February Gardening To Do List | Things to do in your yard and garden all month long
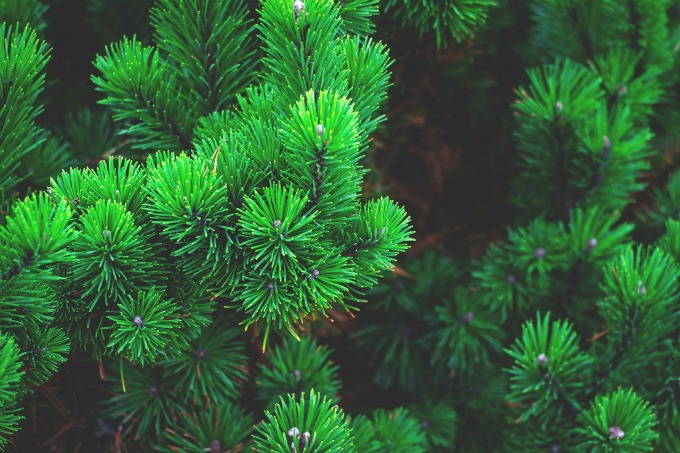
You may not need to do everything on this list.  For example, if you don’t have a Christmas tree to recycle or trees branches to watch for heavy snow, skip over those items on the list.  Just pick what applies to your home and yard and plan out when you will do it all throughout the month!

January & February Gardening To-Do List 

➺Recycle your fresh-cut Christmas tree, many cities offer recycling services at no cost

➺Remove outdoor Christmas lights and store until next year

➺Remove Snow From Driveway before driving on it, compacted snow is difficult to remove and quickly turns to ice

➺Watch Trees during and after big snow storms, they may need snow knocked from their branches to avoid breakage

➺Make A List of your favorite flowers & veggies so you will be ready to buy seeds in March

➺Draw A Diagram on paper of next year’s garden

Don’t miss our March To-Do List!

Want to print a handy checklist for every month?  We have a great ebook coming soon, and we’re offering it for FREE because we love you!  Check back soon, we don’t want you to miss it!

Snow Removal


Filed Under: Gardening, To-Do List Tagged With: garden, Gardening, Monthly To-Do List

Cookie Butter Apple Dip

April 20, 2015 by Becky

Cookie Butter Apple Dip Mother’s Day is just around the corner and do we have a treat for you today!  In fact, we have a double treat.  We’re going to show you a simple 4 ingredient Cookie Butter Apple Dip in mini chocolate bowls, PLUS we have a great giveaway for a Gardening Grab Bag!  Win it for yourself, or give it to a favorite mother in your life.  Keep reading, you won’t want to miss a thing!

Cookie Butter Apple Dip
The chocolate bowls go together in minutes, and then you can put them in the fridge to set.  Everything can be prepped ahead of time so you can just pull it out of the fridge when you’re ready to serve!
Cookie Butter Apple Dip
Simply melt your chocolate (the instructions below will keep it in temper.  If you overheat the chocolate, the cocoa butter molecules won’t realign properly, resulting in a soft set chocolate even at room temperature).  Put a small dollop of chocolate on a lined cookie sheet, dip the balloon in the chocolate, and place it on the dollop of chocolate.  Then just let the chocolate harden, deflate the balloon, and you’re ready to fill it with cookie butter fluff!

Cookie Butter Apple Dip

Ingredients:

  • 1/2 cup chocolate
  • 6 Tbsp cookie butter
  • 2 Tbsp vanilla greek yogurt
  • apple slices

Directions:

  1. Blow up 7 water balloons to desired size (I did mine small).  Wash and dry balloons.
  2. Melt chocolate in the microwave or over a double boiler.  (Microwave in 15 second intervals, stirring in between, in a plastic bowl until smooth).
  3. Put a small dollop of melted chocolate on a lined cookie sheet (a little bigger than a nickle).
  4. Dip a balloon part way in chocolate until it’s the size you’d like.  If necessary, use a spoon to push the chocolate onto the balloon.  Place on the dollop of melted chocolate.  Repeat with all balloons.
  5. Let chocolate set.  Place in the fridge for 15 minutes if necessary.
  6. When chocolate is set, make a small snip with scissors near the knot of the balloon.  You want it deflate, not pop.  Peel deflated balloon out of the chocolate bowl.
  7. Thoroughly combine the cookie butter and yogurt.  Place in a sandwich bag, snip a corner, and pipe into chocolate bowls.  Serve with apple slices.

**********THIS GIVEAWAY IS NOW CLOSED**********

Mother's Day Gardening Giveaway And now for the Mother’s Day Giveaway!  We’ve teamed up with Bite of Delight to bring you this awesome gardening grab bag valued at over $55!  {It contains a pruner, trowel, trigger nozzle, garden shears, gardening gloves, kneeling pad, tote, and a black 3-pocket apron that will be custom embroidered with the winner’s name of choice!}  And we’ll ship it all to you in time for Mother’s Day!

a Rafflecopter giveaway
Giveaway ends 4/27/15, so don’t wait to enter!  Open to US residents only.
We are also running this giveaway on our Instagram account, so head there for even more chances to win!

And if that wasn’t enough, there are NINE more chances to win equally awesome prizes from these other fabulous blogs for yourself or a favorite Mother in your life.

Giveaway-Group
1- My Daylights 2- Eat It & Say Yum 3- Tastefully Frugal 4- The Things I Love Most 5- Bite of Delight and Western Gardens 6- Home Crafts by Ali 7- Gypsy Road School 8- Mom’s Bag of Tricks 9- Honest Harm 10- Happy 2BA Homemaker

Cookie Butter Apple Dip

Filed Under: Fruit, Giveaways, Recipes, Tips & How To's Tagged With: Fruit, giveaway, Mother's Day, recipe, recipes

How to Plant a Spring Flower Bed

April 1, 2015 by Becky

Planting a Spring flower bed may seem like a daunting task if you’re new to gardening, but we have 10 easy tips and tricks to help you create a beautiful, inviting  space in your yard.

Planting Spring Flowers1 -Lay Out Your Plants Before You Buy.  Today’s planting actually started out on the floor in the nursery of Western Gardens.  I laid out all of my plants on a cement square to help me decide how much I needed for the space to be planted.  Once I had what I needed, it was easy to load up and head to the flower bed!

Planting Spring Flowers2- Clean Up Your Flower Beds.  I always start every planting by cleaning up what’s already there.  It seems simple, but it makes a big impact to just clear away old debris. 3- Add 2 Inches of Compost Over Top of the Flower Bed.  No need to work it into the soil, the nutrients will work their way down to your plants’ roots.  We could almost just stop here, at this point the bed already looks so much fresher and cleaner!  The fun part is next though, so let’s get planting!

Planting Spring Flowers4- Use an Auger to Plant Bulbs.  One of my favorite tools is a bulb planting auger.  It’s an attachment that fits a standard-size drill, and it makes planting bulbs SO easy and fast!  {You can pick one up at your nearest Western Gardens.}  Just drill down about 6 inches, drop your bulbs in, and fill back in with soil!  Bulb planting at its finest.  And simplest.

Planting Spring Flowers5- Add Unique Plants like Veggies!  I am always looking for ways to plant veggies in a landscape, so I took some along.  Lettuce for some extra green, and some sugar snap peas to put on the trellis.  It’s a great addition because it’s unique and beautiful, and who doesn’t want a sugar snap pea on their way out the door?

Planting Spring Flowers6- Incorporate Unique Elements that you might not always see in a flower bed.  I found a trellis at Western Garden Center that went perfectly with the yellow front door and bistro table on the patio.  Always try to find cool things to throw in a landscape, but never force it.  If it doesn’t go with the flow, don’t try to make it work.

Planting Spring Flowers7- Adjust Flowers Prior To Digging.  Before I dig any holes for my flowers, I lay them all out in the bed still in their containers.  This is the time to make changes and play around with design.  One important tip I always give is, take 10 steps back, take a deep breath, and look at what you are about to do.  Adjust now before it’s too late!

Planting Spring FlowersIf everything looks perfect, take your hand shovel, and dig into that bed!  All the hard work is over now, so it is time to get everything into the ground.  8- Before the flowers go in the ground, gently tear part of the plants’ root systems…it will encourage the roots to grow into the surrounding soil instead of circling itself (like it’s been doing in the container).  9- Once all your flowers are planted, quickly give it a drink of water.  If you’re planting when it’s hot outside, there’s a good chance those plants are in shock.  Watering them right away will help them get established in their new home.

Planting Spring Flowers10- Don’t Be Afraid To Try Something New!  We can’t wait to see those Sugar Snap Peas on that trellis!  Now grab a lemonade,  pull up a chair and enjoy your beautiful new flowers… and enjoy a sugar snap pea for me!

Planting Spring FlowersPlants in this post’s flower bed include:   Sugar Snap Peas, Lettuce, Pansies, Prim Rose, Ornamental Cabbage, Ranunculus

{We are often asked what kind of compost we use in our own gardens.  We recommend Bumper Crop all natural organic soil builder.  It’s great for veggie gardens, flower beds, planter boxes, and pretty much anywhere else you want to put it!}Planting Spring Flowers

Filed Under: Flowers, Gardening, Outdoors, Tips & How To's, Yard Care Tagged With: flowers, garden tools, gardening, how to's, tips, Western Garden Centers, Western Gardens

Sugared Cranberries

December 23, 2014 by Becky

cranberries 4Sugared Cranberries are an easy, beautiful way to decorate your table, Christmas tree, cheese plate, mousse, or even cupcakes!  They are simple to put together, but I like to let them sit overnight, so start these the day before if you can.  You can still make them the day of if you don’t have the time, and all will be well, but the sugar tends to adhere better and give it a better sugar crust if you let them sit overnight.

cranberry collageIf you want a deeper molasses flavor, you can use raw sugar or brown sugar to make the simple syrup, but white sugar works great as well.  To roll the sugar, it works best to use a coarser-grained sugar, like an organic variety (but not as large as a raw sugar). If you roll it a second time in a fine sugar (just pulse your sugar a few times in your blender!), then it will cover any bare, sticky spots that the coarse sugar didn’t get.  This is optional, but gives the cranberries better coverage.

cranberries 3

Sugared Cranberries

Ingredients:

  • 1 (12 oz) bag fresh cranberries
  • 1 cup water
  • 1 cup sugar
  • coarse sugar (for rolling)
  • fine sugar (for rolling a second time, if desired)

Directions:

  1.  Wash cranberries and discard any that are bruised, damaged or shriveled.
  2. Combine one cup of water and one cup of sugar in a pot, and bring to a simmer.  Stir until sugar is dissolved and remove from heat.  Let cool until it is warm, and pour over cranberries.  {Do not pour hot syrup over your cranberries or they could burst.}  Let sit overnight, or at least until the syrup has cooled.
  3. Remove cranberries from syrup with a slotted spoon and let drain on a cooling rack for about an hour (I like to place mine over a cookie sheet to catch the drips).
  4. Working in small batches, roll the sticky cranberries in the coarse sugar, and place on a clean cookie sheet to continue drying.
  5. Once all the cranberries have been rolled in coarse sugar, roll again in fine sugar to fill in any spots the coarse sugar missed, if desired.  Place on cookie sheet to finish drying (give them a couple more hours if you can).
  6. Store in an air tight container at room temperature.

*My 6 year old niece came over for Thanksgiving and inhaled these cranberries!  So if you like a tart-sweet combination, this is a great snack!

cranberries 5

Filed Under: Fruit, Recipes Tagged With: cranberries, Fruit, Holidays

Garlic & Rosemary Mashed Potatoes

November 24, 2014 by Becky

Mashed potatoes are a Thanksgiving staple in nearly every home.  They are simple to prepare…but if you don’t do it quite right they can turn out gluey and stiff.  This is my favorite way to make them, and my favorite way to eat them!  They turn out perfectly delicious every time.
Mashed Potatoes mainIf you are in charge of mashed potatoes for Thanksgiving this year, these could make you a very popular person!  The garlic and rosemary give it a subtle flavor, so it will compliment your turkey and sides without overwhelming your guests’ palates.  They are creamy and delicious and the perfect texture…so light and fluffy that you won’t even realize that you’ve had three servings!

Print

Ingredients

3.1
https://westerngardens.com/garlic-rosemary-mashed-potatoes/

* I have made these mashed potatoes with raw garlic added to the boiling water, and I’ve made them with roasted garlic added right before they get mashed.  It’s delicious both ways, so do it the way that speaks to your mashed potato loving heart!

*This recipe doubles easily if you have a big crowd to feed.

*I have mashed this recipe by hand and using an electric stand mixer.  I prefer using a mixer because it’s so much faster and easier!

*Yukon Golds are another great variety for mashing.  I have also used Russets, but I don’t like the texture *quite* as much.  Many people love Russets for mashing though, so try what sounds best!  Stick with it if you like it, or try something else if you think they could improve.  No matter what you choose, you really can’t go wrong!

Mashed Potatoes 2If you need some flavored butter for your holiday spread, be sure to try this Chive Butter (pictured above) or Garlic-Basil Butter.  You can enjoy these flavored butters on mashed potatoes, steamed or roasted veggies, crusty bread or soft rolls.

Filed Under: Herbs, Recipes, Vegetables

  • « Go to Previous Page
  • Go to page 1
  • Interim pages omitted …
  • Go to page 10
  • Go to page 11
  • Go to page 12
  • Go to page 13
  • Go to page 14
  • Interim pages omitted …
  • Go to page 18
  • Go to Next Page »

Primary Sidebar

Shopping Cart

Items in Your Cart

Your cart is empty
Visit The Shop

Follow Western Gardens

  • Facebook
  • Instagram
  • Pinterest
  • YouTube

See what we’ve been pinning!

Follow Me on Pinterest
Followed by people.
?

Pinterest Badge by Skipser

Here’s What We’ve Been Up To!

Save water and money by Turf Training - train your lawn to grow deep roots
work at western gardens utah garden center
Senior gardening woman Edu Carvalho from Pexels
nursery center open to public

Copyright © 2025. Western Gardens - Privacy Policy