• Skip to primary navigation
  • Skip to main content
  • Skip to primary sidebar

Western Garden Centers

for what grows here

  • Home
  • How To
  • Gift Cards
  • Calculate Mulch
  • Locations
    • Store Hours
    • About
    • Garden Shop Employment Team
  • Weddings
    • Salt Lake City, UT
    • West Valley, UT
  • Blog
    • Gardening
    • Recipes

kids in the garden

Vegetables to Plant in July and August in Your Garden

July 20, 2017 by Heather Leister

Welcome Gardening Friend! Glad you dropped in.

It's not too late to plant a vegetable garden in July and August.

Was 2017 the year that you planned to finally get your family garden up and running? Maybe now you’re realizing that it’s July and all you have is a bare patch of soil and good intentions? Not to fear! You still have time to enjoy a fall harvest and make it a family affair! Here are some ideas of vegetables to plant in July and August in your garden.

Here are four fruits and vegetables that are fun to grow, yield a quick crop, and make gardening with the family easy and fun!

Tomatoes: Since tomatoes need to be planted after the danger of frost has passed they’re a possible choice for mid-summer planting. When July’s summer heat kicks into high gear, you’ll want to take precautions to protect the plants from the hottest part of the day, plus plant on a cloudy day or in the evening after the worst heat. Shade coverings, mulch, and adequate & consistent watering will help your tomato plants take off. When starting tomatoes later in the summer it’s also important to select a “short season” variety, one that will be ready for harvest before the fall frost arrives.  There are also some heat tolerant varieties as well, like Grape, Heat Wave II or Fourth of July.

Some varieties of tomatoes are good vegetables to plant in July and August in your garden.

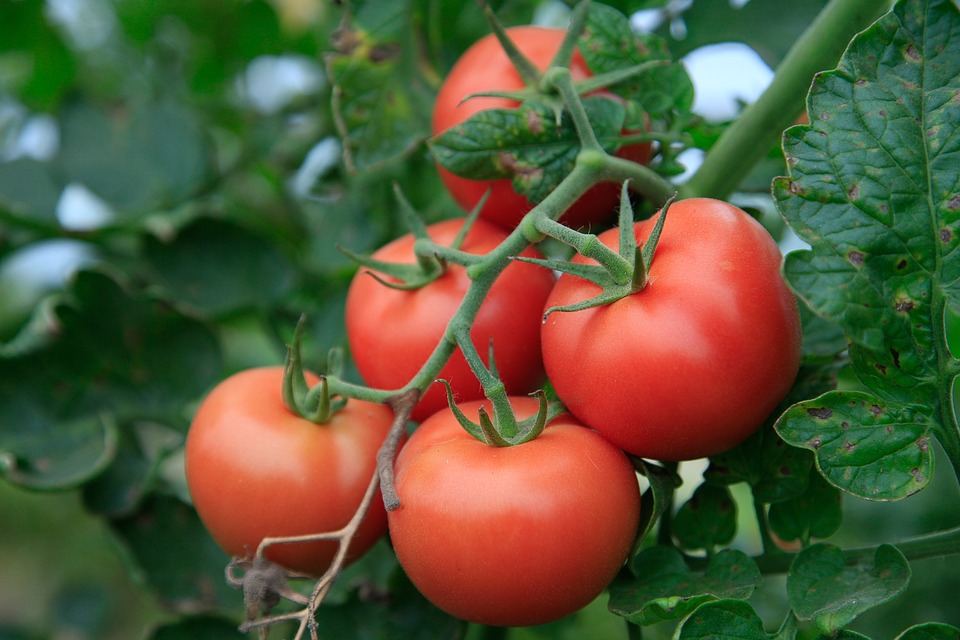
Photo Credit: Pixabay

Peppers: Although pepper plants take longer to mature than other vegetables, their fruits can be fun for children (and adults!) to watch as they grow and change color. You’ll find varieties of pepper plants that have Days to Maturity time of 60-70 days.  Examples:  Orange Blaze, Gold Standard, Jalapeno Gigante, or Big Guy. Chick here for more.  Your garden center will also have some seeds and maybe some plants still available to browse through.  Find one that your family will enjoy eating, as well as watching! Remember that some varieties of peppers must be handled with care as they leave a residue on the skin that will cause irritation.

Find a fast maturing pepper to plant later in the season.

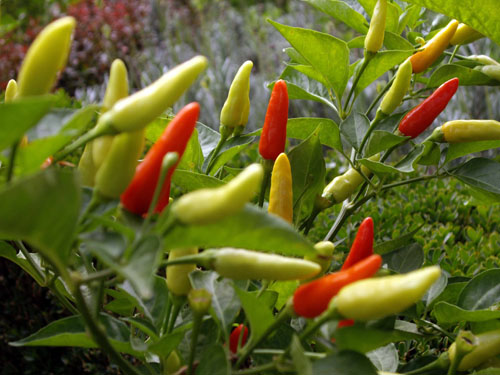
Photo Credit: Wiki Media

Pumpkins: Plant pumpkin seeds now and reap some jack-o-lanterns in the fall! But you better hurry!  Pumpkins generally require 75-100 days to maturity. Check the variety!  Hopefully we won’t have a frost until late October.  Your children can watch as the seeds grow into vines that will creep throughout your garden. When selecting your pumpkin seeds, think about the size of your available garden space. You’ll want to choose between between a variety of tiny pumpkins or larger ones that are best suited for carving jack-o-lanterns. No matter what you decide, pumpkins are fun and easy to grow and their seeds make a delicious, roasted treat in the fall.

pumpkins take a longer time to mature.

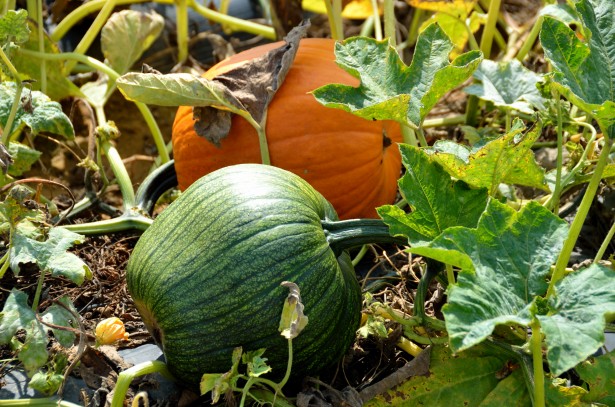
Photo Credit: Public Domain Pictures

Radishes: Radishes are a terrific addition to the family garden because they are colorful, quick growers. Children can expect to pull up their first crop just a few short weeks after planting the seeds – a very quick garden turnaround! Your family will enjoy watching as the tops of the radish greens emerge from the soil. When they are about one week ole, radish plants should be thinned to approximately two inches apart a job that children can do after some instruction and coaching. Fast growing spring varieties of radishes should be planted when the weather is still cool. However, winter radishes can be planted later in the summer as late as mid-August.  They take longer to grow but will still provide your family with the satisfaction of planting a seed in the ground and pulling a vegetable out of the dirt!

Radishes are great vegetables to plant in July and August in your garden.

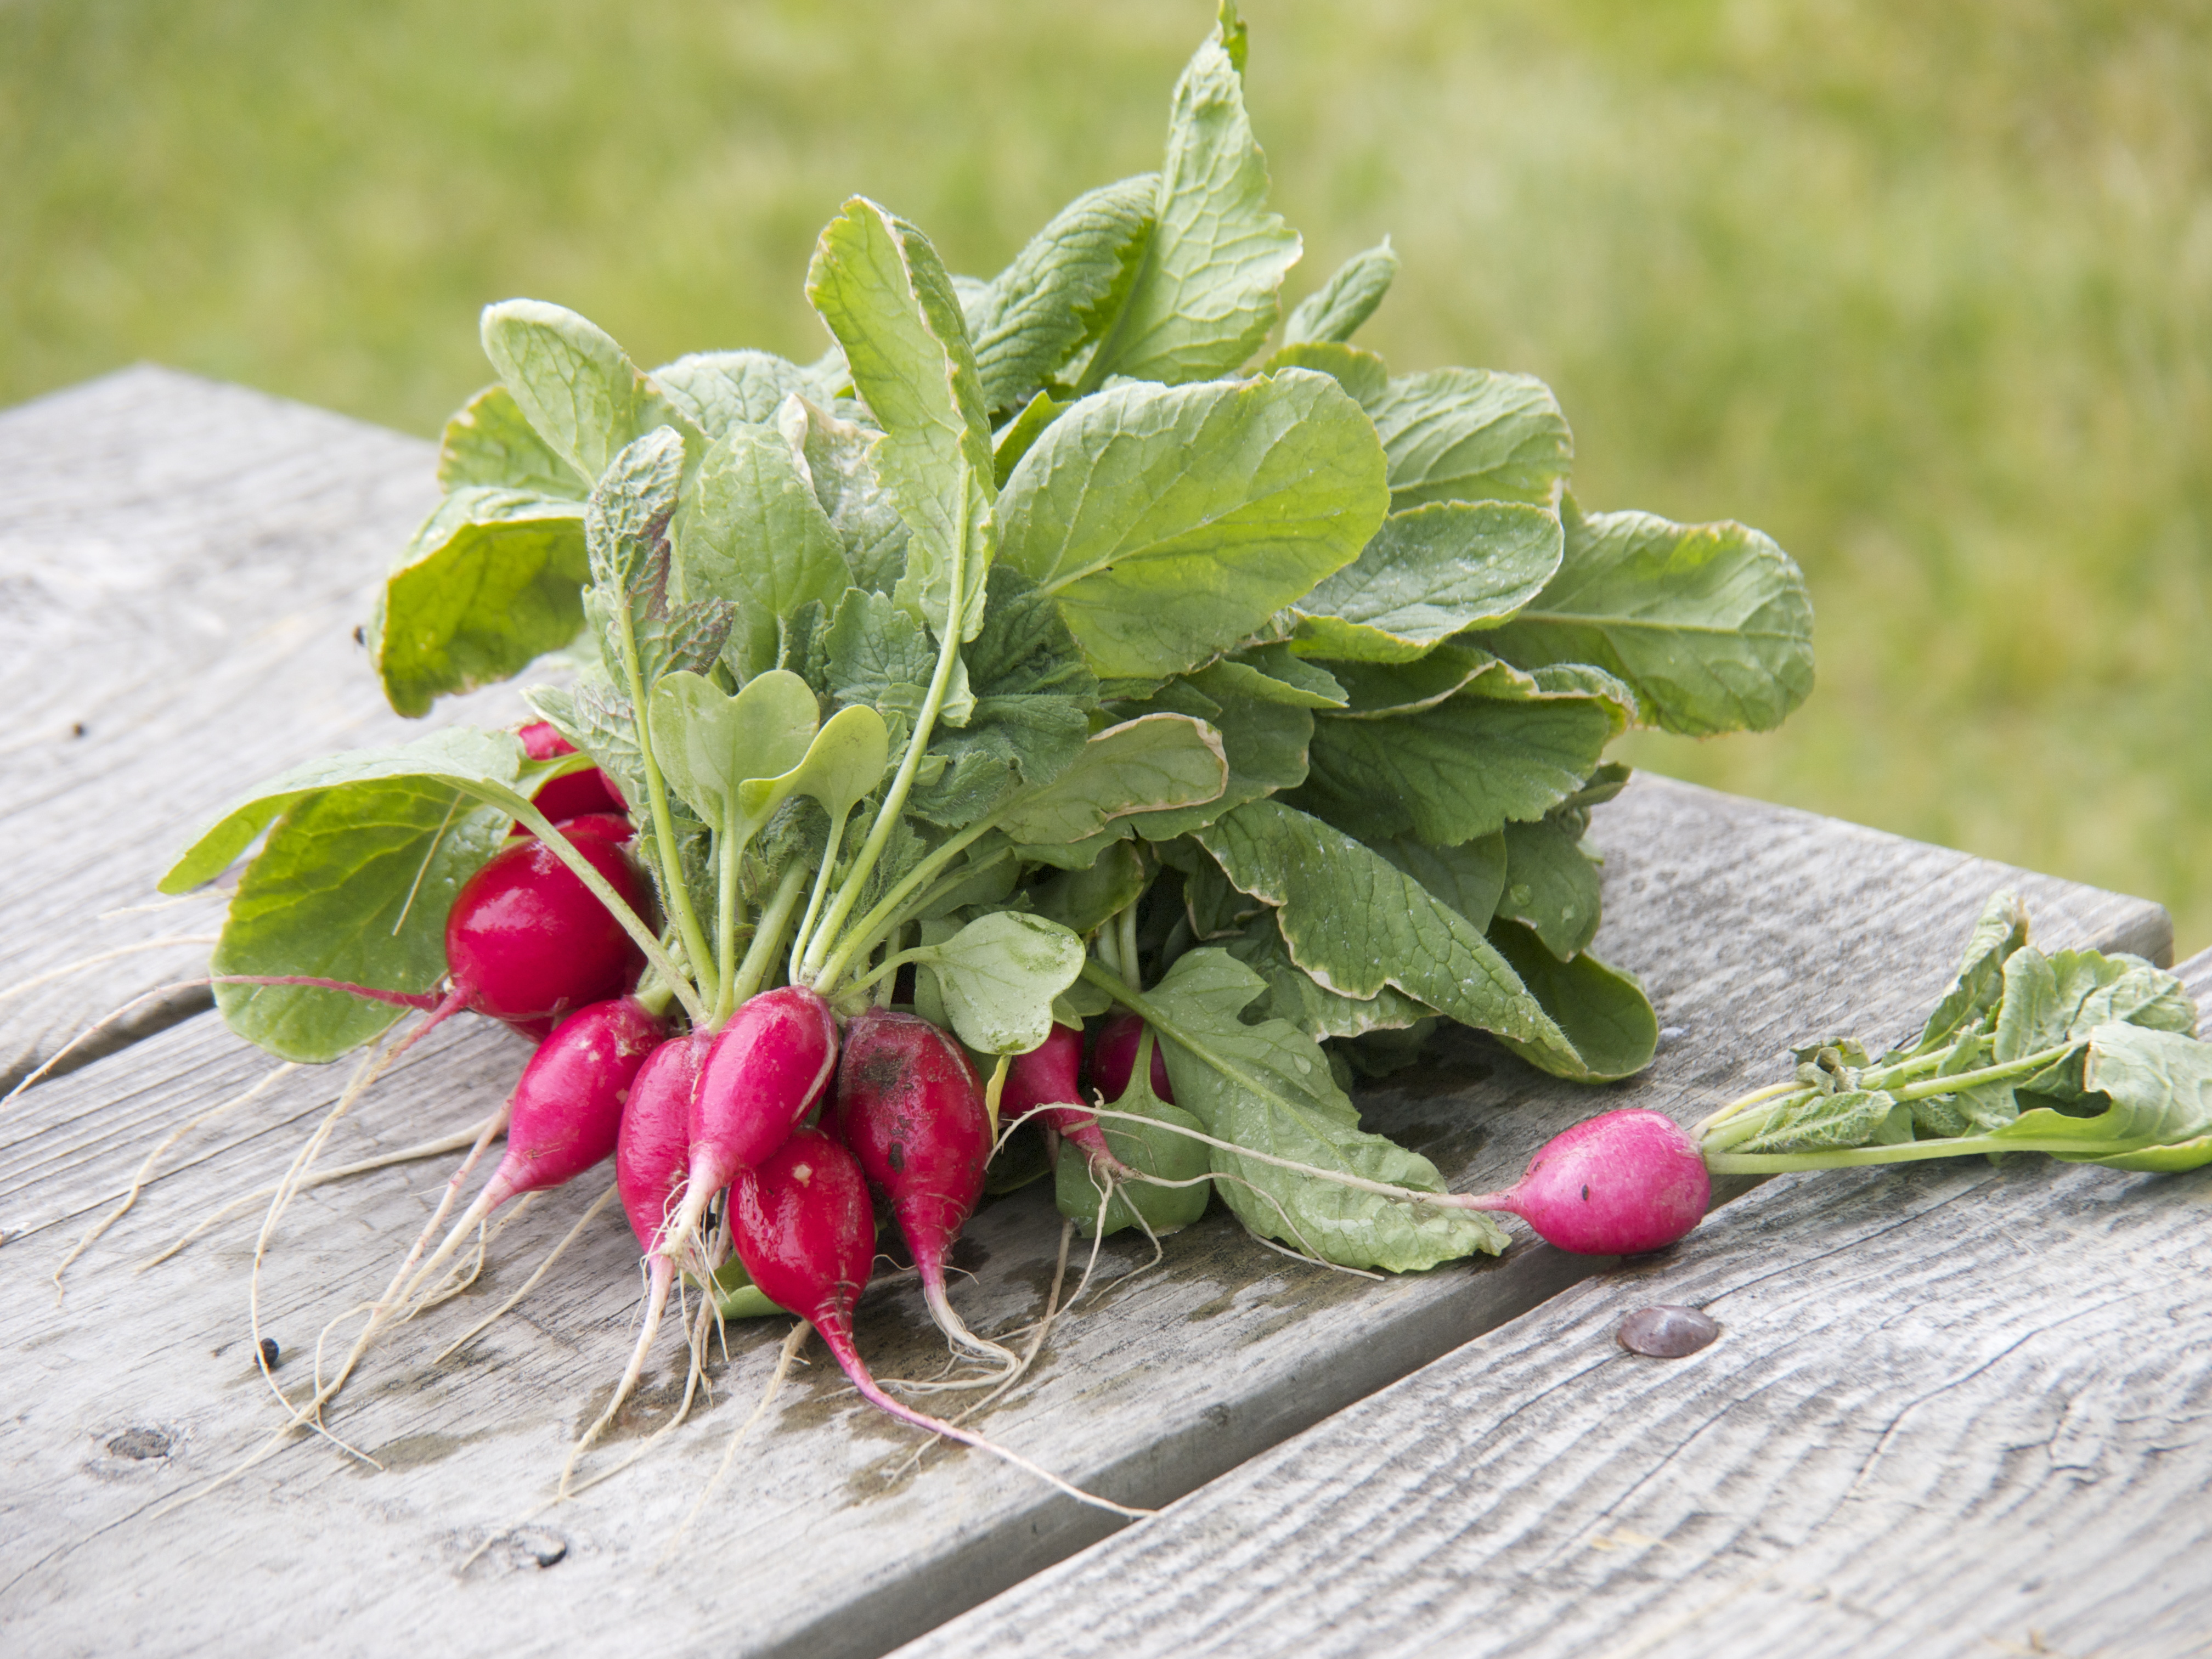
Photo Credit: Wikimedia

The 2nd Planting List:  Come on in to Western Gardens for an extensive list of  vegetables and herbs that can still be planted in July and August.  To name a few on the list:  arugula, cauliflower, carrots, cabbage, and many many more.


Filed Under: Gardening, Kids in the Garden, Vegetables, Veggie Gardening Tagged With: august vegetable garden, Family Garden, july vegetable garden, kids in the garden, late planting, peppers, pumpkins, radishes, second planting, tomatoes, what to plant

Garden Grow Box – Kids Friendly

April 11, 2017 by Vanessa Roush

WELCOME GARDEN FRIENDS, HAPPY TO SEE YOU!

Garden Grow Box DIY with kids

Want to have a garden this year? Wondering where to begin? Start with this simple garden grow box that you and your children can create together.  Here are some simple guidelines that worked for me.

Before heading to your local lumber yard,  decide what size of box you want or have room for. For this example, we are building a 4 foot by 6 foot box, which is a great size just right for the new little gardeners who will help to create it.  However, you can make it the size that fits the space you have.

Garden grow box SUPPLIES:

garden grow box supplies needed.

SUPPLIES: 2 10′ boards cut into 2 six feet and 2 four feet lengths. Smaller hands can handle the 4′ boards!

SUPPLIES: Deck screws, drill bit, power drill and/or screw driver, and those helping hands.

1. Two 2’’x8’’ x 10’ long pressure treated beams: (approx. $14 each) Make sure they are straight by pulling them out and looking down the side of them. Also make sure they aren’t severely bowed or have big knot holes. If you don’t have a chop saw at home, have someone at the lumber yard cut both of your boards at 6’. You will be left with two 6’ pieces and two 4’ pieces. This also makes it easier to transport them home. You can also rummage through your scrap wood at home and see if you have something that is at least 6” in depth.

2. A package (or at least 12 pieces) of #9 2 1/2’’ Deck screws: (approx $10 or less) You could also use #10 3’’ screws. They come in a few different colors so you can get a box to match the wood so they are less noticeable. Most of these screws have a star driver head.  Some boxes come with a bit to fit them, but check just to make sure.

3. Drill bit a little smaller than your screws (optional but highly recommended):  For a #9 screw, a drill bit size of 3/32 is recommended. Pre-drilling holes prevents the wood from splitting and ruining the board. If this sounds like Greek to you, take your screw and look for a drill bit that is slightly smaller in diameter. Or ask someone at the lumber store; they’d be more than happy to help!  This is an essential step if you’d like to involve kids. You pre-drill the holes, and then let the child drive in the screws.

4. Weed block or Landscape fabric:  If you have an area that is prone to a lot of weeds, put down some weed block or landscape fabric before you set your box in place.  Layers of old newspaper in the bottom of your box can work too.   Another option is to spray the weeds using Killz-All or Weed-Free Zone.  If you do this, make sure not to cover the sprayed weeds for 7-10 days giving the chemicals time to kill the weeds.  There is no problem using these products on edible vegetable gardens.  The product only works to kill the unwanted plant via the plant’s leaves.

5. Power Drill and/or Screw Driver.

Garden grow box ASSEMBLY:

Putting the box together is easier if you have an extra set of hands, but some rocks or a wall will do if you’re doing this project solo. Enlist the help from a child by asking them to hold one of the boards up for you. The box can be assembled in a few different ways, or styles.
Option A:  Assemble each board on the outer part of the corner on one end, and then inner part of the corner on the other.

Option B:  Assemble the shorter 4′ boards on the outside of of the 6′ boards or vice versa.

Step 1: Take a 6’ board and a 4’ board and put them together at a right angle. Make sure they are flat against each other. Using your drill bit, pre-drill 3 holes in a line at the top, middle and bottom of the side.

Step 2: Then switch to your screw bit or use a screw driver and drive 3 screws into the holes you just drilled. You should now have two boards creating a right angle or an “L” Shape.


Step 3: Now add the other 6’ board and repeat the pre-drilling and driving the screws.


Step 4: Repeat with the last 4’ board.


Step 5:  Set your box in its place.  To help cut down on weeds, place a layer of landscape material from your independent garden store.

simple garden grow box built by kids

The fun has just begun. Fill with quality soil and get those seeds and plants ready! The box is!

Now you are ready to fill with a high quality dirt.  Bumper Crop from your local independent garden center, like Western Garden centers, is an experienced gardener’s favorite!

Bumper Crop for your soil is a gardener’s favorite.

Stay tuned for the next episodes of this Kids in the Garden experience.  Their love for gardening is growing, but see what plants these two choose to grow in their grow box!


Filed Under: Container Gardening, Gardening, Kids in the Garden, Tips & How To's Tagged With: building a grow box, bumper crop, DIY grow box, Garden Boxes, grow box, Independent garden centers in Utah, kid project, kids in the garden, Raised Garden Beds, raised garden box, raised vegetable garden, Utah gardening

Primary Sidebar

Shopping Cart

Items in Your Cart

Your cart is empty
Visit The Shop

Follow Western Gardens

  • Facebook
  • Instagram
  • Pinterest
  • YouTube

See what we’ve been pinning!

Follow Me on Pinterest
Followed by people.
?

Pinterest Badge by Skipser

Here’s What We’ve Been Up To!

Save water and money by Turf Training - train your lawn to grow deep roots
work at western gardens utah garden center
Senior gardening woman Edu Carvalho from Pexels
nursery center open to public

Copyright © 2023. Western Gardens - Privacy Policy