Welcome gardening friends!
Do you love seeing splashes of color in the early spring? Especially when winter hasn’t quite worn off yet, and the landscape can look a little gray and uninviting?
I’m here to help! With these 8 Tips for Planting Early Spring Flower Pots, you can take your yard from winter-blah to spring-wow!
I am very excited to start gardening this year! So excited, in fact, that I have no desire to wait for Mother’s Day to get planting (here in Utah, Mother’s Day is about the time to start).
But I didn’t want swing and miss this year, so I headed to Western Gardens with my mother-in-law Sue (my personal go-to flower guru) and we consulted the experts there.
When we first arrived at Western Gardens I couldn’t help but notice all the beautiful flowers they already had in their pots out front.
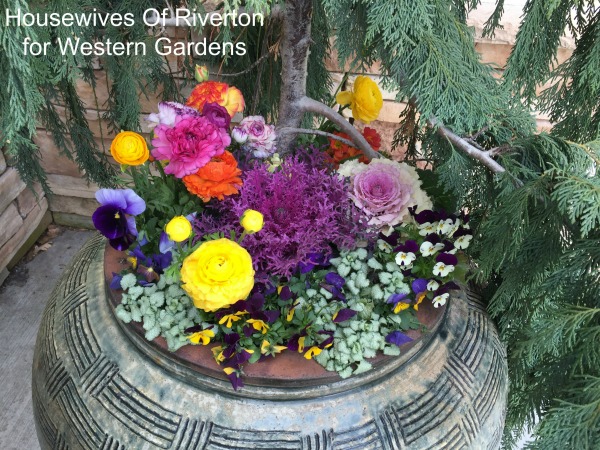
Sue and I both loved this pot! Since it’s still quite cold, I was impressed with how much color was in the pot and how great the flowers looked. Some even had ice sitting on them, and yet here they were in their vibrant beauty!
To make sure we were doing everything possible to have the best chance of success, we asked a Plant Pro from Western Gardens to help us out. Andrea answered all of our questions and gave us so much great advice! I appreciated her friendly personality and really appreciated that she never once made me feel foolish for my lack of knowledge.
I was thrilled to discover such a wide variety of flowers and plants that are cold-weather hardy and perfect for early spring flower pots. With our temperamental Utah springs, we can have beautiful spring-like weather in February, only to have snow on the ground in April. With these cold-weather flowers, I can have blooms all spring long.
8 Tips for Planting Early Spring Flower Pots:
1. Talk to your local gardening shop (if you’re here in Utah, visit Western Gardens in Sandy, Downtown Salt Lake, and West Valley City). Ask them what flowers and plants work best in your area for early spring planting. It will vary depending on your location and climate. To make the most of your pots, you’re going to want expert advice!
2. Choose a filler, a spiller, and a thriller (these are different flowers that will fill in the pot, spill down the sides, and thrill the eye…think grass spikes)! Click HERE for more details.
3. Gather other necessary supplies:
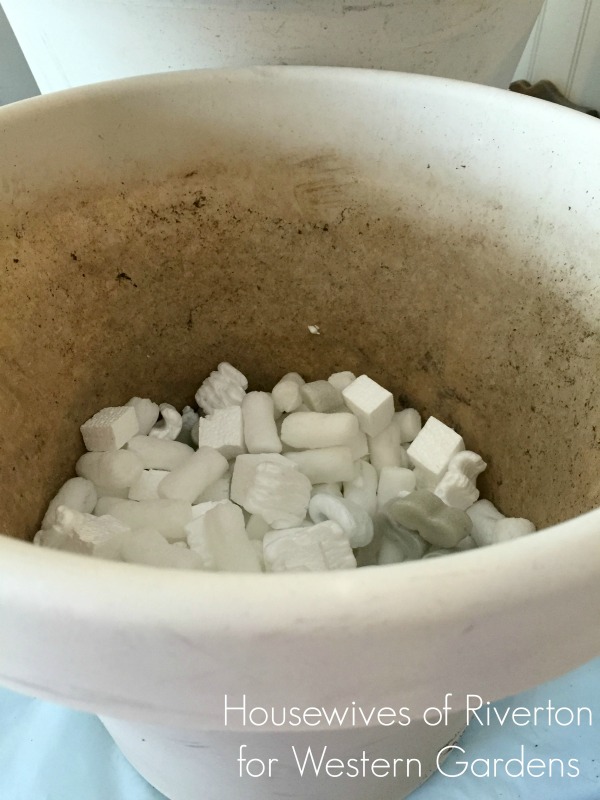
- Styrofoam packing peanuts (enough to fill each pot 1/3 full)
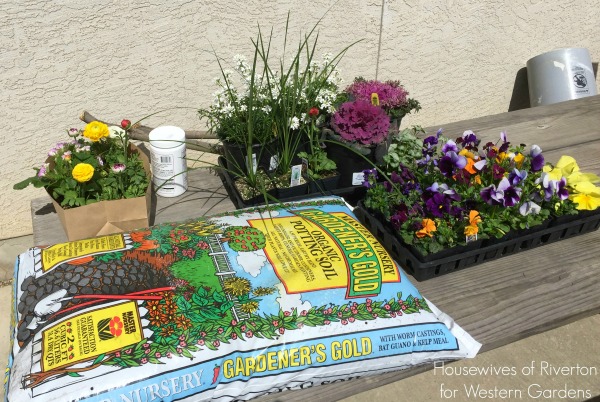
- Fresh potting soil (like Gardener’s Gold)
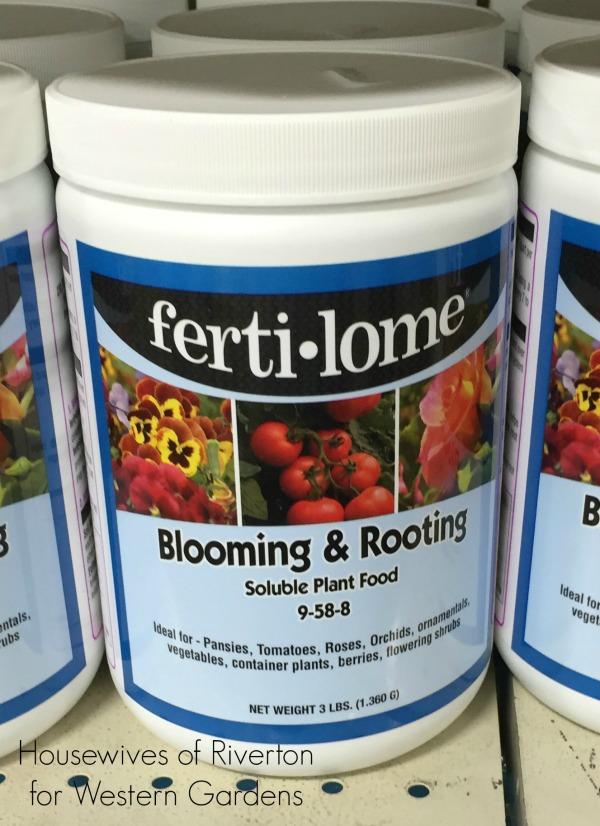
- Fertilizer (like ferti-lome blooming and rooting soluble plant food. The high middle number (9-58-8) is responsible for the flowering of plants and flowers, which means it’ll help your potted plants/flowers have beautiful blooms − or if you’re planting fruits/veggies, this helps with food production.)
4. Fill your pot 1/3 full with styrofoam packing peanuts (they partially fill the pot without adding weight, and allow for air and water to have room to move around the roots of the plants). Fill the remaining 2/3 of your pot most of the way with potting soil (leaving a few inches of space at the top, you’ll need it in a few minutes!).
5. Arrange your flowers in the pot before you plant. Here I’ve got my plants all laid out to get an idea of how I want the pot to look when it’s finished. Once you’re happy with the arrangement, then start potting each one (don’t forget to gently tear some of the roots on each flower before you plant it, this helps the roots spread into the surrounding soil and promote growth).
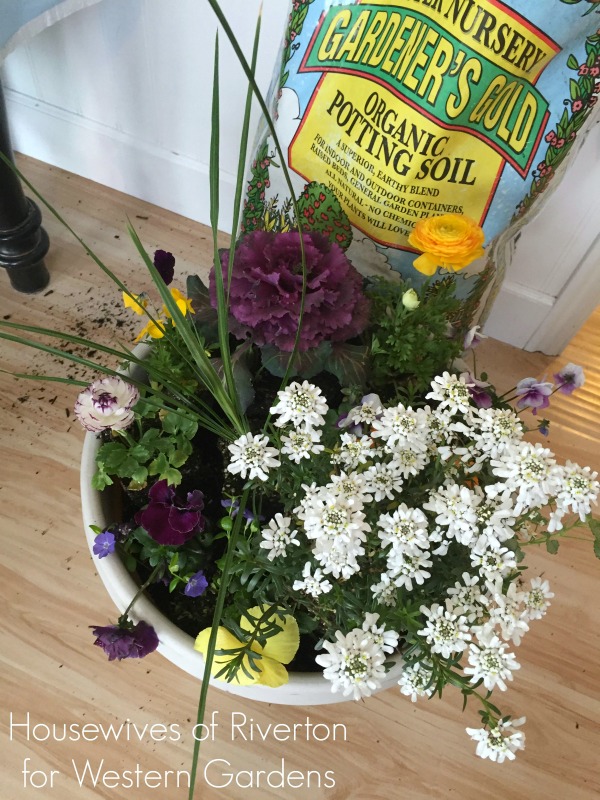
6. Add more potting soil once all your plants are potted, to fill in any holes.
7. Water your flowers to make sure they’ve got a nice, fresh drink to help keep them perky. Don’t oversaturate your pot.
8. Fertilize, dead-head & water your flower pots to keep them looking their best all spring! Fertilize regularly (organic and chemical fertilizers have different instructions, read carefully! We recommend organic for pots, as chemical fertilizers leave a salt residue), remove expired blooms (so the plant’s energy can go to make new ones!), and water when soil is just barely moist (don’t let it dry out).
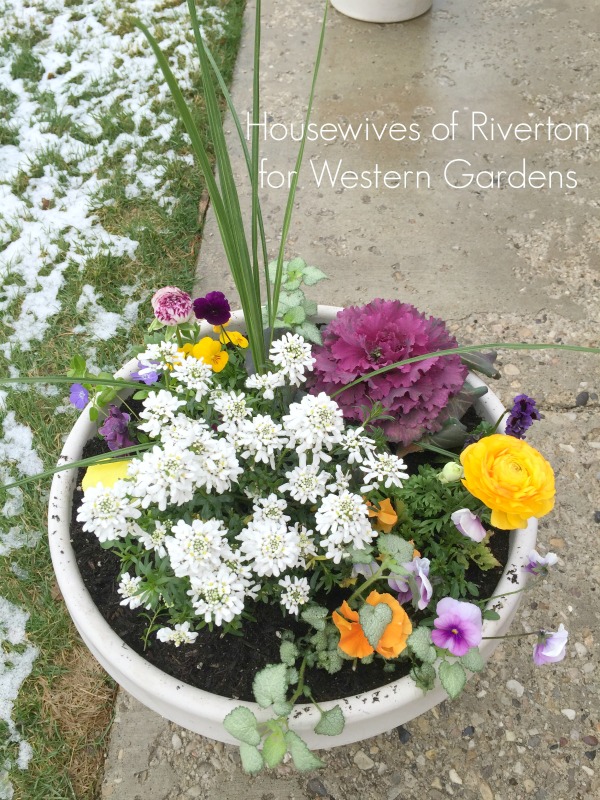
The plants and flowers featured in my pots are:
Fillers:
- Pigeon Purple Flowering Kale (perennial)
- Flowering Cabbage (perennial)
- Candy Tuft Tahoe (perennial)
- Pansy Fizzle Sizzle Mix (annual)
- Pansy Matrix Lemon (annual)
- Ranunculus Bloomingdale Mix (annual)
- Pansy Delta Premium Beaconsfield (annual)
- Primrose Danova Mix (annual)
Spillers
- Red Nancy (annual)
- Bowles Cunningham Periwinkle (annual)
Thrillers
- Cordyline Indivisa Spikes (annual)
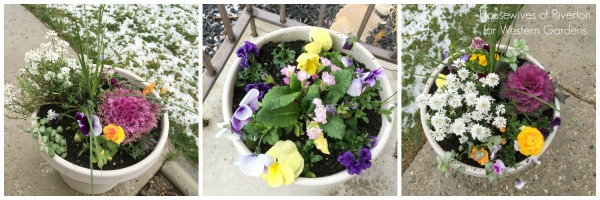
I am absolutely in love with how my pots turned out! And with these tips and advice, I know I’ll have beautiful pots all spring. A few of the plants I chose are perennials (they’ll come back year after year), so when they stop blooming, they can be replanted in the ground for next year!
These flowers will all last several months, and possibly through June, depending on how quickly it gets hot. I love that my pots are already planted, and that I can add other flowers as some of them expire, to keep some beauty outside my home all spring, summer and fall!
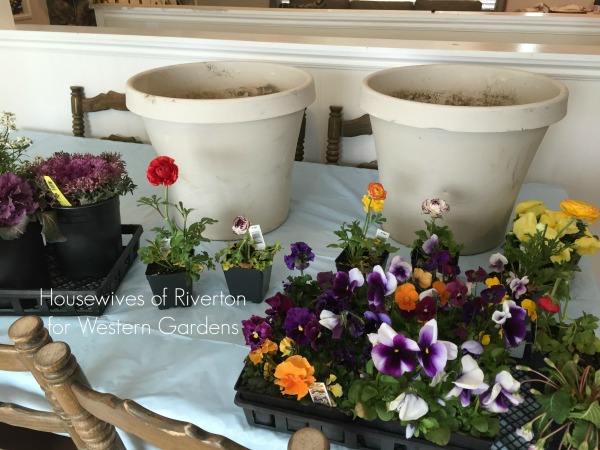
Now that all my flowers and plants look so beautiful, I need some new pots for them! I think that will be my reward for keeping them pretty and healthy all season.
Here are a few more things to love about Spring that you can find over on my blog!

Gluten Free Oatmeal Cookies ~ Spinach Salad w/Poppy Seed Dressing ~ Strawberry Lemonade Cookies
Latest posts by Jenn Crookston (see all)
- National Sneak Some Zucchini Onto Your Neighbor’s Porch Day - August 5, 2017
- Fresh From The Garden Gift Tags - July 12, 2017
- Homemade Ketchup Recipe - June 5, 2017
