Hello! I’m Jenn from Housewives of Riverton and am so excited to be here with you today. Did you know that August 8th is National Sneak Some Zucchini Onto Your Neighbor’s Porch Day? I am absolutely loving these different national days and have so much fun coming up with ways to celebrate them.
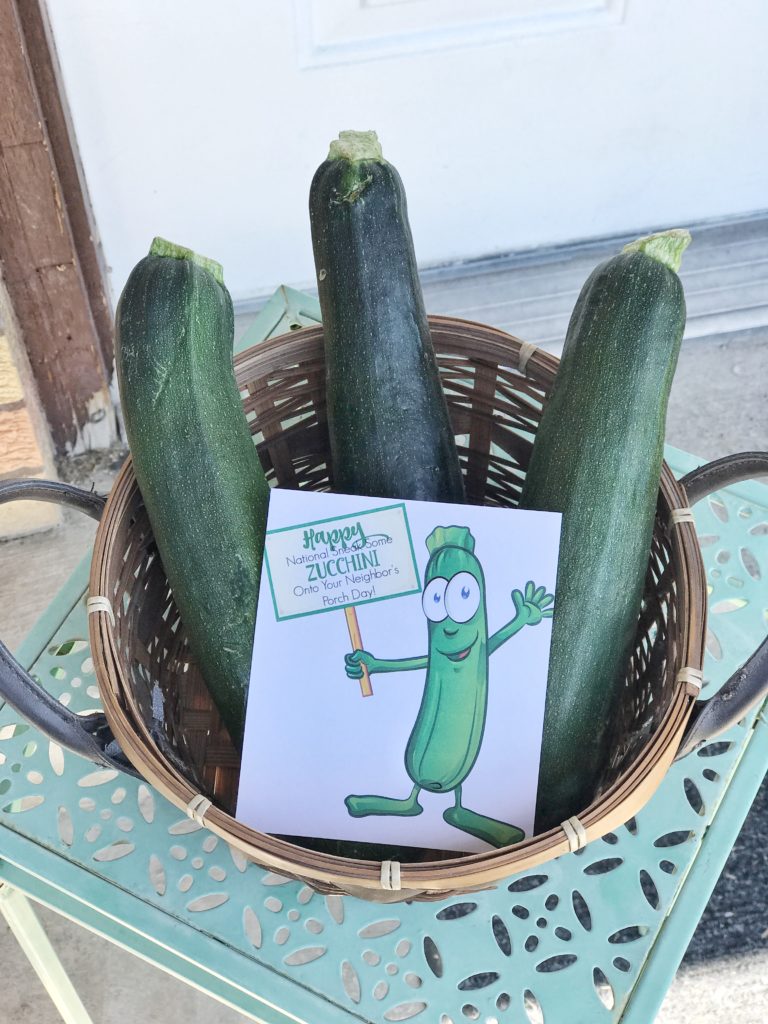 The funny thing about National Sneak Some Zucchini onto your Neighbor’s Porch Day is, what person (who has a garden) isn’t going to be over the moon excited to celebrate this day. I mean, if you were to start putting some of your zucchini abundance onto all your neighbor’s porches on just a random Tuesday people might think you were weird BUT make it a national day that you can include on a fun note and it’s perfectly acceptable to share the zucchini love!
 As I was thinking of different ways to celebrate this fun holiday I started thinking of some of my favorite zucchini recipes. I think zucchini bread has to top the list, I like to pretend it’s completely healthy because it has quite a bit of zucchini in it, perfect for those days when I’m dieting. I don’t want to make National Sneak Some Zucchini Onto Your Neighbor’s Porch Day a chore for you so I am not suggesting that you make zucchini bread for all your neighbors but you could include a recipe for zucchini bread (or cookies, cupcakes, brownies…there are so many delicious zucchini recipes) along with the needed amount (or more) of zucchini. You may just introduce them to a new favorite recipe.
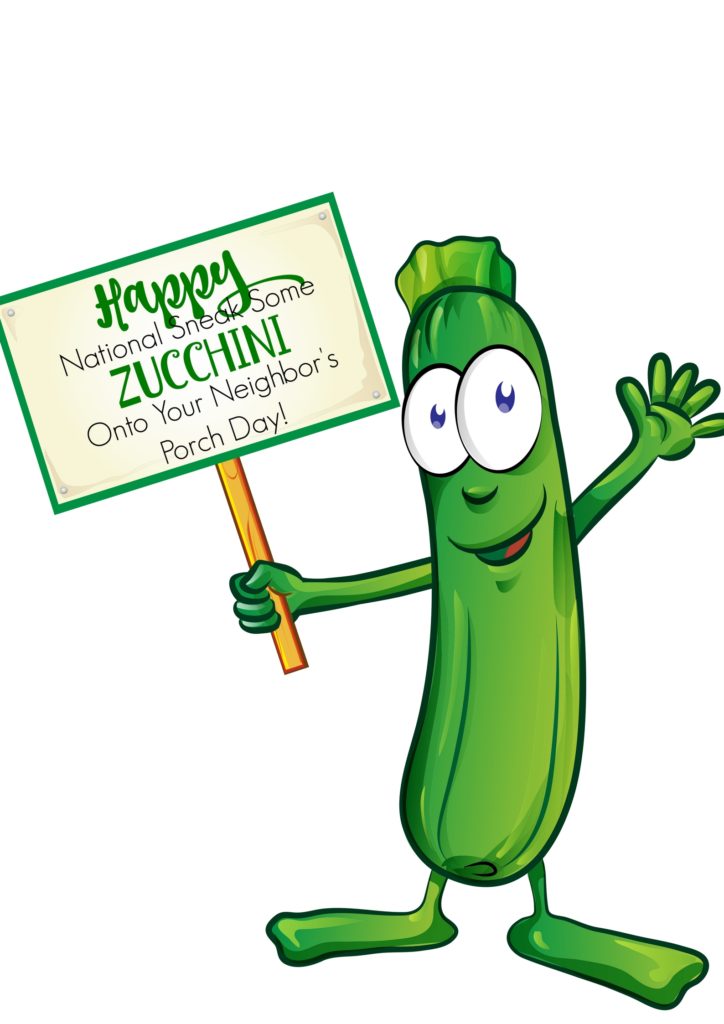
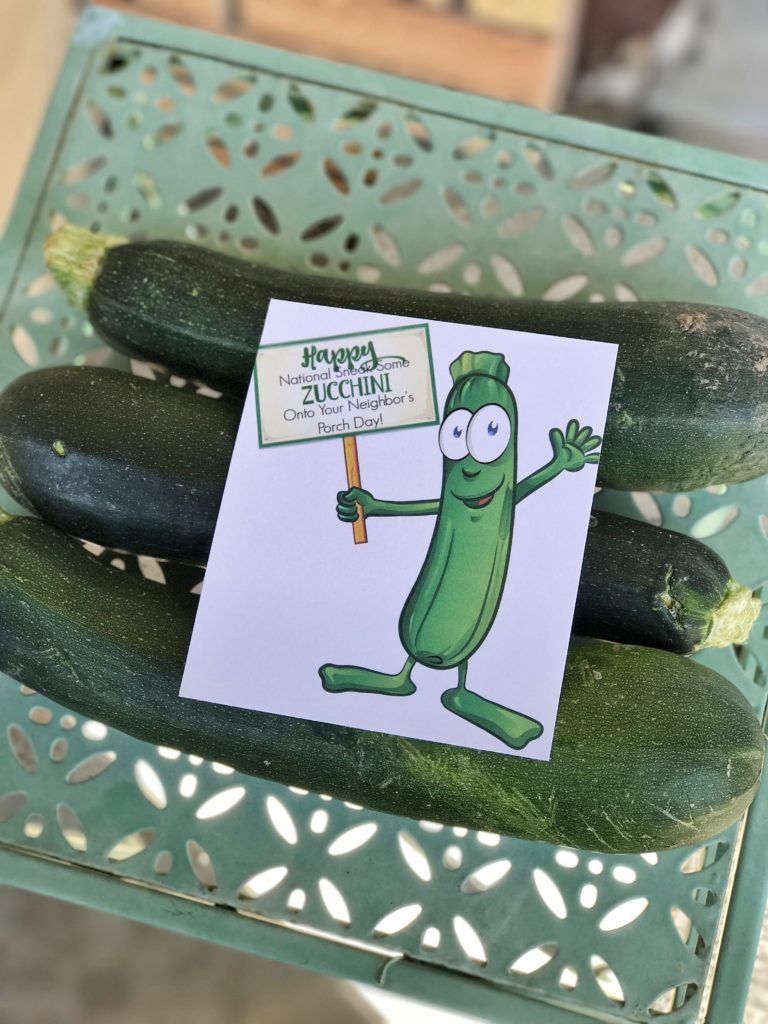
To help make this day and the giving easier for you, I’ve created this fun free printable for you to include with your bounty. CLICK HERE to print it off! I think that cute smiling zucchini would make anyone’s day brighter, he just seems to scream “Hey you, I was thinking about you today!” and everyone loves to be thought of.
I say plan ahead, don’t let this fun new holiday sneak up on you, collect your zucchini abundance, print out a few of our free printable and maybe a recipe or two and hit the neighborhood on August 8th and bring a smile to the faces of your neighbors!
If you’re looking for a fun new way to eat your zucchini you’ve got to try our Zucchini Cookies with Cream Cheese Frosting or our Applesauce Zucchini Bread both are serious crowd pleasers and are sure to have your friends and family asking for more zucchini from your garden! Check out our National Zucchini Bread Day recipe as well.

Fresh From The Garden Gift Tags
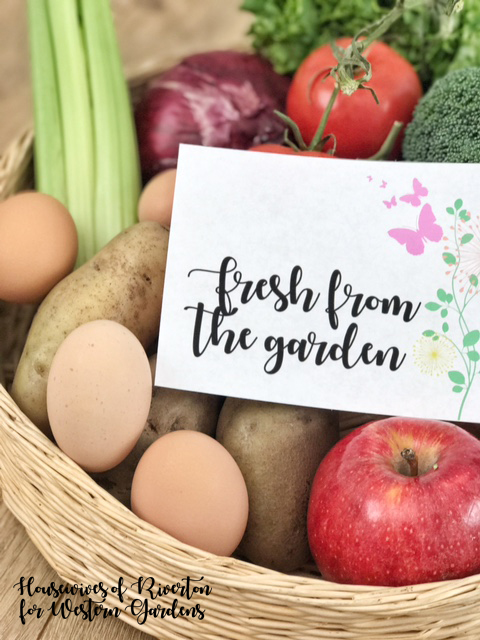
We’re heading into the very best time of the year when it comes to fresh fruits and vegetables. If you’ve got a garden you know how quickly, once things start to ripen, you can end up with lots of extras. These Fresh from the Garden gift tags may be incentive to get out and share your joy!
I have loved sharing my bounty with friends and neighbors over the years. It’s always nice when something I’m not in need of brings a smile to someone else’s face.
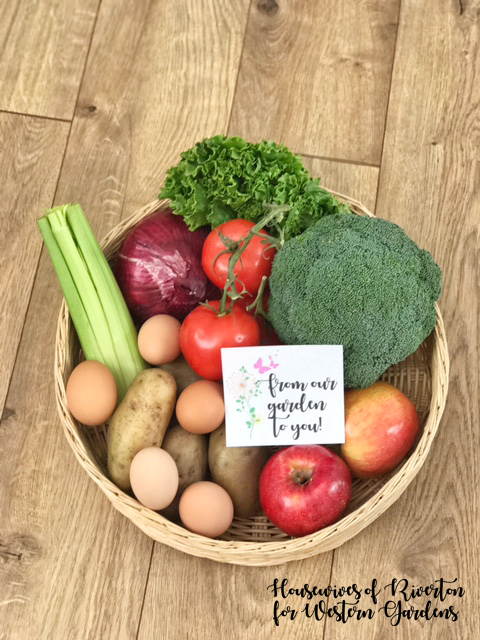
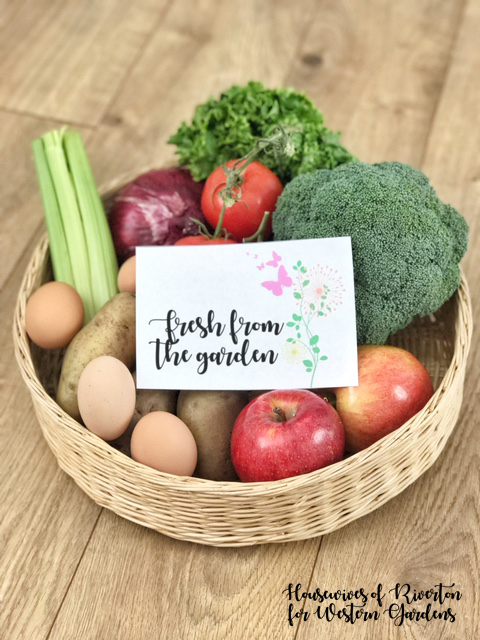
July 15th is National “Give Something Away” Day. I created these bright “Fresh from the Garden” and “From our Garden to You” printable tags to celebrate this fun day. Grab a small basket (or large, depending on your bounty), fill it with garden fresh fruits and veggies, print off a cute tag and deliver to one of your favorite people.
This would also be a cheerful tag to use with a fresh loaf of zucchini bread or other garden fresh treat.

Click HERE for the Fresh From the Garden tag.

Click HERE for the From Our Garden to You tag.
I think sharing is one of my favorite things about having a garden (and having chickens, I love sharing fresh eggs). In the past, a few neighbors and I were very intentional with our gardening. We looked at the things we knew we wanted to grow and used a lot of and then sort of split up the planting. Why would everybody in the neighborhood plant zucchini plants when we knew a couple well maintained plants would supply more than enough for us all. Same with tomatoes and cucumbers. As I’m trying my hand more at canning having a couple plants each of my own has been awesome and there is still plenty to share.
I hope you take advantage of National Give Something Away Day this July 15th. Remember while these fresh from the garden and from our garden to you tags are created for you to gift something from your garden this is also an opportunity for other ways to give something away.
Give Something Away Idea – Go through your home, find those items that are still in good repair that are just not being utilized by you or your family, then donate them as well!
Give Something Away Idea – Put together your own little farmer’s market where neighbors can gather and share their bounty.
Give Something Away Idea – Create a little swap-n-shop where people can bring things they no longer need and look through things others have brought that might be a perfect fit in their home.
You can download the free printable tags here and here. We’d love to see how you use them!
Happy Summer!!
Homemade Ketchup Recipe
WELCOME Gardener, Happy to see you here checking out a delicious Homemade Ketchup Recipe for all those tomatoes you are growing!
 Are you looking forward to summertime and all the amazing foods summer brings? I love picnics and bbq-ing, basically anything that allows me to eat outside and on dishes I don’t have to wash afterward. One consistent condiment is ketchup, it seems like ketchup goes with just about every summertime meal.
I love trying new recipes, especially recipes that are simple and include items I always have on hand. Every year we plant a variety of tomato plants and I enjoy using them in the summer and fall. Unfortunately half of my family are not tomato lovers so I find myself giving tomatoes away so they don’t go to waste. This year I am determined to learn how to can tomatoes so I can use them all year round and they’re perfect for this Homemade Ketchup Recipe.
Homemade Ketchup RECIPE:
*Whole Peeled Tomatoes, I used 1 large can Whole Peeled Tomatoes (1lb 12oz can)
(I’m looking forward to canning my own tomatoes this year to use for this recipe and many others)
*1/8 cup Apple Cider Vinegar
*1/2 teaspoon Garlic Salt
*1.5 tablespoon Honey
*1-1.5 teaspoon Mustard
*1/4-1/2 teaspoon Worcestershire Sauce
*1/4 teaspoon Black Pepper
*1 teaspoon Onion Powder (can add more to taste)
Homemade Ketchup Recipe INSTRUCTIONS:
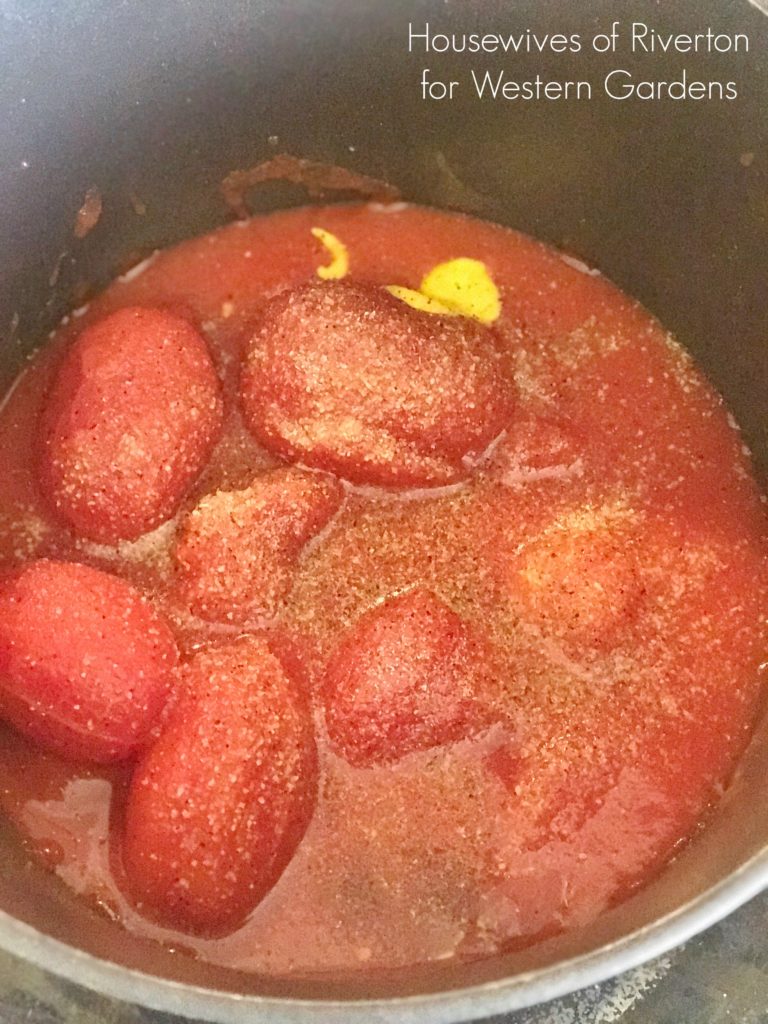
*Place all ingredients into a medium-size pot.
*Bring ingredients to a boil over medium-high heat. Once boiling turn down and simmer for 60 minutes.
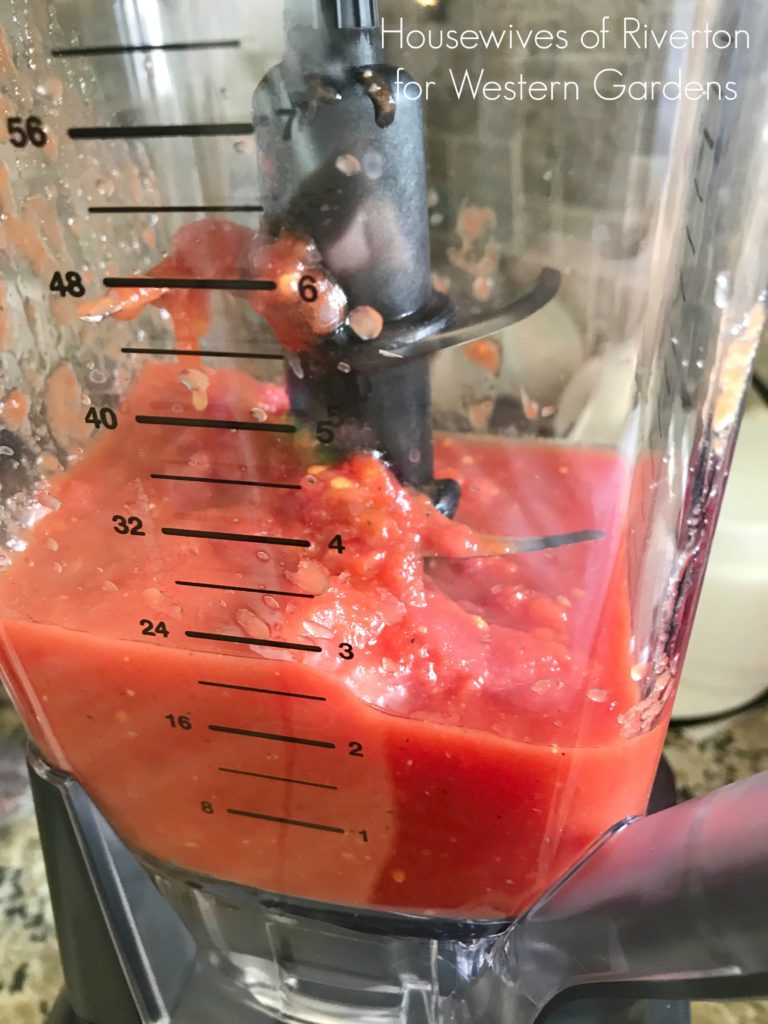
*After 60 minutes remove from heat and let cool to room temperature.
*Once cool pour into blender and blend until smooth.
*Pour into air-tight container and place in refrigerator for up to 14 days.
While this recipe isn’t the quickest it is quite possibly the simplest recipe you’ll find out there and it is delicious. I highly recommend making it a couple of days ahead of time, if you can, the more time the flavors have to blend the better it will taste. I love the rich flavor, I personally love that you can taste more of the tomato flavor and my family all loved it, even the tomato haters, so you don’t have to worry that the flavor is too strong.
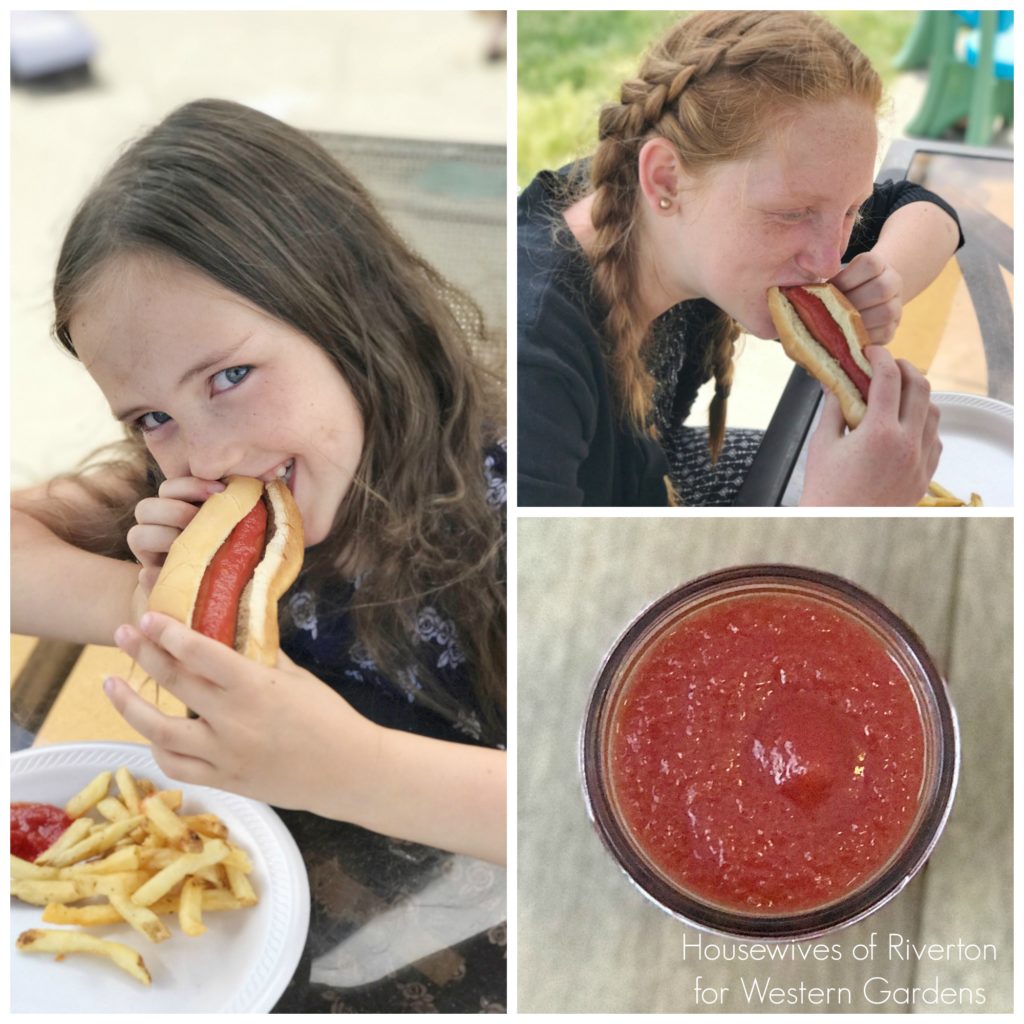
I’m excited to bring this delicious ketchup to all our summer gatherings, I can’t wait to try it in homemade fry sauce too!
If you’re planning a bbq this summer or attending one, you need to try one of these amazing salads that are serious crowd pleasers!

Mom’s Potato Salad

Chicken Pasta Caesar Salad

Spinach Salad with Poppy Seed Dressing
Gardening Tool Box for Father’s Day
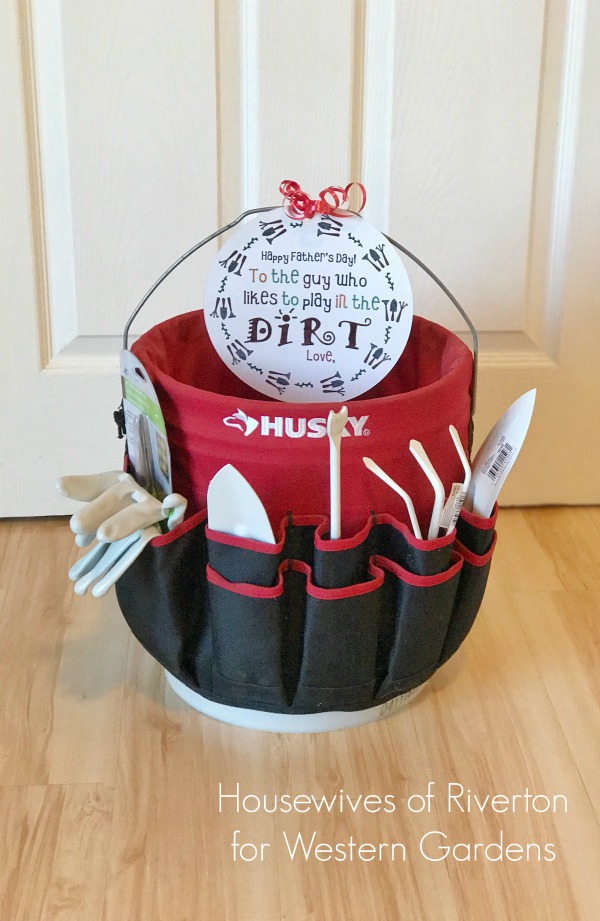 With Father’s Day just around the corner I’ve been thinking about useful gift ideas. My kids always love to give their dad his favorite candies, handmade cards/notes, a new tie, etc…all of these gifts are always greatly appreciated and graciously accepted. I thought it would be fun this year to put together a Gardening Tool Box and thanks to my local Western Gardens I was able to knock out most of my shopping in one place. I did get the Husky Bucket Jockey online (here) and we already had the 5-gallon bucket but you can find them online too (here) but the rest of the tools and many many others were all found at Western Gardens.
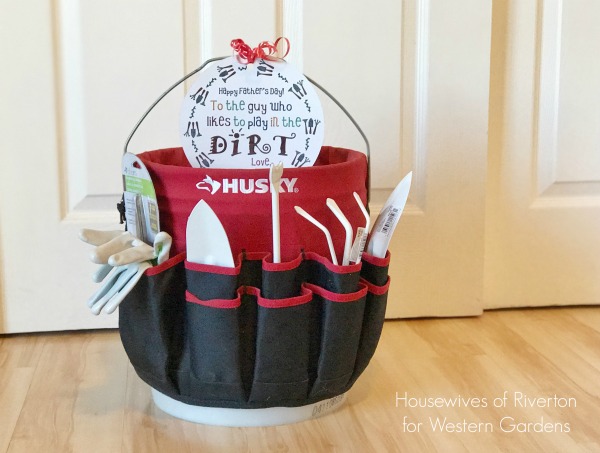
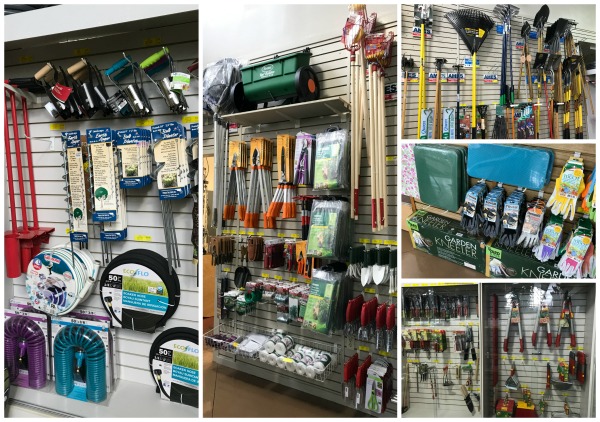 Check out all of this they have in stock, and this isn’t even everything. It was a great place to start our plan. There is a gift in the bag from each of the kids. It includes 2 different types of shovels, gloves, small rake, pruning shears, and weeder.
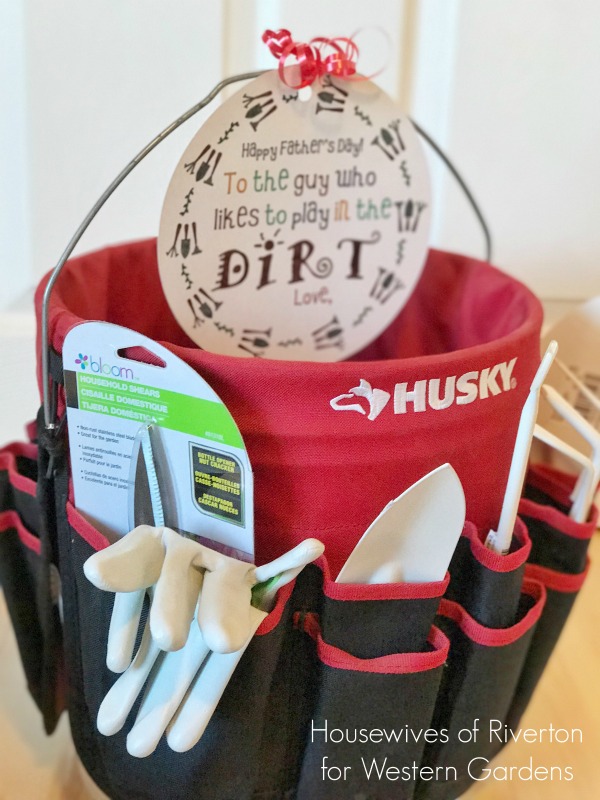 We loved the bucket jockey because it has pockets all on the outside and the inside to help keep everything organized. He can use the inside pockets to separate and organize seeds (the kids and I are each excited to pick a few different varieties to include in the kit) and being inside will keep them protected from the elements. Once the seeds are all planted the bucket can be used to easily gather weeds while out gardening or as a seat when needed.
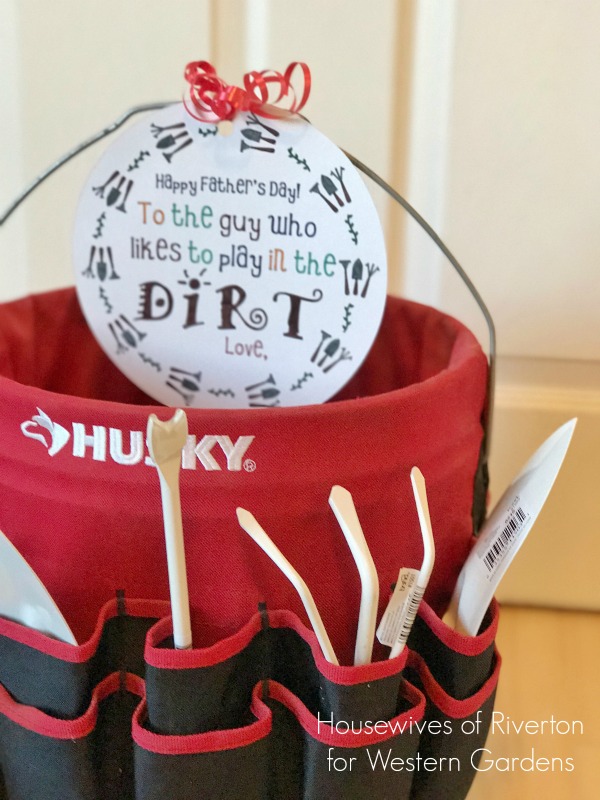
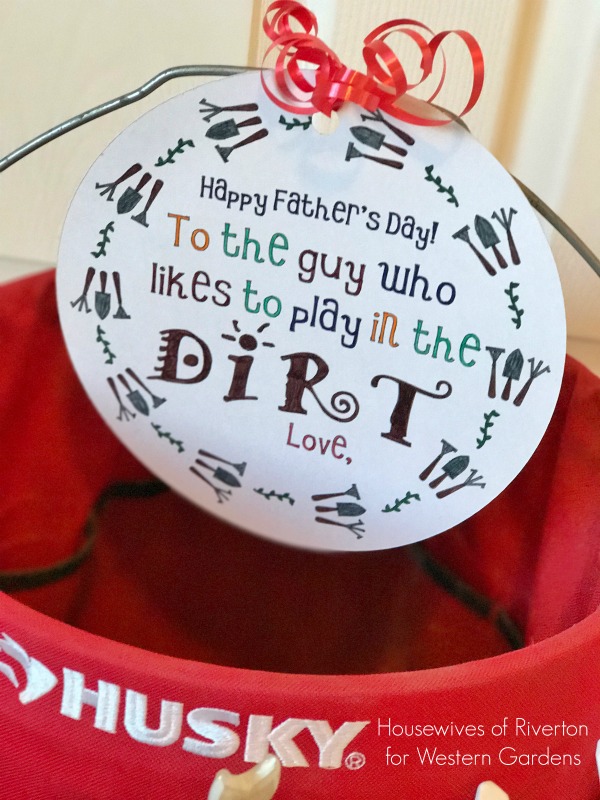 To top off the gift I created this Father’s Day tag perfect for the Gardening Tool Box. I designed it in black and white and it can be colored by the gift giver. It’s all all drawn and cut by the Cricut Explore which makes it an easy tag to make.
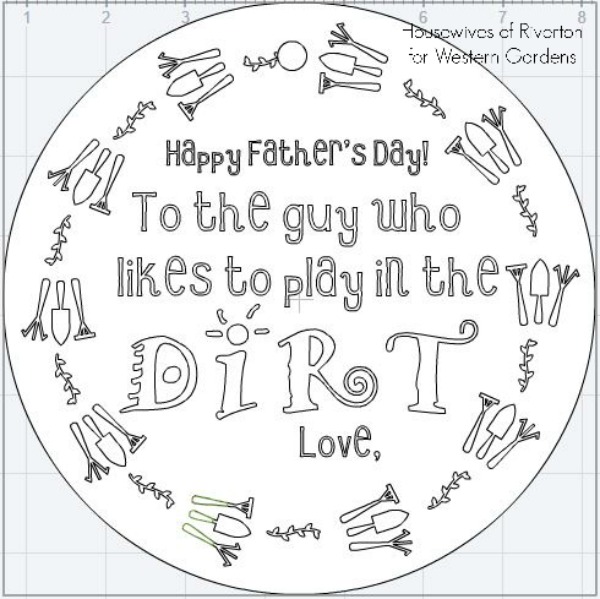
You can find the cut file here. I love the way it pulls the whole gift together. You or your kids can color it to their own liking making the gift even more personal.
I swear It seems like some gardening tools need to be replaced annually at our house, they tend to walk off to who knows where and end up missing forever. I’m really hoping that each tool having its own home will prevent that from happening this year.
If’ you’ve got a dad in your life who has a green thumb (or wishes he did) this gift is the perfect choice for this Father’s Day.

DIY Porch Planter Box for Mother’s Day
Welcome – Glad you dropped in for a great idea!
Mother’s Day is just around the corner and I’ve got the perfect Mother’s Day gift that you’ve got plenty of time to create because it is such a fast build. Your mother/wife/friend will love this DIY Mother’s Day Porch Planter Box.
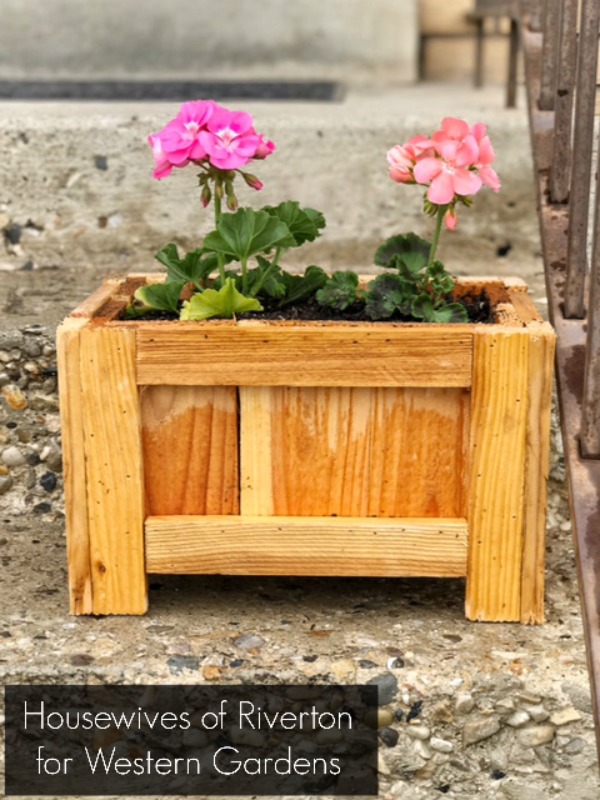 I’m pretty sure it’s a proven fact that anything is automatically cuter when it’s small. That fact holds true with this Mother’s Day Porch Planter Box. I am completely smitten with how cute it looks sitting on my steps and can’t wait to make it a couple of sisters. You’re going to love me when I tell you how easy this was to make too.
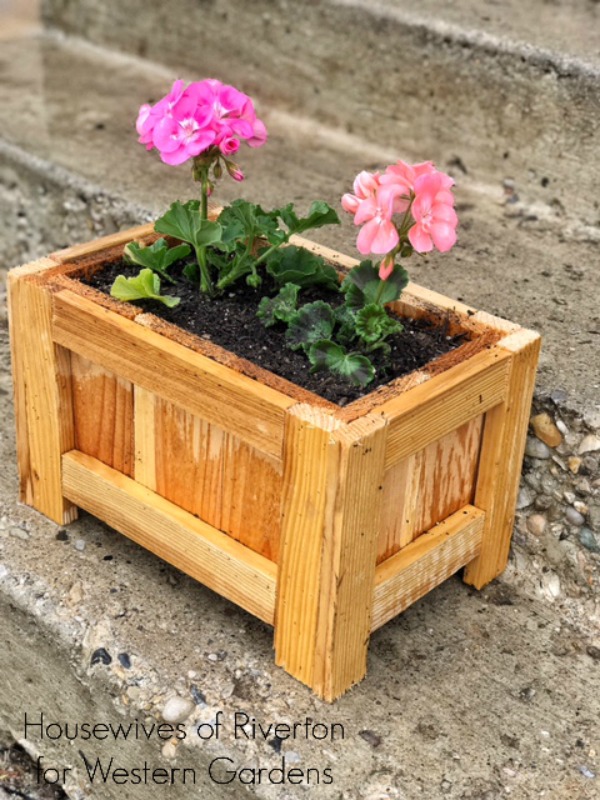
Because I wanted this planter box to be able to sit on a single step on my porch I needed to find materials that weren’t big and bulky. After walking around the home improvement store for a while and looking at the different options I went with wood fencing and stakes. Since both of these items are made to be outside in all weather conditions I figured they were perfect for this project and they aren’t bulky pieces of wood which means more room inside the box for flowers.
 Here is a good photo of the box assembly. The fencing is less than $2 a board and the stakes we had on hand but I’m pretty sure were around a dollar each. I used just over 1 fencing board and 2 stakes for one box. I think with 4 boards and 7 stakes you could make 3 planter boxes, including nails I think you’re looking at 3 planter boxes for under $20, pretty awesome if you ask me!
 I used our miter saw to cut my pieces, if you don’t have a saw at home here is your cut list and the people at the home improvement store can cut them for you.
Cut List:
10 #1 (side pieces) – 3.5″x 6″
4 #2 – (long side braces) 1.4″x 8 5/8″
1 #3 – (middle bottom) 3.5″x 11.5″
2 #4 – (side bottom) 1.5″x 11.5″
2 #5 – (short side braces) 1.5″x 5 1/4″
8 #6 – (corners/legs) 1.5″x 8″
Porch Planter Assembly:
I used a brad nailer to create the box with 1″ finish nails. If you don’t have a nail gun you can use tiny nails and a hammer to create the box it’ll just take a little more time. These nails are perfect because they’re easily painted over and hidden if you choose to paint your planter box.
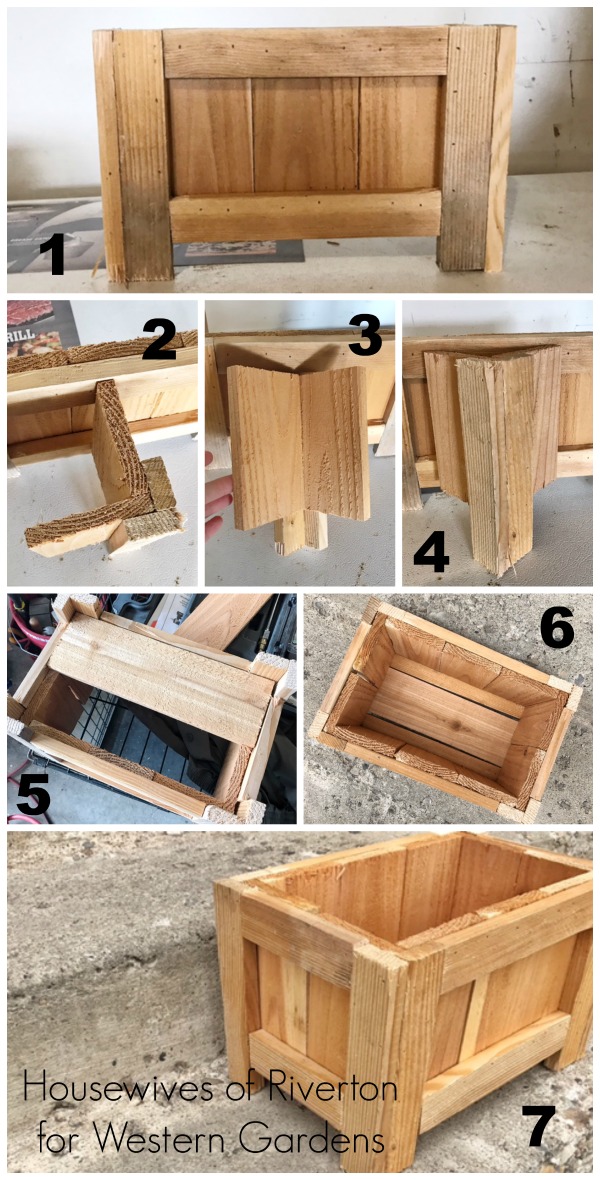
To create my planter box I started by creating one side as shown in photo 1.
Once I got that side done I created the corners as shown in photos 2-4.
When I had the corners done assembly was easy. I placed the side brace against one corner piece and then nailed into place.
When it was attached I then placed the next side piece in place and attached it to the side brace.
Photos 5 and 6 show the bottom of the planter box. As you can see in photo 5 there isn’t quite enough room for 2 pieces of fencing on the bottom. Photo 6 shows how perfect once piece of fencing and two pieces cut from a stake fit leaving enough room between the pieces to allow water drainage.
As you can see in photo 7 I wasn’t too worried about a perfectly smooth surface, you can sand and paint/stain as desired, I love the little more rustic look so this was perfect for me.
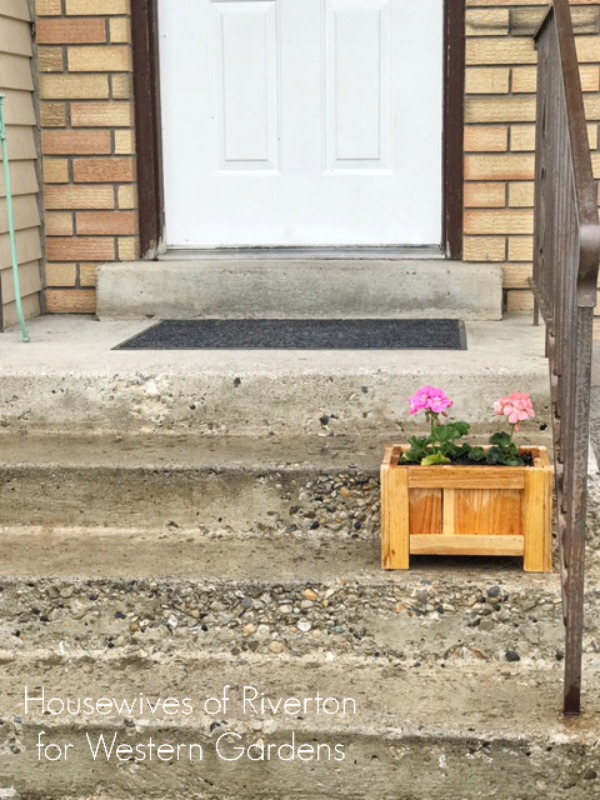 Can’t you just picture a few more of these darling little planter boxes leading all the way up the stairs. I can’t wait to get them all finished and filled with beautiful flowers from my local independent garden shop Western Garden Centers.
You can easily make this planter box and fill it with flowers for less than you would spend on a bouquet of cut flowers for Mother’s Day and they’ll last all season long and the planter for years to come.
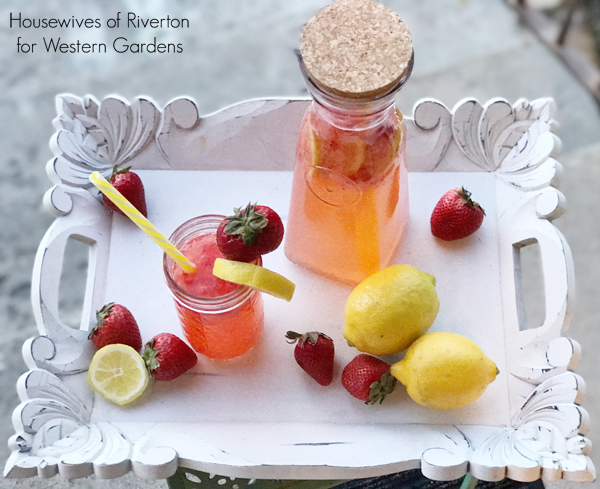
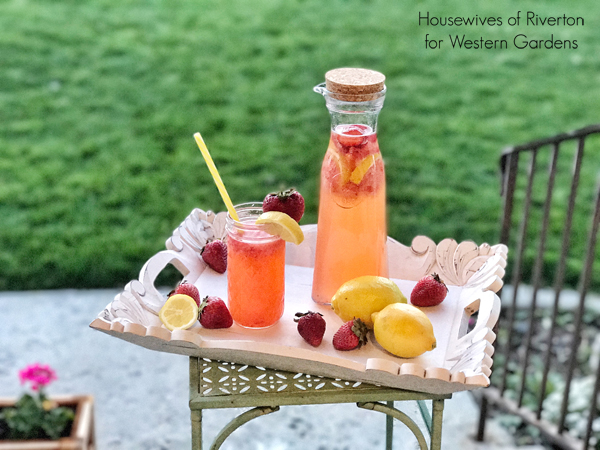
Fresh Squeezed Strawberry Lemonade Recipe
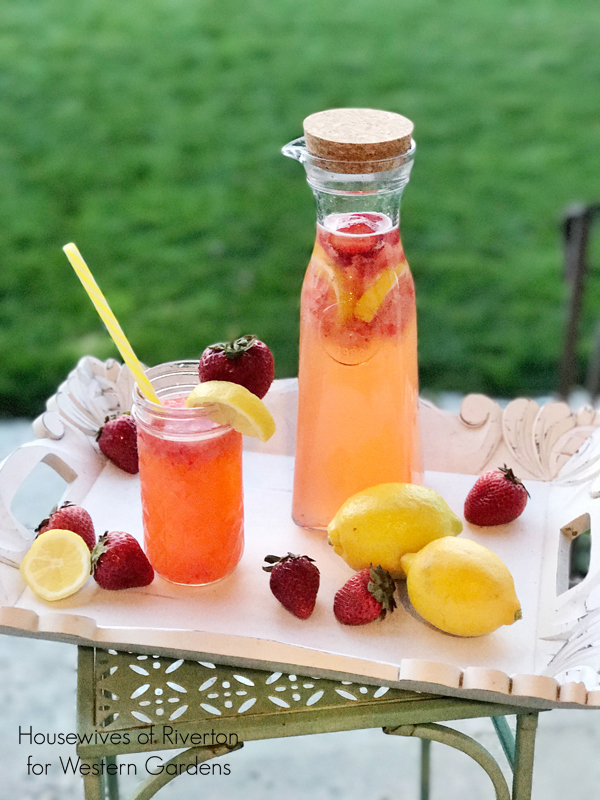 Did you know that May is National Strawberry Month and that May 20th is National Strawberry Picking Day? As if those two things weren’t the best on their own, the first Sunday in May is also National Lemonade Day. As Strawberry Lemonade is my very favorite drink I was excited to come up with the perfect Fresh Squeezed Strawberry Lemonade recipe. If the reviews from my whole family are to be believed I have succeeded with perfection.
 The recipe is simple and delicious, you’re going to love it and love me for sharing it with you.
Fresh Squeezed Strawberry Lemonade Recipe:
1 cup sugar
1 cup cold water + 5 cups cold water
4 lemons + 1 lemon
Approximately 10 large strawberries
(or per your taste, more for garnish)
 Recipe directions:
In small sauce pan combine 1 cup cold water and 1 cup sugar. Bring to a boil and stir to dissolve sugar. Remove from heat and let cool to room temperature and the place in refrigerator to chill.
While sugar mixture is chilling squeeze the juice from 4 lemons (approximately 1 cup). You’ll want to remove the seeds but keep as much pulp as possible.
To get the most juice from your lemons before cutting heat them individually in the microwave for 15-30 seconds then roll back and forth across the counter. Then slice in half and using a juicer get as much juice out of them as you can collecting in a dish so you can measure that you have right about 1 cup.
Next remove stems from approximately 10 strawberries, wash, and then mash.
In pitcher combine 5 cups cold water, lemon juice, mashed strawberries, and chilled sugar mixture. Stir well.
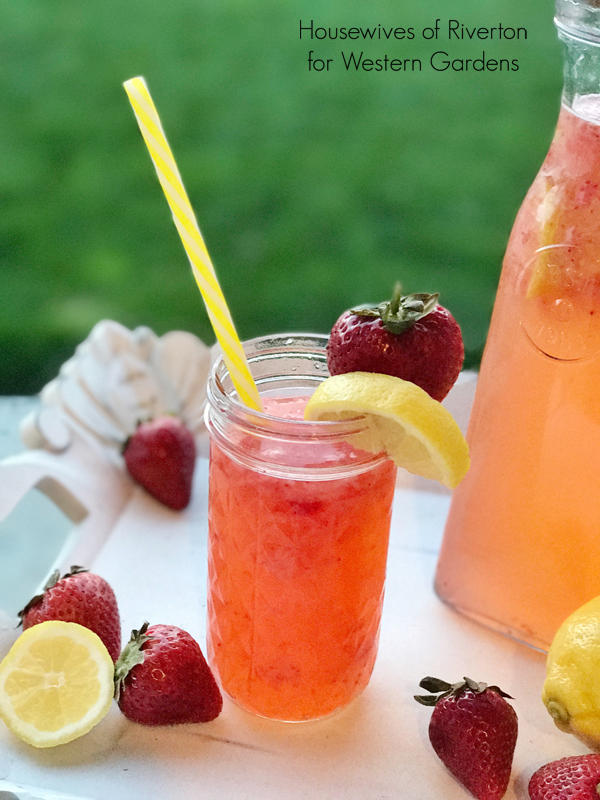
Strawberries will float to the top so be sure to give it a good stir before serving.
I included extra strawberries and lemons to the recipe to use as garnish in both the pitcher and on cups.
 This Fresh Squeezed Strawberry Lemonade recipe is so refreshing, not too tart or sweet, the perfect combination. My whole family was so excited about this recipe that we’re looking forward to picking up our own strawberry plants to put in our garden this year and did you know that you can grow Lemon Trees indoors?
During a recent trip to Western Gardens I was talking to a woman and she gave me some pointers on how to keep a lemon tree alive here in Utah. Western carries some lemon trees and I will be getting one as soon as I do a little more research on being an indoor bee. I don’t think my family will agree with me just letting bees live in the house. I’m actually looking forward to giving it a try, I’m imagining Fresh Squeezed Strawberry Lemonade made from lemons and strawberries we grew on our own, doesn’t that sound awesome?
 I hope you enjoy this recipe and that it adds to your strawberry and lemonade appreciation month. It has already added to ours.
Use Living Flowers for Centerpieces during Easter and Spring
 It’s pretty safe to say the very best part of Spring is the beautiful living flowers for centerpieces. I love having fresh flowers in and around my home. I love the instant brightness they bring and the amazing smells…it’s like bringing sunshine right inside the house.
As I plan my spring and Easter decor I love to plan for flowers anywhere and everywhere I can. While I love a beautiful spring bouquet I especially love finding ways to use fresh flowers inside that I can then transfer outside so they can continue to grow and beautify my home.
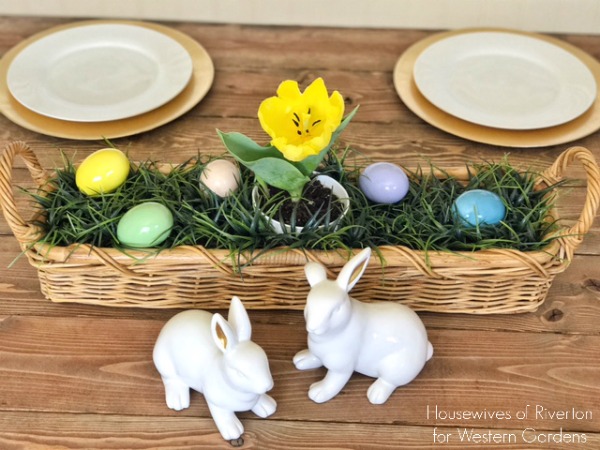 First up I have this adorable Easter Table Centerpiece. Using just a few items (many you may already have on hand) you can create the perfect centerpiece for your Easter dinner that will last for years to come because you can take that Tulip bulb and plant it in your yard!
Easter Table Centerpiece Supplies:
Basket
(I used a long skinny one I had on hand, you could use any variety)
Fake Grass
(or real grass if you plan ahead and grow some – see growing Wheatgrass)
Small Bucket
Fake Eggs
Ceramic Bunnies
Live Flowers
(I used a tulip, but again any flower would work. Dainty primroses and colorful pansies are also great living flowers in centerpieces.)
First gather your supplies, plant your flower in the bucket and then place the bucket in the center of the basket and arrange your fake grass. Once you have the grass arranged place fake eggs in the grass, mine had a hole in one end so I made sure to place the egg so that wouldn’t show.
I used two ceramic bunnies in front of the basket to bring the whole Easter look together. Simple and oh so cute.
Once bunnies and Easter eggs are past being in season it’s time for a new Spring Centerpiece to take over the table.
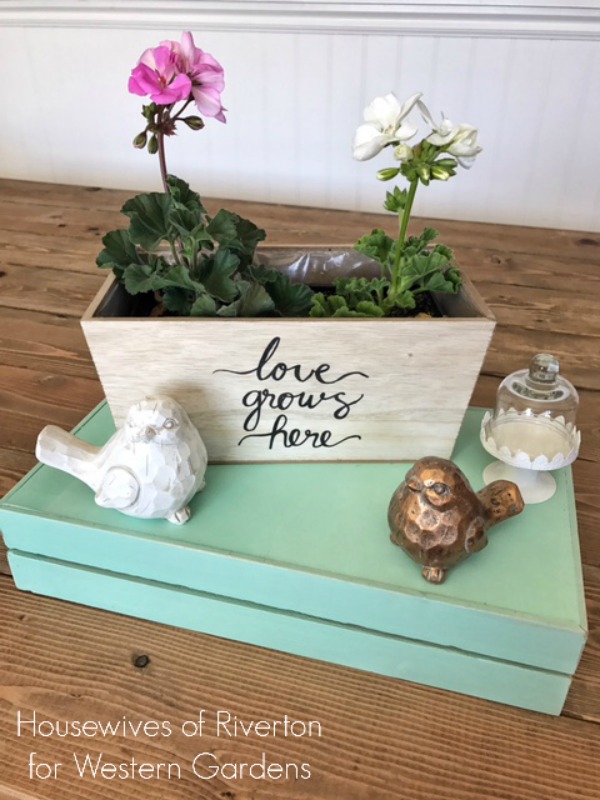
Spring Table Centerpiece Set Up:
I found this cute blue crate at Target and flipped it upside down then added these little chubby birds and tiny cake stand from Hobby Lobby. The Love Grows Here crate is also from Target and I love that it comes lined with plastic so adding flowers that need watering won’t damage it or anything under it.
I added two geraniums in their little plastic store bought containers, they are a perfect fit!
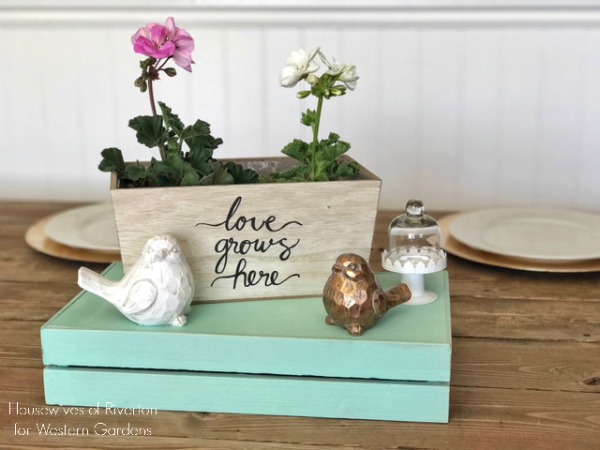
While I love love love how both of these centerpieces turned out I think my very favorite part is that when I’m ready to make a change for the next season/holiday I get to plant these flowers outside and watch them continue to grow, I don’t have to throw them away in 7-10 days like we have to with cut flowers.
I highly recommend finding ways to bring living flowers into your decor. I promise they’ll put a smile on your face every time you walk past them.
Red, White & Blue Patriotic Flower Pot
Hi friends, thanks for stopping by!
 Do you love unique, patriotic outdoor decor? Especially when flowers are involved? Me too!
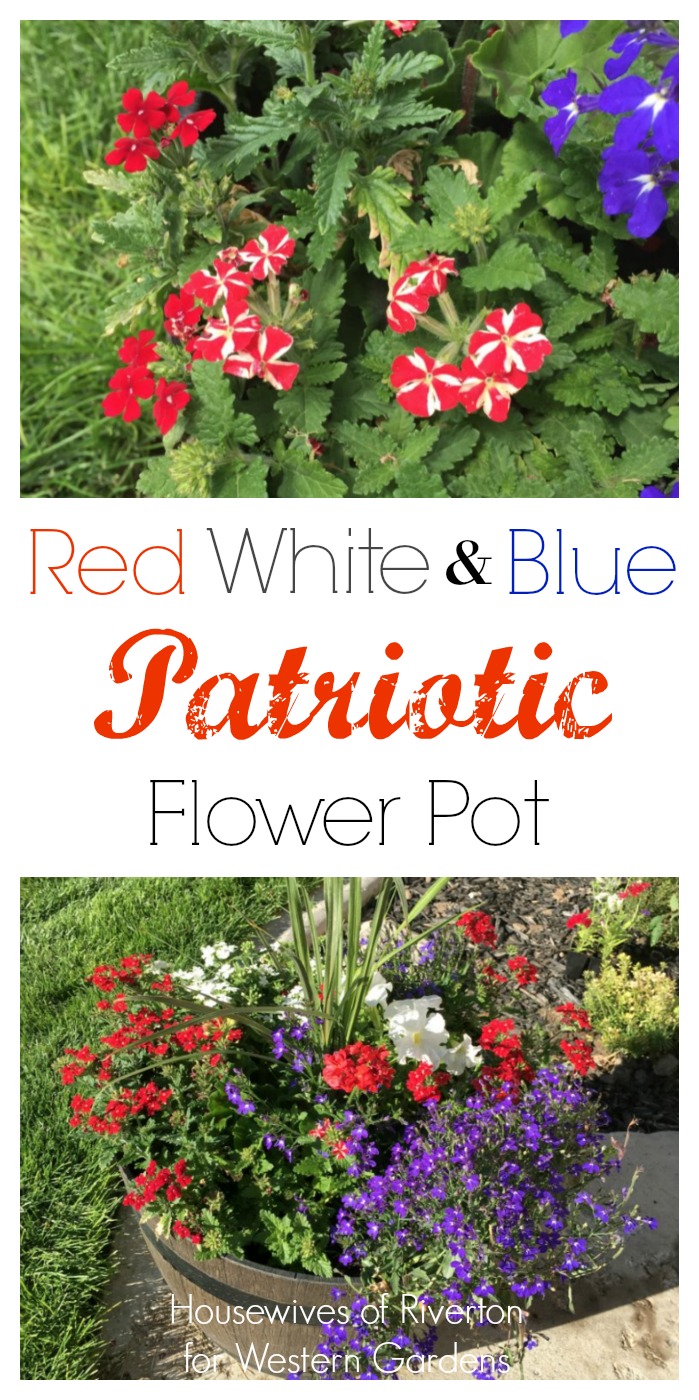
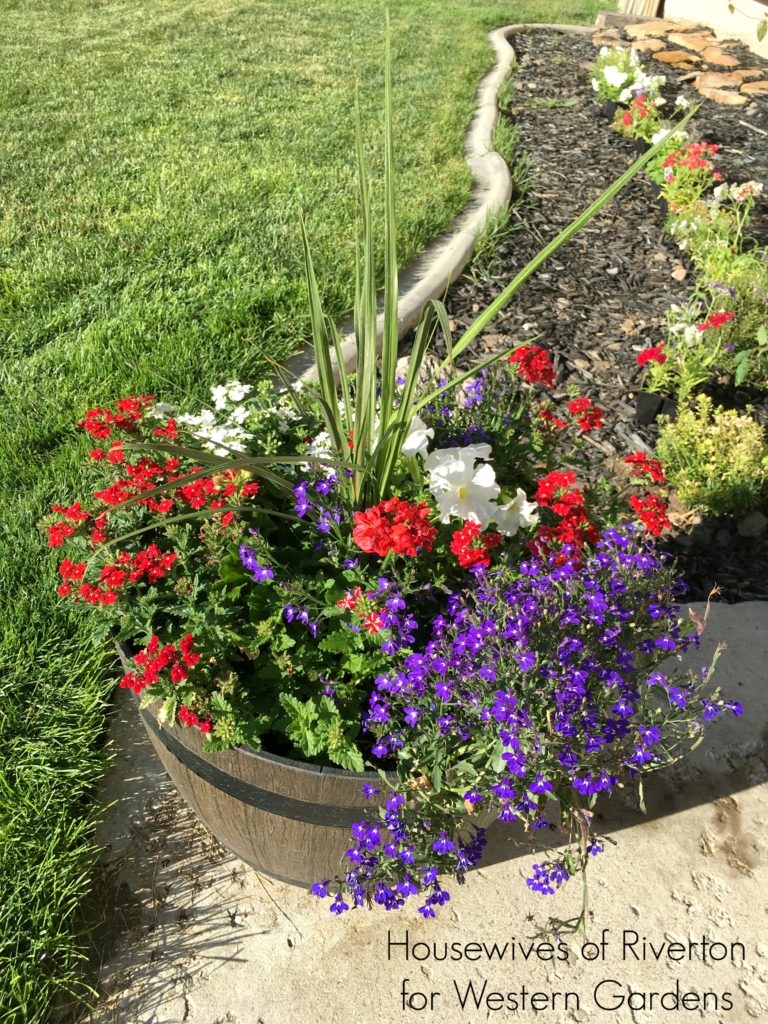
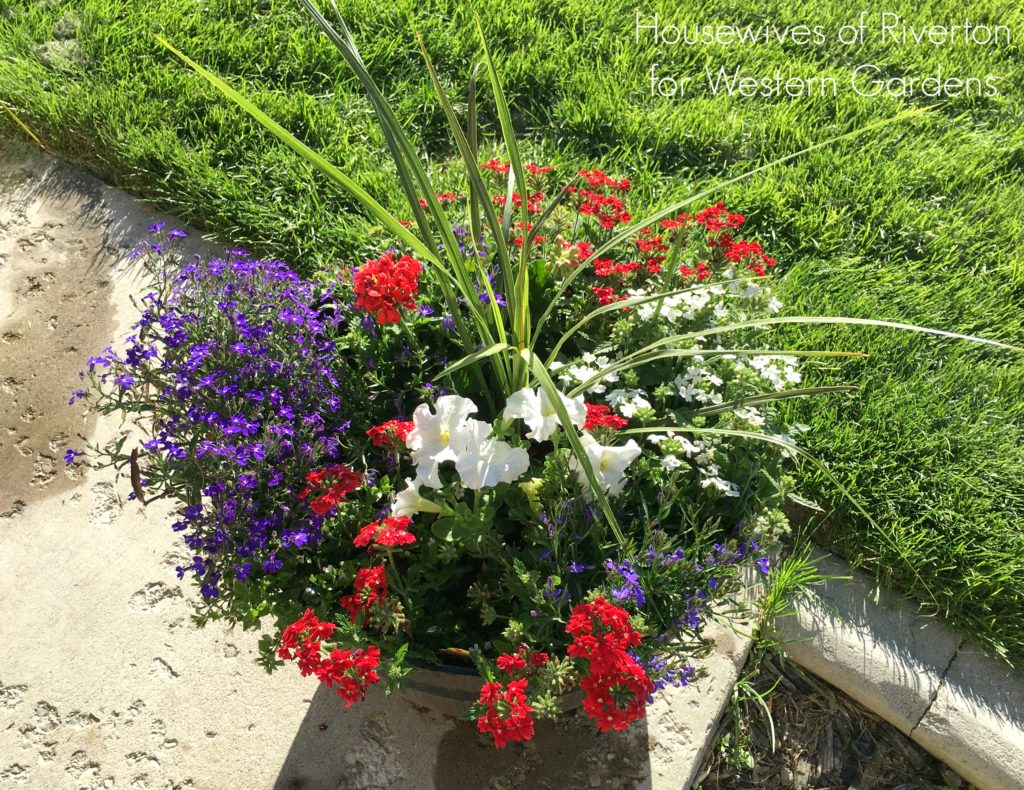
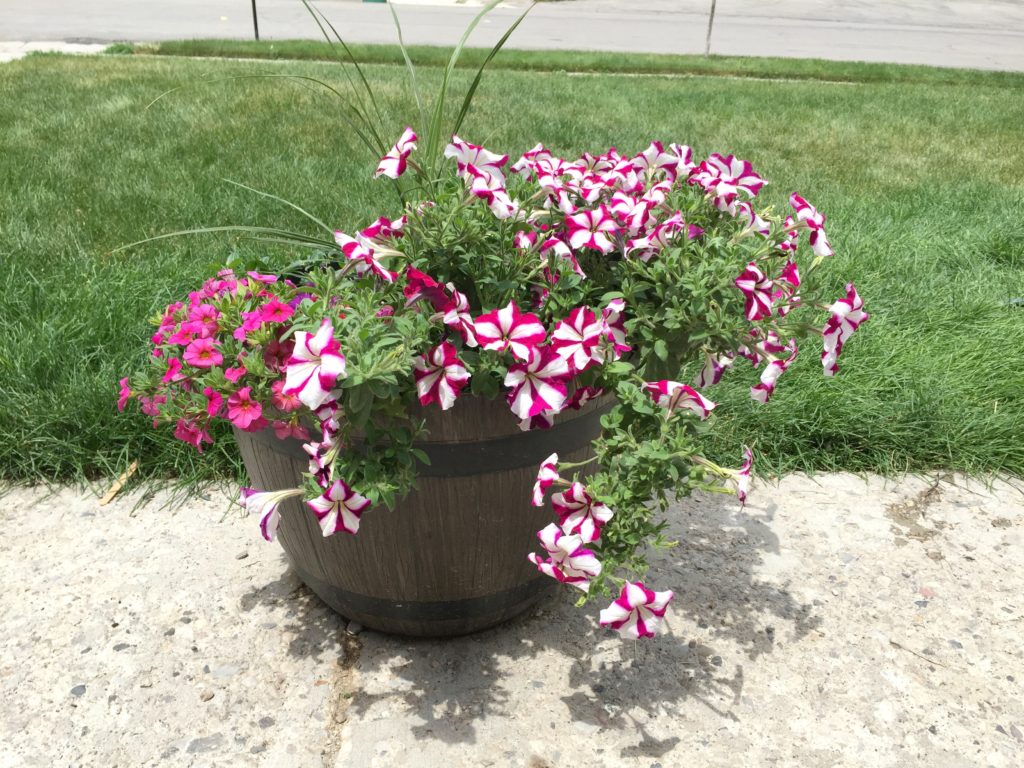
When I started my flower pots this year I knew I wanted a red, white & blue patriotic flower pot. I love how all the colors look together and I love how this variety of flowers blend in this container. The colors, the flower sizes & styles, and the greenery all just work perfectly.
 I’m so happy with how my pots are doing this year! I know that learning the proper steps from the Garden Solution Experts at Western Gardens has really increased my success, and because of how well my plants are doing, I keep wanting to plant more and more!
For a perfect flower pot in Red, White and Blue, start with your choice of pot (make sure it has drainage holes in the bottom). Fill your pot 1/3 full with packing peanuts (this helps with drainage and takes up space without adding weight to the pot) and then fill another 1/3 full of fresh potting soil (I use Gardener’s Gold). Lay your plants out how you want them to look in the pot before removing them from their plastic containers and filling the rest of the way with potting soil.
Red, White & Blue Patriotic Flower Pot:
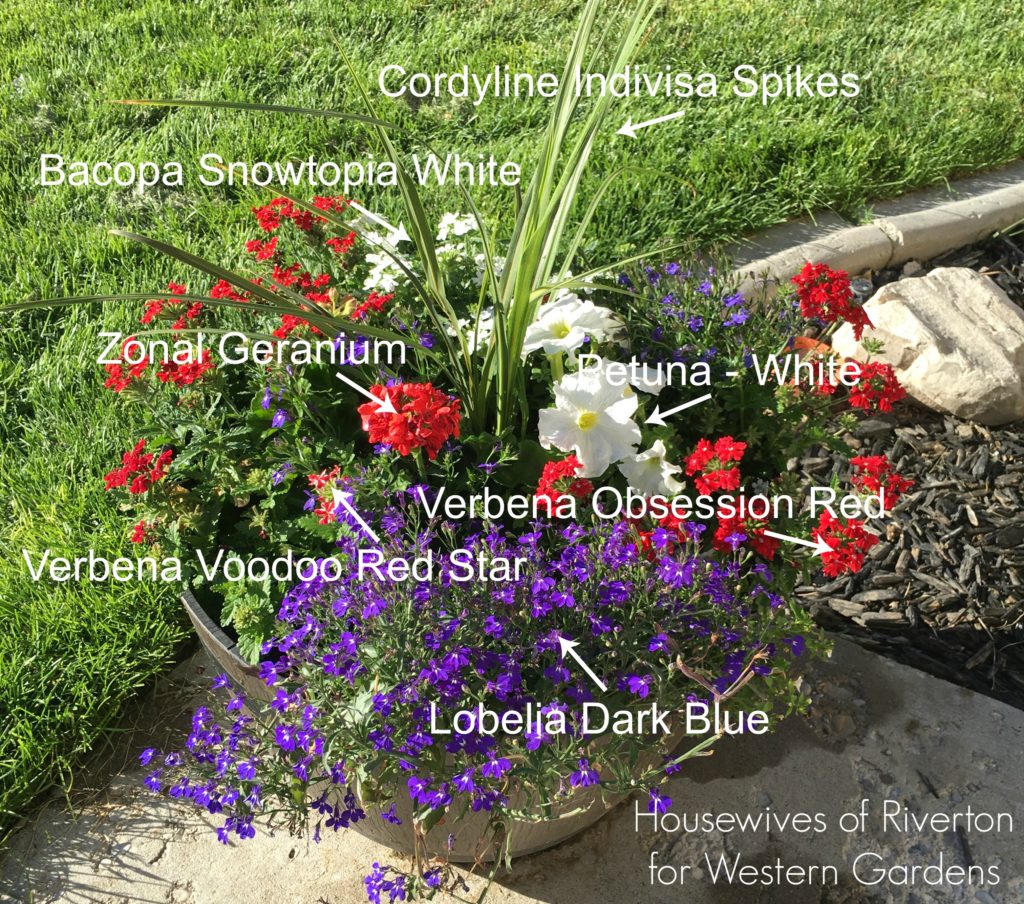
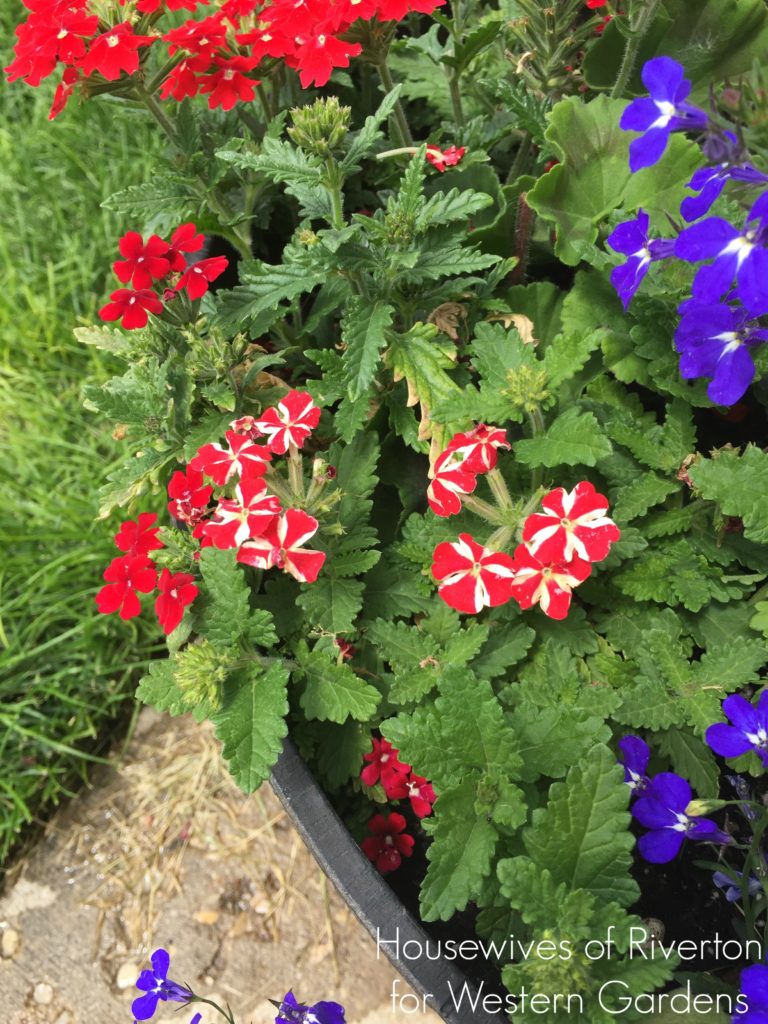
Red – Verbena Voodoo Red Star, Verbena Obsession Red, Zonal Geranium
Blue – Lobelia Dark Blue
White – Petuna and Bacopa Snowtopia White
Green – Cordyline Indivisa Spikes
Both the Cordyline Spikes and the Zonal Geranium are the thrillers for this pot. My spillers are the Bacopa Snowtopia White and the Lobelia Dark Blue. The fillers for this pot are White Petunia and Verbena Voodoo Red Star and Verbena Obsession Red.
I planted the Spikes and Geranium in the middle of the pot and then laid my other flowers out in a red/white/blue pattern around the outside. It has all filled in so perfectly, I just love it!
I’m excited to create a smaller table top version of this pot for my 4th of July decor. It’s hard not to create 20 of these pots to line the whole front of my house, they’re just perfect for the summer!
For more 4th of July fun check out these projects!
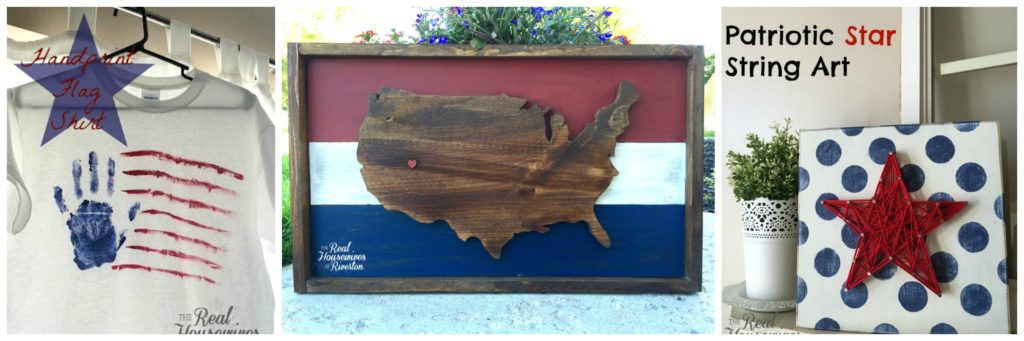 Hand Print Flag Shirt – United States of America Wood Sign – Patriotic Star String Art
DIY Garden Markers
Hi there! I’m so glad you stopped by today!
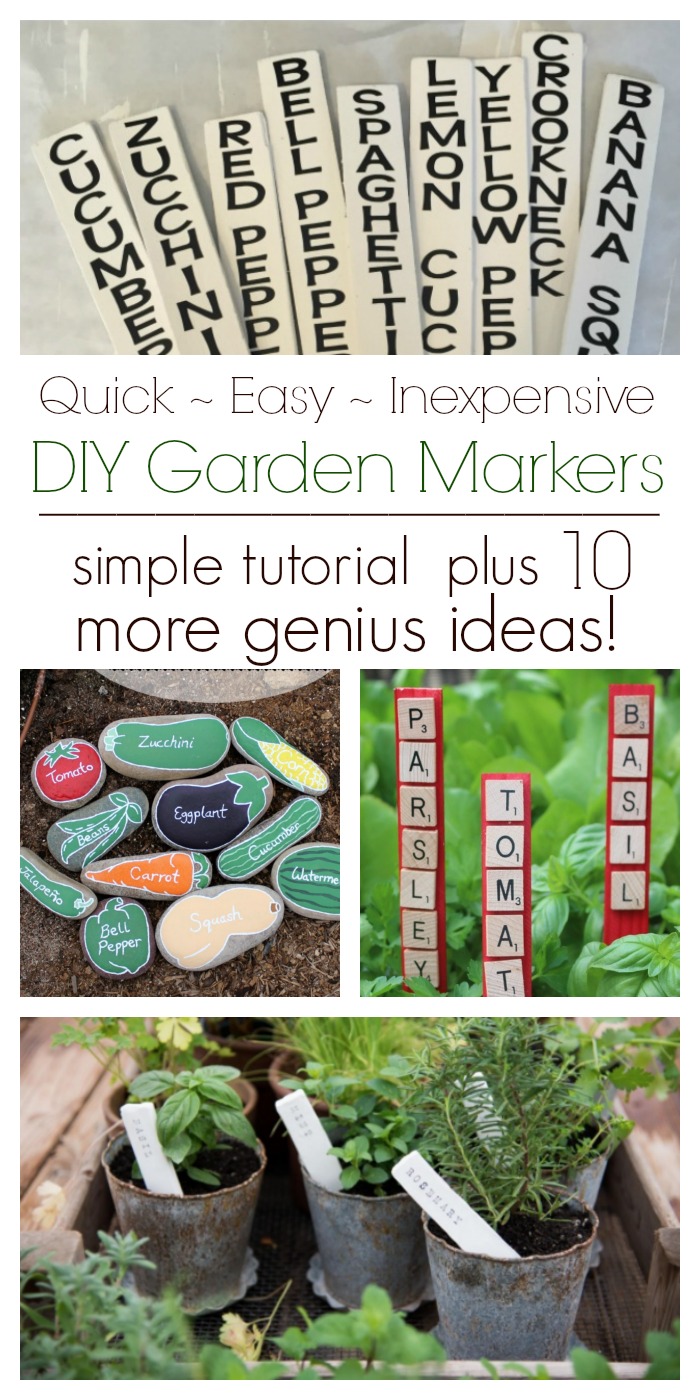
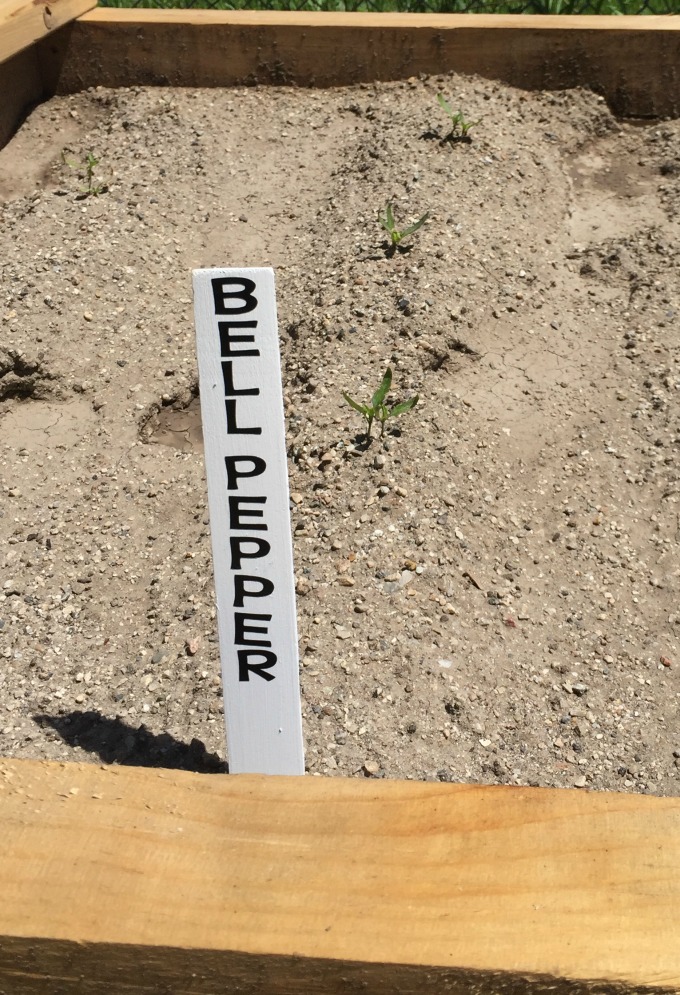
Are you looking for an easy (and nearly free!) way to mark your veggies in the garden? I have a simple idea for you! Because if you’re like me, you probably won’t remember what you planted and where it went…but these DIY garden stakes will keep you organized and excited to see what veggies you’ve got coming.
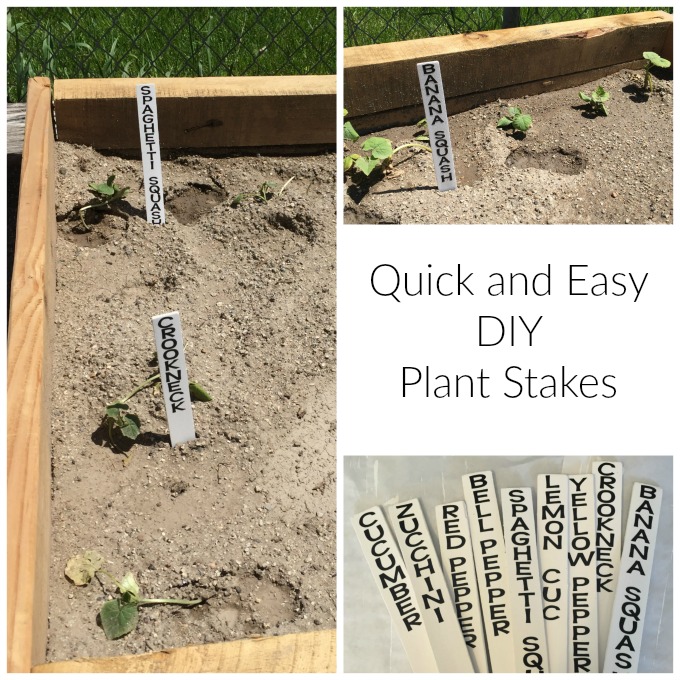
This year we built some raised garden boxes to grow our veggies, and I can’t wait to see them overflowing with produce! And I’ll know exactly what I have since these DIY garden stakes are so easy to see and read.
 I was working on another project recently, and I mentioned it to the employee at my local paint counter. She passed me a handful of stir sticks and said, “I think these might work for your project!” And she was right! Since then, when I’ve got a project to create, I consider what free items I can use. For my DIY Garden Stakes, I headed back to the paint counter and requested some paint stir sticks. I love how obvious it is that I’m not the only person who asks for stir sticks but no paint…without batting an eye, they just pass them over!
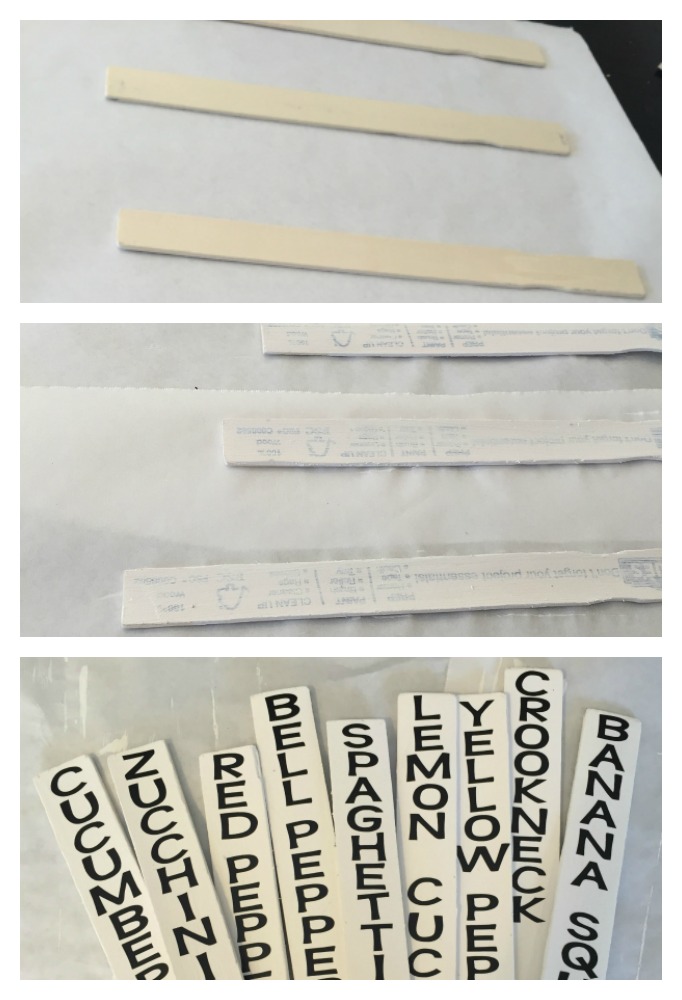
DIY Garden Markers
- Lay paint sticks out on wax paper (the paint doesn’t stick to the wax paper, making it easier to flip the sticks over).
- Paint with an exterior paint, for added durability (it’ll take a few thin coats to cover the stamped print on sticks, but if you don’t care about the back side being painted, you can get away with one coat).
- When the paint is dry, use outdoor vinyl and a vinyl cutter (like a Cricut machine) to cut out the names of each of your plants, and attach them to one end of the stir stick.
- If you don’t have a vinyl cutter, use a Sharpie to write the veggie names.
- Use as is, or cut the ends of your paint stir sticks to a point, to look more like a stake. I didn’t need to do this since my soil was soft enough to push my markers in without a point.
I love how they look in the garden! The bright white with the easy-to-read black print makes me smile each time I walk out to the garden.
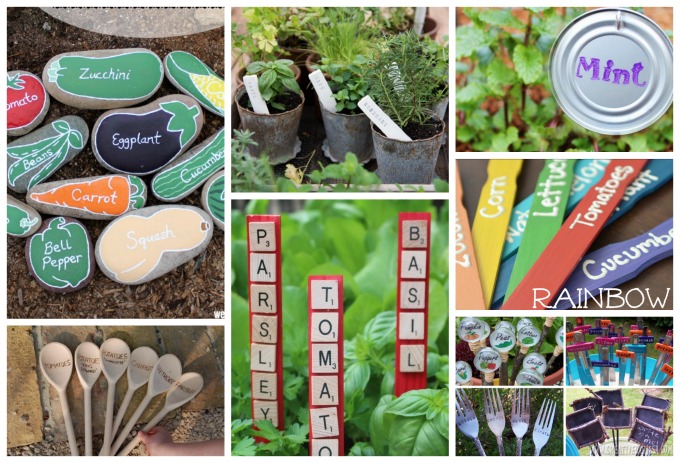
Looking for even more garden marker inspiration? Click the image below to see 10 cute, easy and inexpensive ideas!
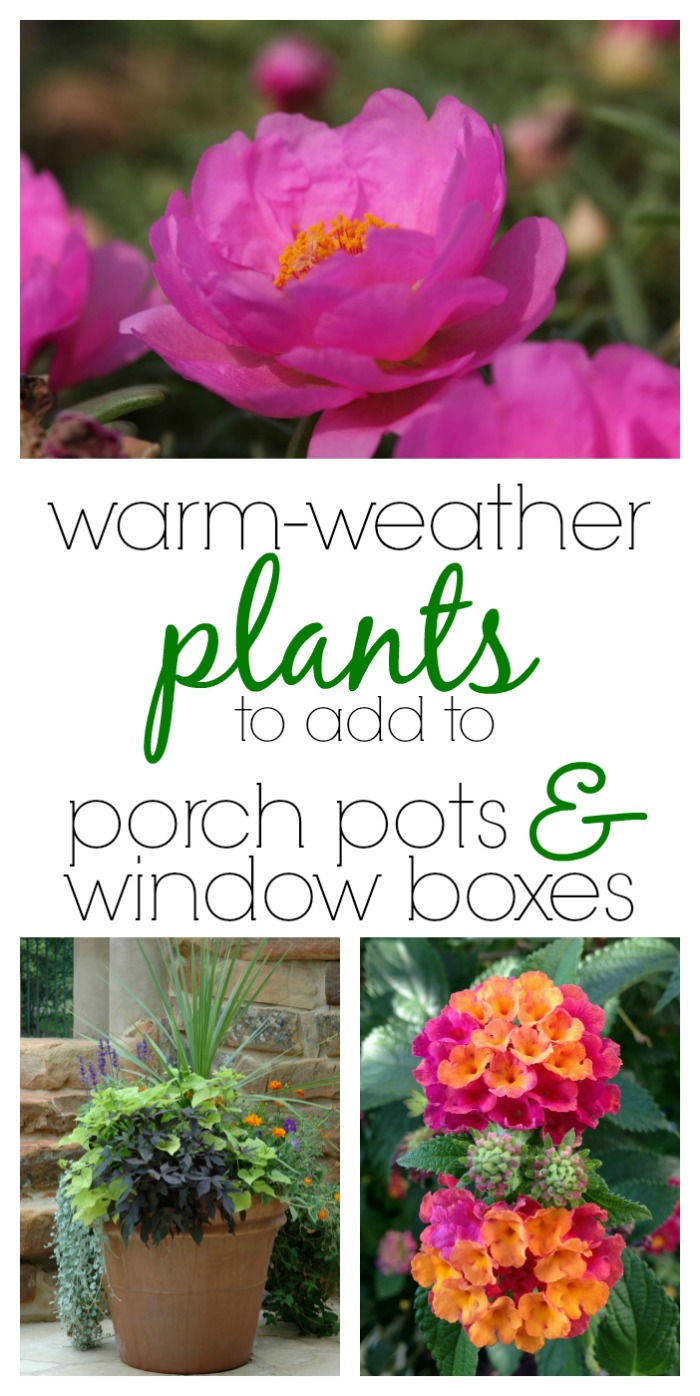
Warm Weather Plants for Porch Pots
Hi there, I’m so glad you stopped by!
Did you start your porch pot or window boxes early in the Spring? Are you ready to refresh your plants that may look a little past their prime, and get some warm-weather flowers in there? Then you’ve come to the right place! I’m sharing some of my favorites flowers to freshen up my pots.
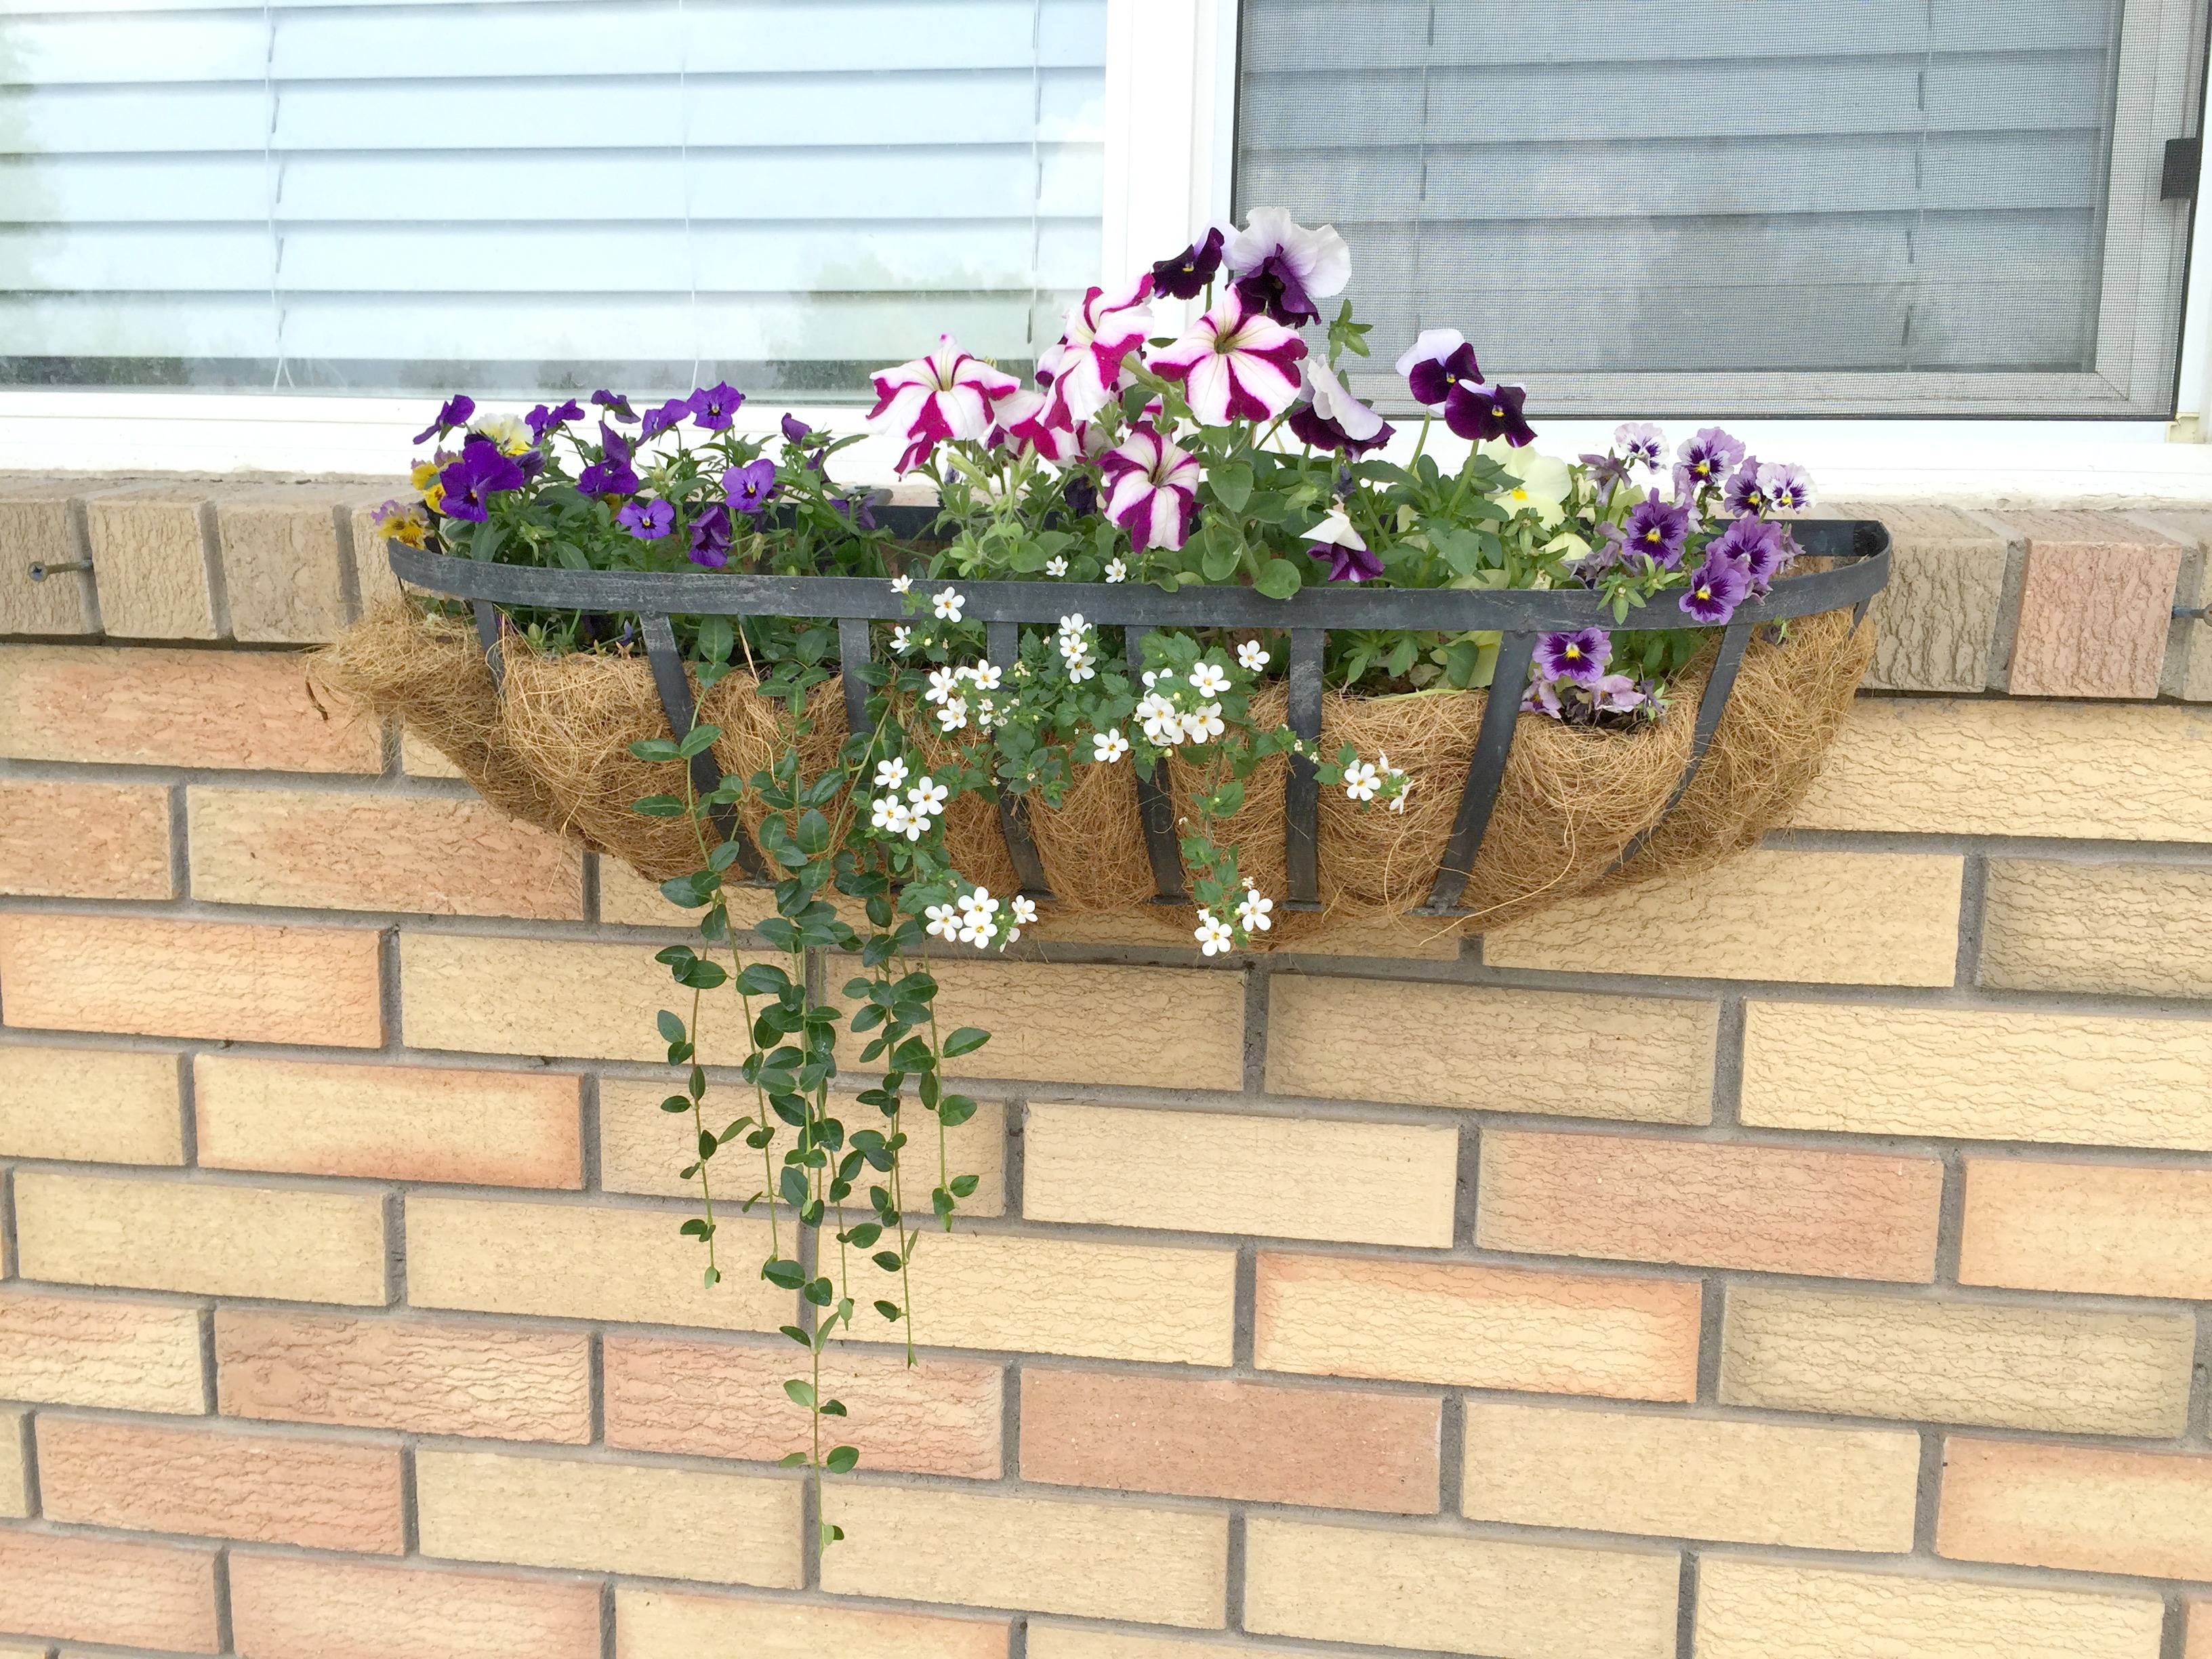
This year I started my flower pots and window boxes early (you can see how my window boxes started here and how my pots started here). I loved finding plants and flowers that brightened up my porch while we still had unpredictable weather with snow and cold snaps.
Now that we’re in to summer, it’s time to add warm-weather plants to my pots and window boxes…plants that will do well in the heat of Utah summers.
I’m sharing 10 gorgeous flowers that do well in the heat and will really make your pots and window boxes stand out this summer!
Warm-Weather Plants for Porch Pots:
- Petunias
- Hawaiian Mahalo
- Bacopa Snowtopia White
- Pentas
- Lantana
- Million Bells
- Sweet Potato Vine (gorgeous for spilling over pots)
- Lobelia
- Bidens (usually just comes in yellow, this year Western Gardens has it in red and orange too!)
- Portulaca
Click NEXT for photos of each of these flowers, so you can see what they look like before you go to the nursery!
![]()