• Skip to primary navigation
  • Skip to main content
  • Skip to primary sidebar

Western Garden Centers

for what grows here

  • Home
  • How To
  • Gift Cards
  • Calculate Mulch
  • Locations
    • Store Hours
    • About
    • Garden Shop Employment Team
  • Weddings
    • Salt Lake City, UT
    • West Valley, UT
  • Blog
    • Gardening
    • Recipes

How To

Save Water, Save Money with Turf Training in 2022

April 19, 2022 by Wendy Pettit

Welcome Friends! Glad you dropped in to learn about saving water and money by Turf Training.

Save Water and Money by training your lawn to grow deep roots

You cannot teach a lawn to fetch the paper or to roll over. Even though some say that it can play dead, in the winter!  But you can train it to grow deep roots now so that you and it will be happy in the heat of the summer later.  

Now that your lawn is now coming out of the dreary winter, time to train it.  You can train it to grow deep roots, so that you can cut your water bill during the summer and your lawn can be happy during those hottest Utah summer weeks.  The process is more painful for the owner than the lawn itself, but by July, it is possible to be watering your lawn once every two weeks or less, depending on your soil type.  I know it works; I’ve lived it.  This plan is for established lawns; new turf requires different care to get established.  Follow these steps and you too can have a well trained happy green lawn and a lower water bill.

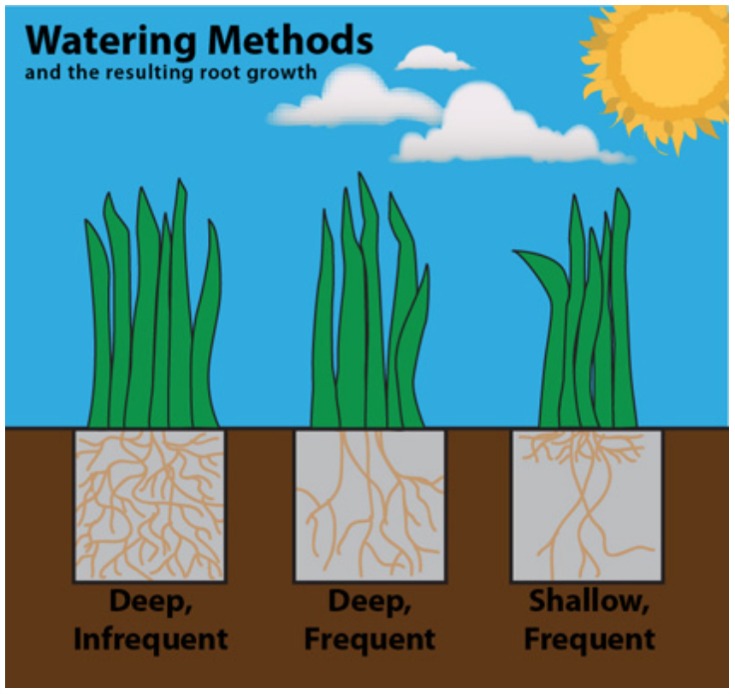
  1.  April – This month, do not water your lawn!  Mother Nature is taking care of that for you.  DEEP INFREQUENT watering creates deep roots and thriving healthier plants.
  2. April or May – Aerate your lawn.  Perfect time is just before one of our spring rains. 
  3. Apply the proper spring fertilizer.  Follow the directions explicitly.  Again, the ideal time is just before a good rain to wash it into the turf.
  4. If you haven’t already, apply pre-emergent.
  5. Early May – Keep your finger OFF the automatic sprinkler system. Do NOT water your lawn.  I know it is painful because the sun is shining and spring is here, but don’t do it.  Your lawn is stretching its roots deep.  Let them dive! “Let it go!”
  6. Late May and June, repeat #5 unless one of the following occurs…
    • a. Mother Nature hasn’t watered for 3 weeks.
    • b. When you walk across your lawn, your footsteps don’t bounce back up.  Time to water.
    • c. When you look across your lawn, you notice a dull bluish green tone in spots.  Time to water.
  7. If 6a, b, or c, happen, then it’s time to DEEP water – Put a good inch of water or so on your lawn.  Placing a tuna can on your grass will let you know when you’ve watered sufficiently.
  8. Repeat steps #6 and #7
  9. In August, you will notice that you may possibly need to water a little more often, but WATCH THE LAWN!  Follow 6a, b, and c.  It will tell you!

IMPORTANT NOTE – This training is not meant for the following:  flower beds, newly seeded lawns, newly placed sod, trees or shrubs.  Learn from our experts those proper watering techniques. 

A TRUE STORY TESTIMONIAL – This personally happened to me.  Read and see.

Texas SmartScape has a wonderful diagram that illustrates exactly what your lawn roots are doing according to how you water.

Watering Lawn Methods graphic by Texas Smartscape

Graphic by Texas Smartscape

Also, watch this 1:38 minute video on wise watering tips to save you money and make your beautiful lawn happy and water-wise.
Filed Under: Gardening, How To, Lawn Care Tagged With: deep roots, drought tolerant grass, happy lawn, Lawn Care, lawn watering, save money, save water, turf watering

utah spring jobs at Western Gardens

January 30, 2021 by Wendy Pettit

Want the best spring job ever?

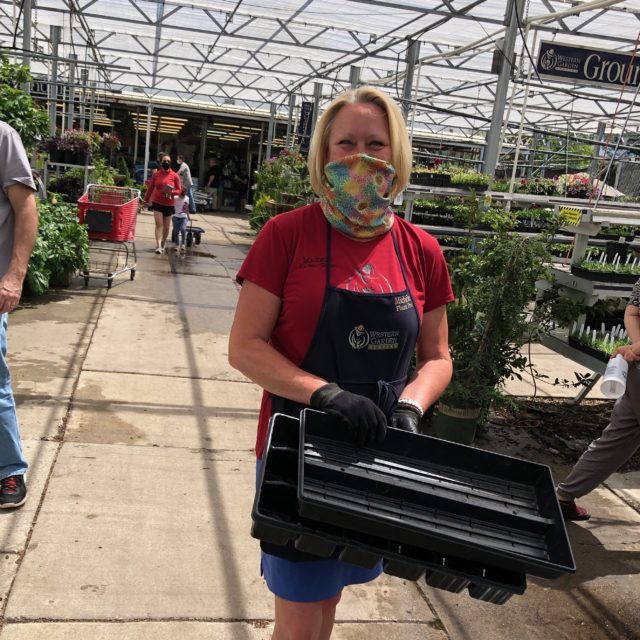
It’s now the end of January and your Utah spring job opportunity is soon opening. Our two Western Garden Centers are gearing up for a wonderful season.  The garden shops are getting set up and our nurseries will be ready to receive our prime plant material beginning in March. For this spring job in Utah, we are looking for ambitious and dedicated workers who will help the team create a positive experience for our cliental.  Your hands might get a little dirty, but Hey, we are a garden center!  Plus, you’ll learn a lot about working in your own yard and garden!  Employee Application is below.

work at western gardens utah garden center employment opportunity

If you enjoy working outside in the fresh air and with a happy team of people, please apply for a seasonal job with us.  We will have openings for customer service, plant care, cashiering, and possibly more.  If you love horticulture and know your stuff, you possibly could be on our sales team.

Step 1: Download and fill out our Employee Application (HERE).

Step 2: Beginning MID-March, call the store you wish to work at and set up an appointment to interview with the store manager.  Be sure to check Google for the most current store hours, they change throughout the year.

Step 3: Show up!  Your interview with the store manager is crucial and don’t forget to bring in your application.

Due to Covid-19, we require all employees to wear face masks.  When hired, we can help supply you with some if needed.  Also, we are closed on Sundays.

utah spring jobs for 3 masked men employees at salt lake city garden center

woman employee with happy wave at salt lake garden center

salt lake city garden center is happy place to work for utah spring jobs

employee at small business garden center in salt lake city, favorite utah spring job

Filed Under: Gardening, How To, Utah Gardening

A Guide to Vertical Gardening

April 17, 2020 by Wendy Pettit

A Guide and Tips to Vertical Gardening in Utah

By Connie Pelton

The lack of a large space discourages many would-be gardeners. But if you can’t go out, perhaps you should consider going in a different direction: up.

Vertical gardening is a highly efficient way to make the most of a small area.  Vertical gardeners enjoy higher yields per square foot than their traditional counterparts. They also have an easier time with pest control and harvesting. Whether you dream of bountiful blooms or tangy tomatoes fresh off the vine, you can make a vertical garden work. Here is a guide to vertical gardening to get you started.

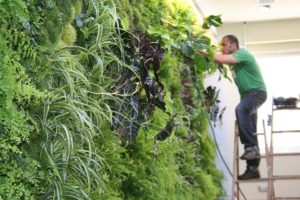
Vertical gardening in utah

Source

Location and Orientation

Plants, like people, are particular about where they like to live. Some love full sun, and others want a smattering of shade. If you follow the rules, you’ll have a successful vertical garden. Most vegetables and herbs thrive in as much sun as possible; morning sun is essential. If you have a south-facing wall, fence, or railing, this is your spot.

Planting Systems

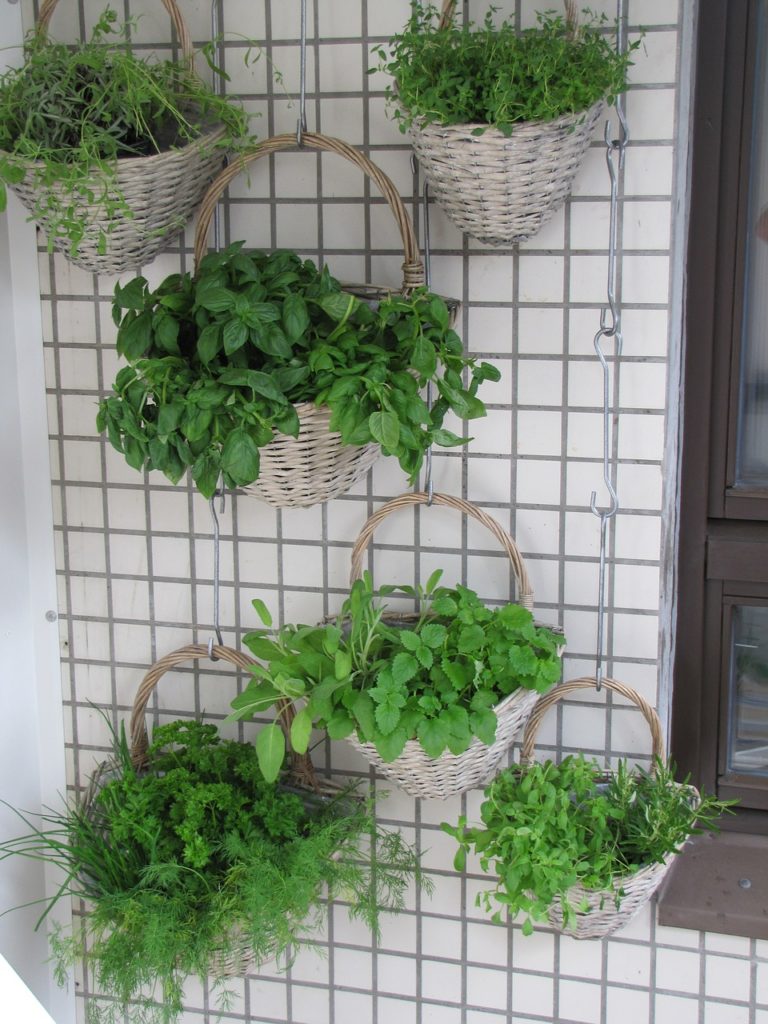
vertical gardening with baskets

Source

You have numerous vertical gardening systems to choose from.

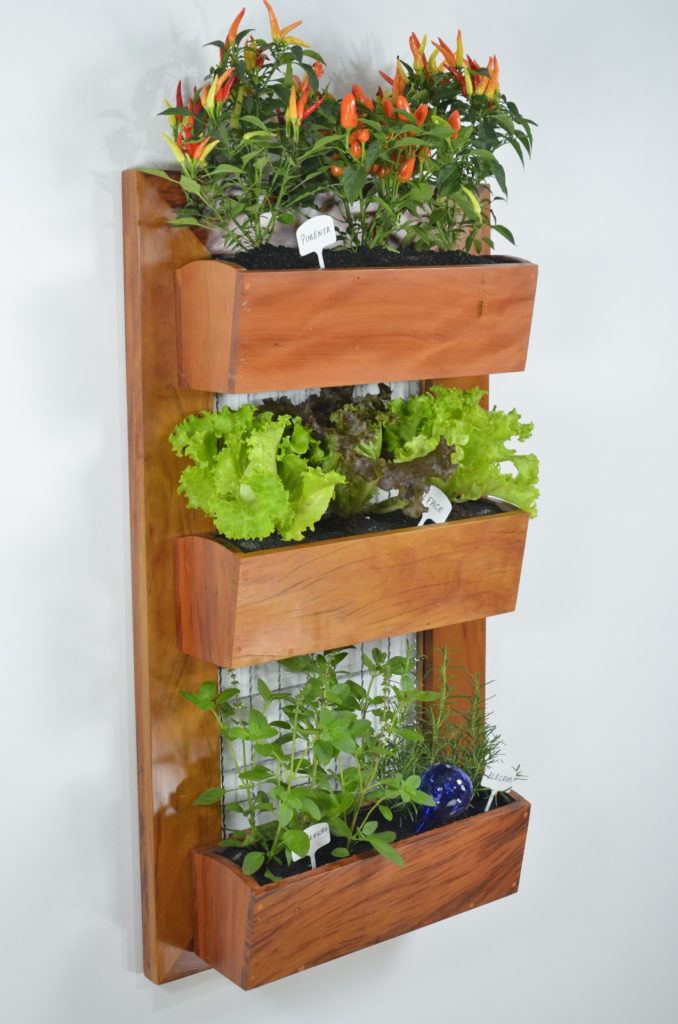
  • Pocket systems hang on walls.
  • Modular systems stack atop one another.
  • Pallets are made with upcycled materials, with one side covered in fabric or plywood, then leaned against a fence or wall and filled with soil.
  • Ladder-like shelves hold potted plants leaning against a wall.
  • Hanging baskets are linked together in a chain.
  • Rain gutters let you plant strawberries in them and hang on a fence.
  • Trellises can be shaped like a teepee or A-frame and arranged over a soil-filled bed.
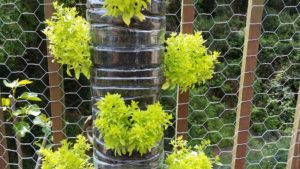
vertical gardening using plastic bottle

Photo by Luisgopa at Pixabay

vertical garden wood letter box

Photo by Dieneves at Pixabay

Feeling overwhelmed?  No worries!  See some tips for early spring gardening here.

Layering and Light

Because vertical gardening involves trellises and tiers, be mindful of plants that will cast shade on one another. You can underplant vining veggies such as tomatoes and squash with herbs such as mint, chives, tarragon, cilantro or parsley, which can handle a bit of shade. Try to plant varieties that are close to the same height and grow at the same rate to avoid crowding and shading. Sweet corn has such a solid stalk structure that you can use it to support climbers like beans. “Companion planting” is actually an ancient crop tradition.

Caring for a Vertical Garden

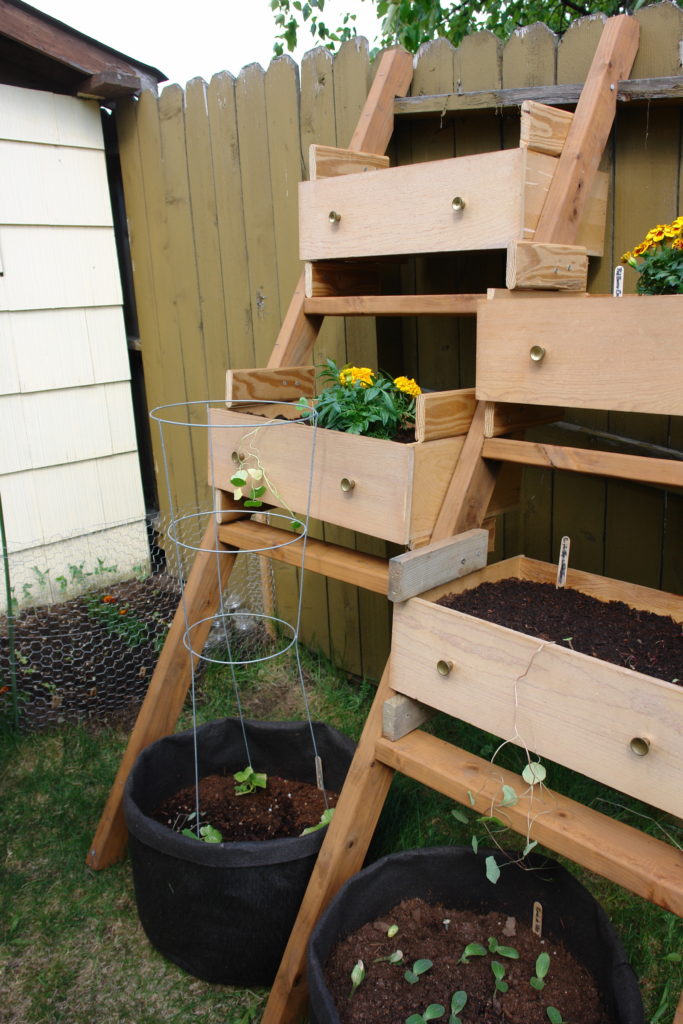
DIY vertical gardening with drawers

Source

Vertical gardens have some special needs. If you have trellises, you’ll want to keep a close eye on your climbers and do a bit of training to make sure vines stay where you want them. If you’re using containers or a raised bed, check the soil moisture often to make sure your plants don’t get dehydrated. You’ll also want to add a heavy layer of mulch – 2-4 inches– over the soil surface of raised beds. This helps the garden retain water during the hottest months of summer.

It’s easy to spot pest problems since many of your plants’ leaves will be exposed and closer to eye-level. Using organic pest control will ensure that your harvests are free of chemicals. If you see signs of aphids or other pests, you should treat them immediately. Hand-picking is your first line of defense against large pests such as caterpillars and beetles. For smaller insects, your approach may vary. Biological pest control is an organic, ecologically friendly way to combat garden pests on your lawn or in your garden.  By attracting or placing predator insects (praying mantids, ladybugs, lacewings) into the garden, you can let nature take care of your pest problems.

cages and drawers for utah vertical gardening

Source

Harvesting

Whether you use a tiered or trellised system, most vertical gardeners enjoy the relative ease of vertical harvesting. Rather than having to bend or crouch, you can harvest from a vertical garden while standing upright. This makes it a preferable option for the mobility-impaired or elderly gardeners.

Whether you’re a seasoned gardener or just developing your green thumb, vertical gardening is a beautiful way to take your gardening to the next level. Onward and upward!

harvesting a vertical garden

About the author:  Connie Pelton is a retired teacher who spends most weekends gardening with her grandchildren. Together, they built and planted an indoor vertical garden wall taller than both of them.

Filed Under: Container Gardening, Gardening, Herbs, How To, Tips & How To's, Utah Gardening, Veggie Gardening Tagged With: garden vertical, utah gardeners, Utah gardening, vertical gardening

Western Gardens HARD GOODS

April 11, 2020 by Wendy Pettit

Many are asking for better photos of what we have in HARDGOODS – chemicals, organics, tools, etc.  Here are some of our most requested items and video walk-throughs of our aisles at the Salt Lake Store.  Our West Valley store has the same!  Give us a call with your order!  We will even load it in your vehicle for you!  Thanks for supporting Utah small business!

FUNGICIDES & HERBICIDES

Video – FUNGICIDES – CLICK HERE

Video – HERBICIDES – CLICK HERE (coming soon)

F-Stop fungicide in Utah major lawn diseases

F-Stop is a great one that solves most lawn diseases.

Wide variety of fungicides in liquid, powder, concentrate, and more.

Wide variety of fungicides in liquid, powder, concentrate, and more. Follow label instructions


INSECTICIDES, PEST CONTROLS, & ORGANICS

Video – INSECTICIDES, PEST CONTROLS, ORGANICS – CLICK HERE

Video – How to use the TREE & SHRUB SYSTEMIC INSECT DRENCH – CLICK HERE

Systemic Insect drench to apply early utah spring for non-fruit bearing trees

Apply early to mid April in Utah. Drench non-fruit bearing trees and shrubs. Follow directions on label. It works!

Neem Oil organic pest control

Organic insect controller

Diatomaceous Earth Organic pest control

Organic pest control for those critters with soft bodies and joints

Weed Free Zone - kills broadleaf weeds in lawn

Proven to work in early spring (cool weather). Kills weeds in lawn – spurge, clover, and more. Do NOT spray on any broad leaf plant you want to stay alive. Made only for weeds in lawn application. Follow label instructions!

ANIMAL REPELLENTS

Video – ANIMAL REPELLENTS – CLICK HERE


FERTILIZER PRODUCTS

Video – Fertilizers – Specialized, Organics, Tree Stakes and more –  CLICK HERE 

Video – Fertilizer Favorite – Gardener’s Special –  CLICK HERE

Video – Fertilizer WGC General use & SOIL AMENDMENTS – CLICK HERE

Video – LAWN CARE – Our 4-STEP PROGRAM FERTILIZER – CLICK HERE

Video – LAWN CARE – ORGANIC Fertilizers – CLICK HERE

Gardeners special fertilizer with micro-nutrients

Our manager’s favorite all-purpose fertilizer with micro-nutrients.

BIRD SUPPLIES

Video – BIRD SUPPLIES – CLICK HERE


CONTAINERS – Pots and more (inside store – not including Ceramic Pots outside)

Video – CLAY POTS (small/medium), SEED TRAYS, LABELS – CLICK HERE

Video – PLASTIC POTS, CASTORS for moving heavy pots – CLICK HERE

Video – HANGING baskets, WINDOW boxes, Liners, etc. – CLICK HERE


LAWN CARE / GRASS SEED & STARTING A NEW LAWN

Video – GRASS SEED / STARTING A NEW LAWN OR OVERSEEDING – CLICK HERE

Video – Our Popular 4-STEP PROGRAM for Lawns all season long – CLICK HERE

Video – ORGANIC Fertilizer for LAWN CARE – CLICK HERE

pdf –  INSTRUCTIONS  – How to Plant a New Lawn from Seed

Array of sun and shade grass seed. April is a perfect time to plant lawn from seed.

Array of sun and/or shade loving grass seed. April is a perfect time to plant lawn from seed.

More shade and sun loving grass seed options

More shade and sun loving grass seed options

bare spot repair for lawns and grass

Need to just fix a bare spot in your lawn? Here is an easy product to work with!

TOOLS – including GLOVES etc.

Video – TOOLS – CLICK HERE (COMING SOON)

Photos of Favorite Tools – CLICK HERE

2 in 1 bench/kneeler.

Another best seller! 2 in 1 bench/kneeler.

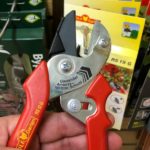
Best Wolf Garden hand pruners

Wolf Garden is a hand pruner that we highly recommend. We gave our mother her very own pair to hide so that others didn’t walk off with hers!

PLANT SUPPORTS

Video – PLANT SUPPORTS – CLICK HERE

POTTING SOILS & ORGANICS, RAISED BEDS, PEAT MOSS – LARGE SIZES

Video – POTTING SOILS, RAISED BEDS, PEAT MOSS – CLICK HERE

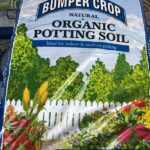
Bumper Crop ORGANIC potting soil

This is a fantastic organic product for planting up your new pots.

raised bed organic soil for growbox

Did you build a new growbox or raised bed? This is the soil you want.

SPECIALIZED POTTING SOILS

Video – SPECIALIZED POTTING SOILS – CLICK HERE

Potting soil specialized

A wide variety of specialized soils for specialized plants in pots.


SOIL AMENDMENTS

Video – SOIL AMENDMENTS – CLICK HERE

Video about our BEST – BUMPER CROP SOIL BUILDER – #1 Product for Utah soils  – CLICK HERE

Bumper Crop ORGANIC SOIL BUILDER FOR UTAH GARDEN SOILS

This is our most favorite and most popular product we sell. Find great success with Bumper Crop Soil Builder.


KIDS in the Garden

Video – FAIRY GARDENS – figurines, houses, stones, moss, and more.

We also have an array of children’s tools and toys to help them be part of your garden.

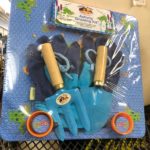
Garden kid starter kit for utah children

Get your kids involved with their own garden tools. Here is a perfect starter kit. Their little hands can actually help a lot.

children tools for garden work

Variety of children tools to teach them the miracle of a garden.

children yard fun with kites

Activities for in the yard or garden


For more instore products – CLICK HERE TO RETURN TO HOME PAGE

Filed Under: Container Gardening, Gardening, How To, Insects, Kids in the Garden, Lawn Care, Products, Seeds, Tips & How To's, Utah Gardening, Yard Care Tagged With: animal repellent, bird supply, fertilizers, fungicides, garden containers, garden pest, garden products, garden tools, grass seed, grow box, herbicides, insecticides, kid friendly, kid garden tools, Lawn Care, organic, peat moss, pest control, raised beds, soil amendments

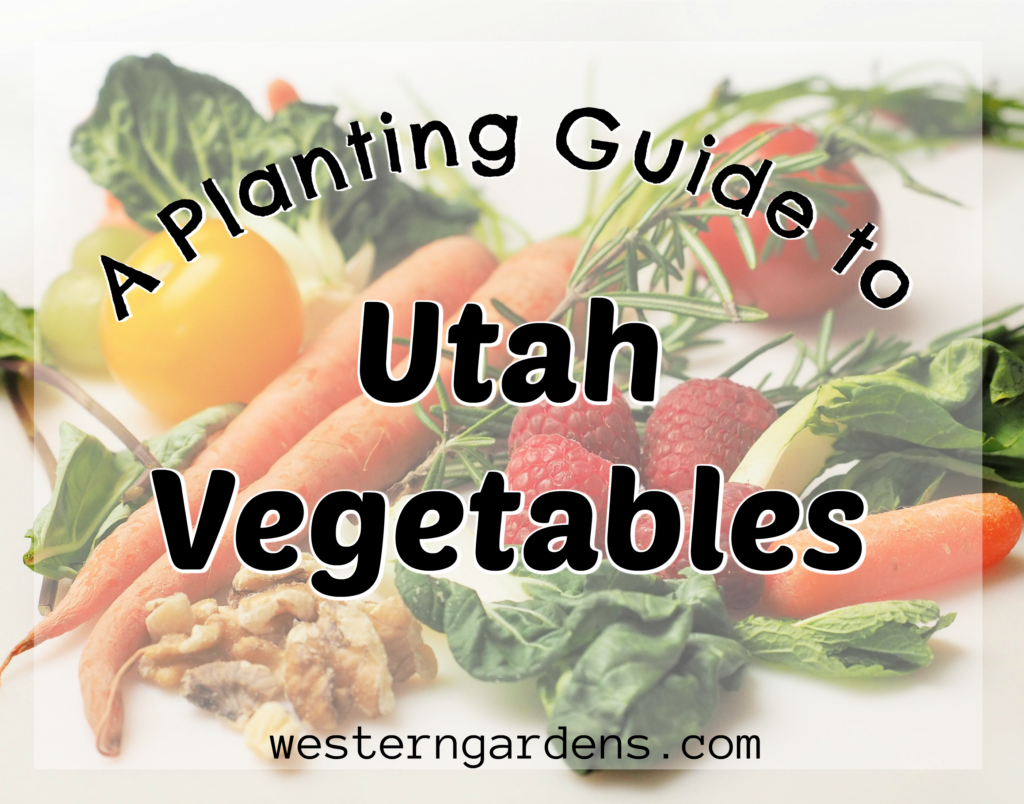
A Planting Guide for Utah Vegetables

April 9, 2020 by Wendy Pettit

when to plant utah vegetables

Here is one of our most popular handouts about Utah Vegetables and when to plant them and what to expect.  I often ask myself, “Is it too early to plant these?” or “How long before I can harvest?”  This two-page handout will help with a lot of those Utah vegetable garden questions.

Since we are so eager for you to find success, we would hope that you would return the favor and support us for our success as well.  We love this community and want everyone to find great satisfaction in doing what we love to do.

Click HERE to view and download our Planting Guide for Utah Vegetables


Filed Under: Gardening, How To, Utah Gardening, Vegetables, Veggie Gardening Tagged With: plant vegetables, planting guide, planting guide utah, utah gardens, utah vegetables, when to plant

How to Plan a Vegetable Garden

February 13, 2020 by Wendy Pettit

by Kevin Jefferson

You’ve come to the right place to learn some important tips on how to plan a vegetable garden. Planting a vegetable garden might not be the easiest hobby in the world, but it’s definitely among the coolest ones. This is a way to do something good for your family and keep providing them with healthy veggies every single day, and that’s what we all want. But, planting a garden requires some planning and thinking things through, so here are a few tips that might help you do that more easily.  

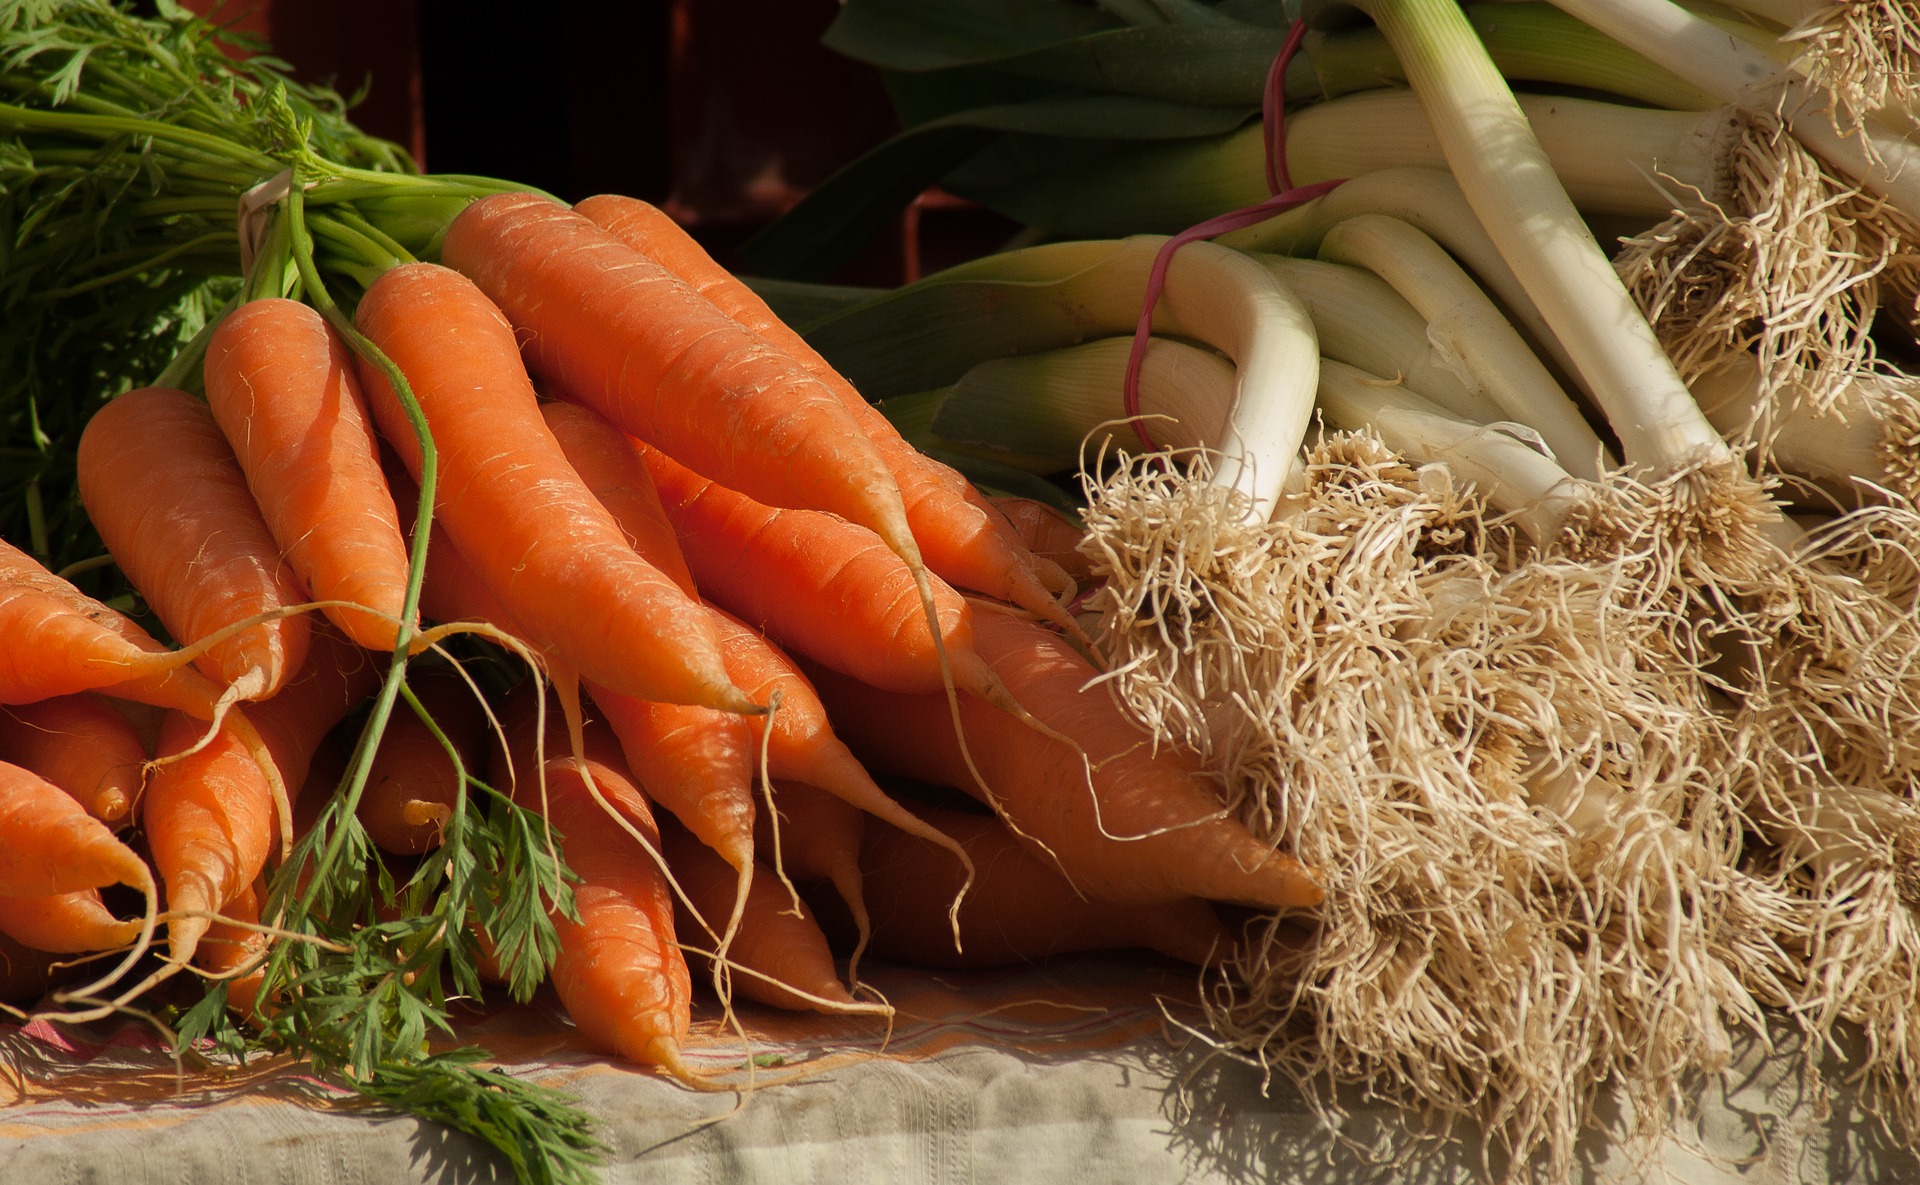
vegetable garden with carrots and green onion

Photo by Pixabay

Pick the Spot

There are lots of factors that will determine the success of your garden, and its location is one of the most important.  Living in a house with a yard makes your vegetable garden plan easier to formulate.  Find the sunniest part of your yard – front or back.  Partial shade is okay but you will have the most success if your plants can get 6-8 hours of direct sun. Look at all the possibilities.  You may have a corner you’re not using or a plot you could clear and turn it into a vegetable garden. 

To plan a vegetable garden when you may live in an apartment or a condo, can be more challenging.  However, many small apartment dwellers find success utilizing a sunny porch or balcony in their cozy space.  Planning the right plants for an apartment space is very important.  Your local garden center, like the well established Western Garden Centers in Utah, can give you suggestions that will do okay growing in a planter or large pot.  Not all plants like the confinement of a pot.

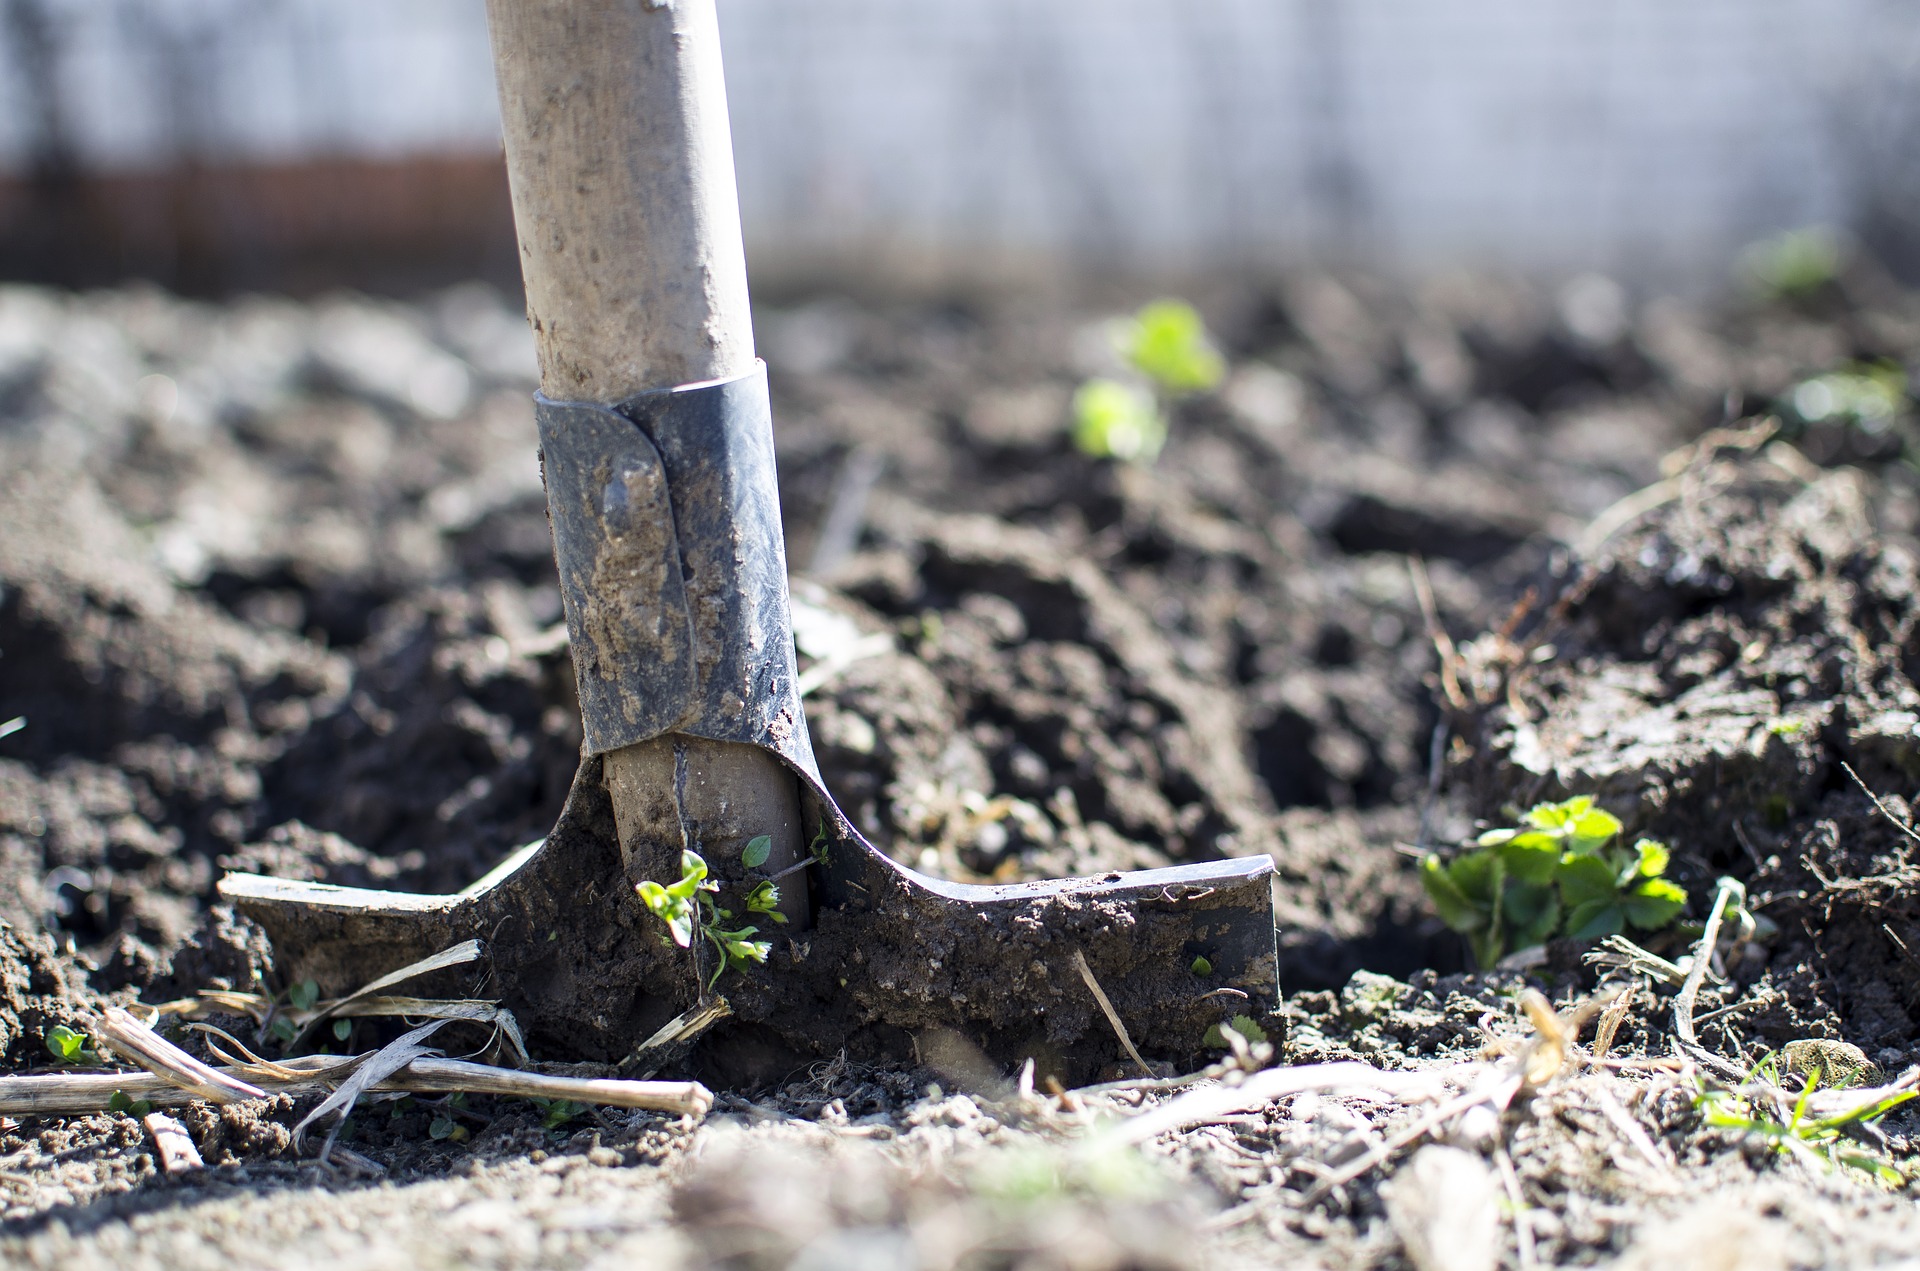
plan your vegetable garden, then dig in

Photo by Pixabay

Determine the Size

Bigger backyards will give your new garden more space, but don’t worry if you’re stuck with a tiny backyard – you can still make this work if you put your mind to it.  Even with a large yard, a designated 8 foot by 4 feet spot of earth, maybe the best for your first garden experience.  Four boards from the lumber yard, nailed together, and set on the ground may be the only size you can deal with at first.  Get your hands dirty and the next year, you’ll be eager to expand and try new plant material.  Again, don’t start with a massive vegetable garden if you’re doing this for the very first time.

Starting small and expanding your garden as you gain experience makes more sense in the long run. Pick a few low-maintenance plants to start with such as tomatoes, zucchini, and cucumbers.

plan a vegetable garden that looks great

Make it Visually Appealing

The main purpose of planting a vegetable garden is to give your family lots of healthy vegetables, but there are a few other benefits you should keep in mind. A nice tidy little garden will boost the value of your property and lots of greenery is great for making your backyard look more inviting. Plus, foliage helps keep a yard cooler in the summertime.  So visually appealing doubles for your little climate control.

Plant a variety of vegetables paying attention to their different shapes and sizes. Plant colorful flowers or herbs along with your vegetables to add interest and help attract beneficial insects too.

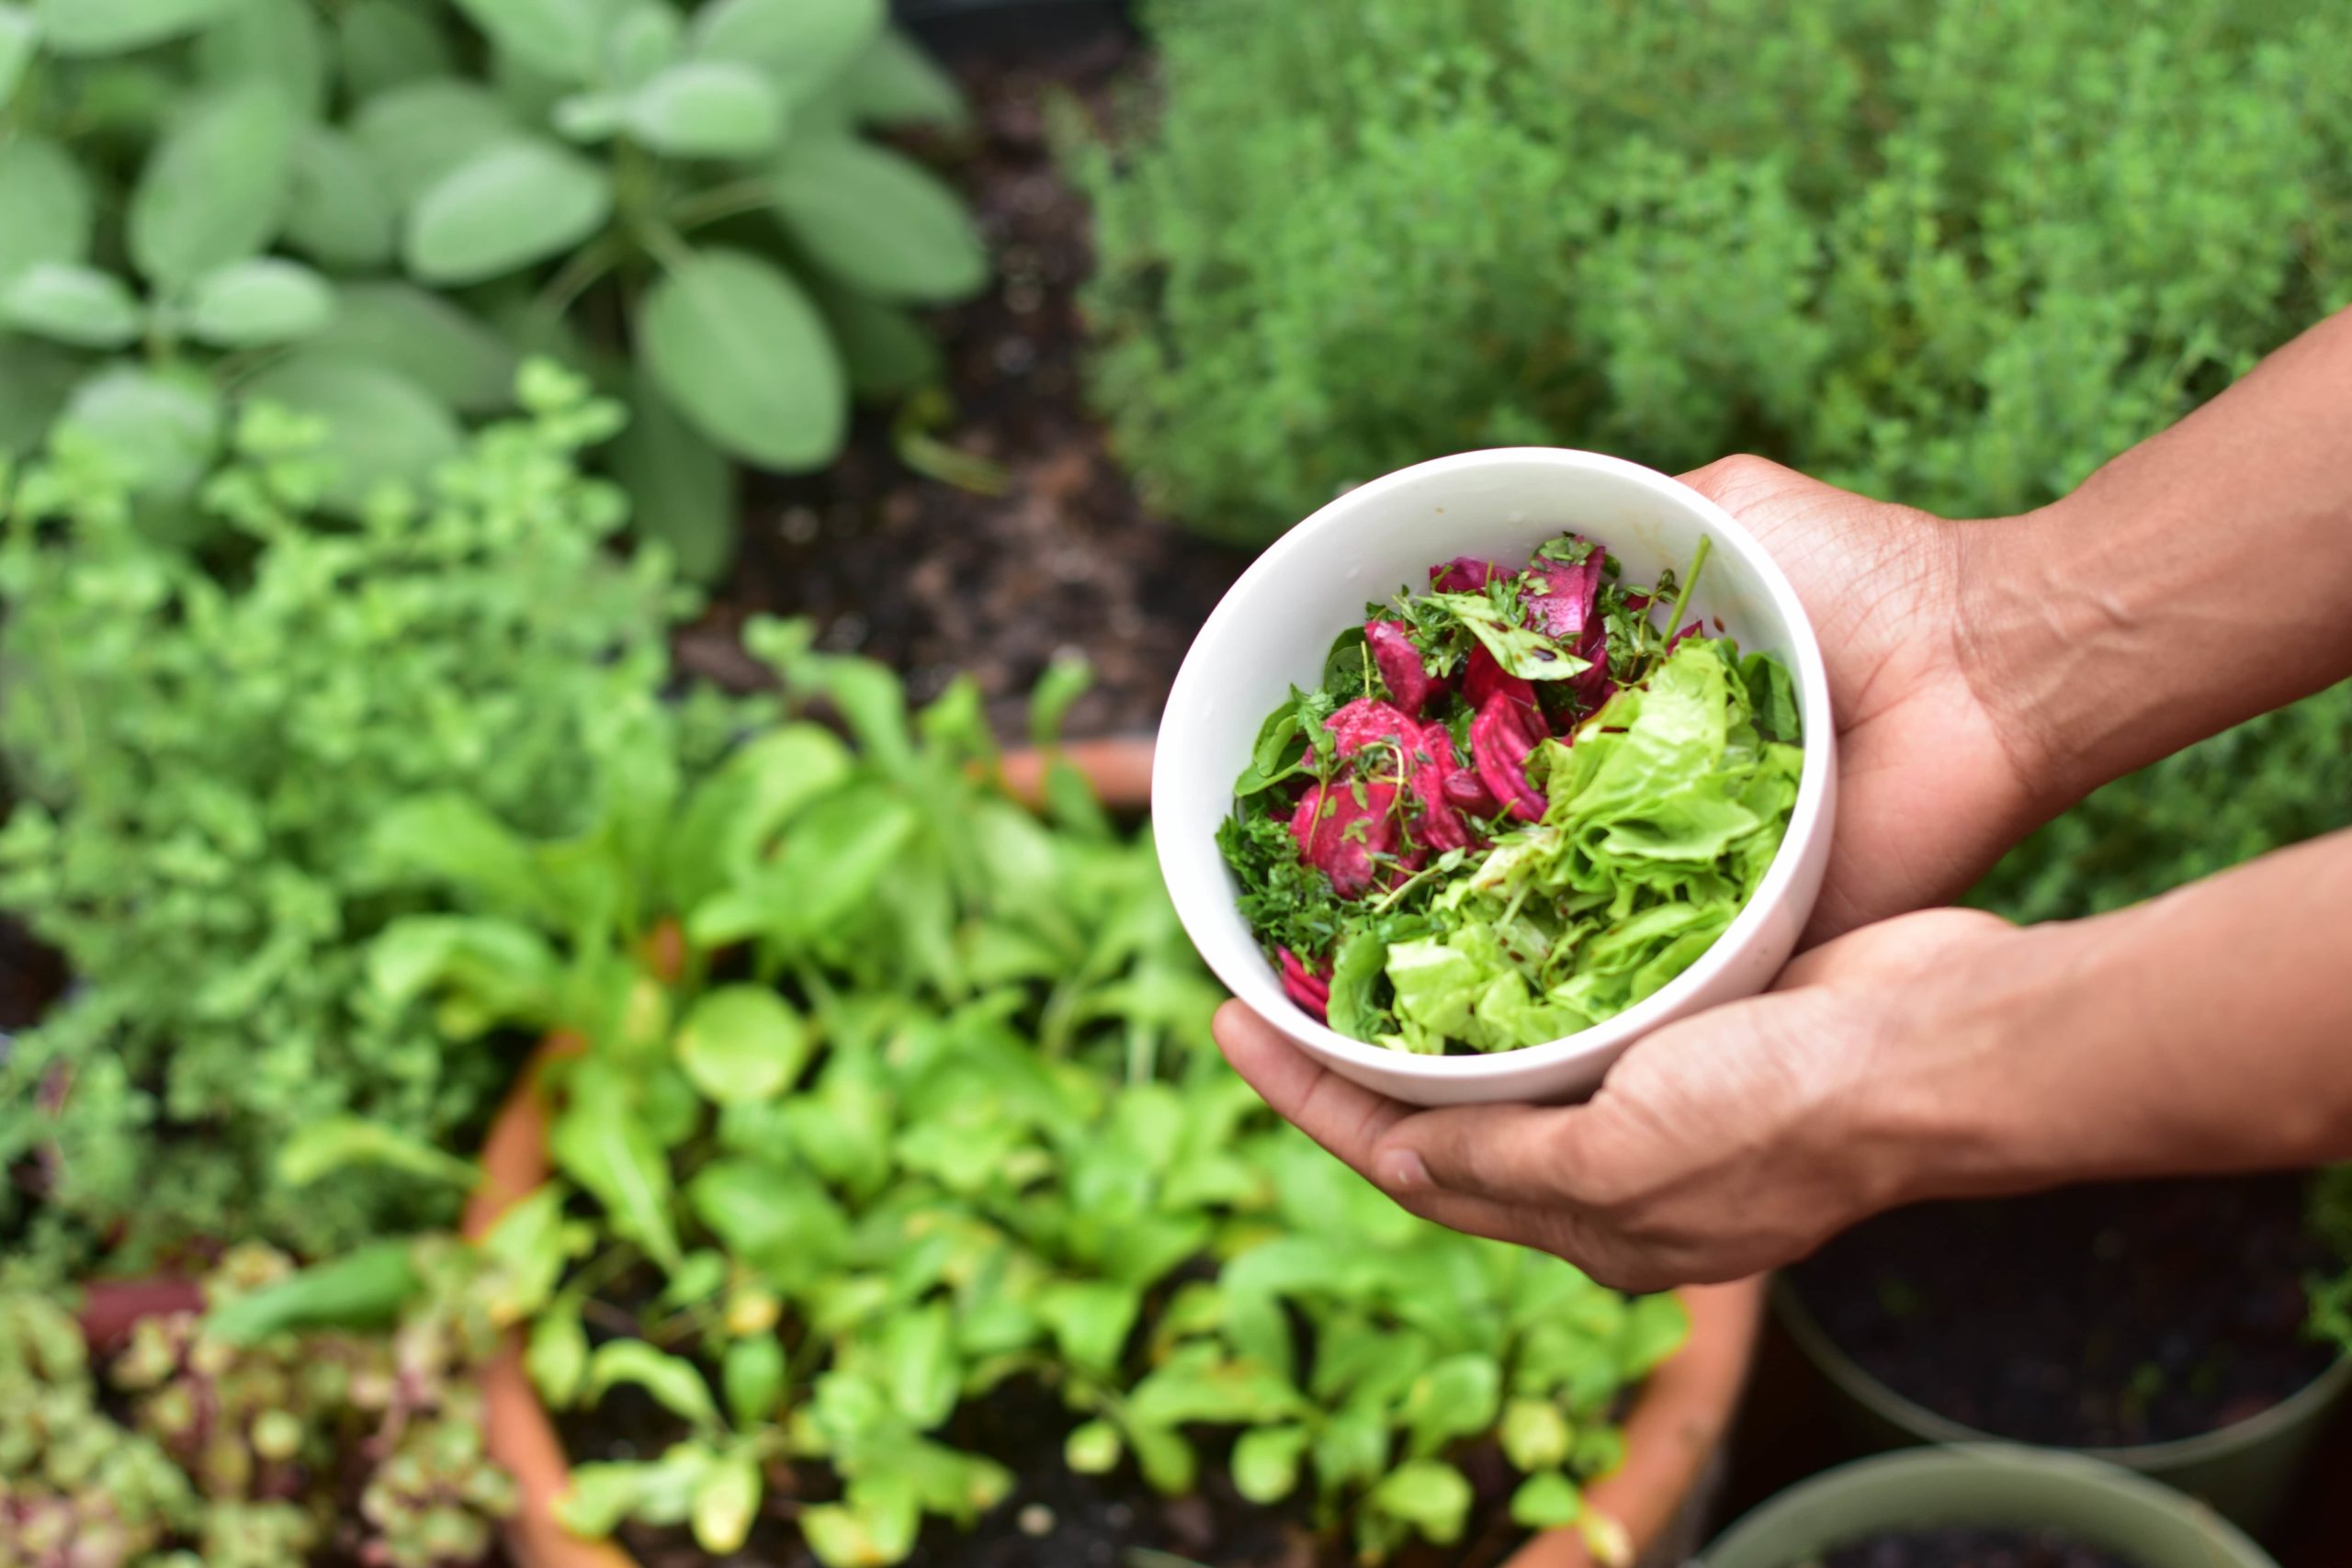
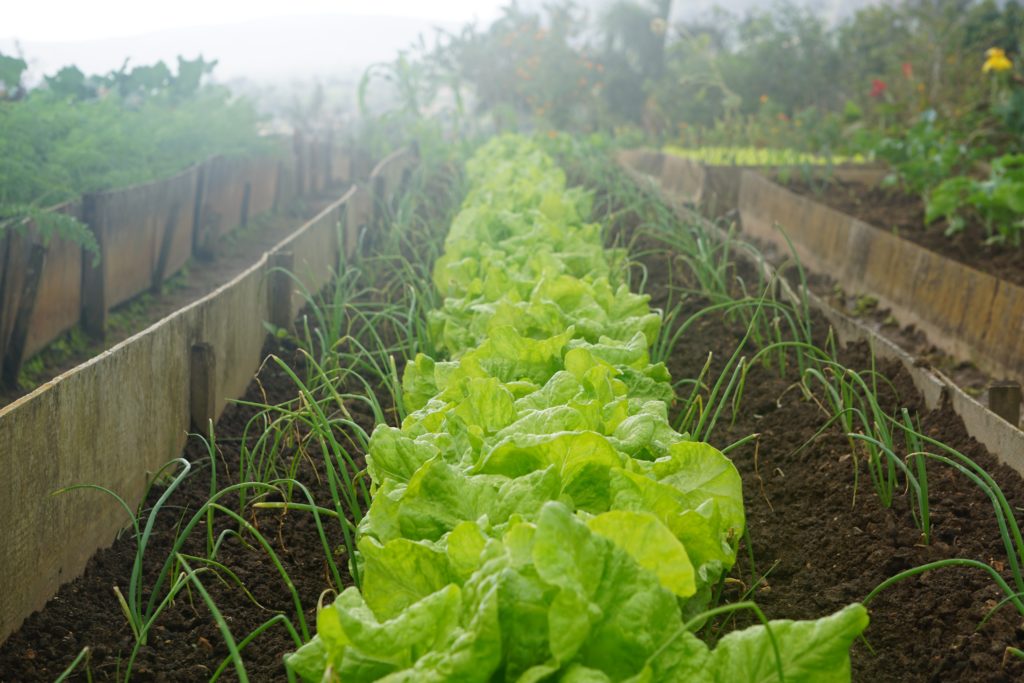
vegetable garden plan with lettuce and onion

Photo by UnSplash

Choose the Layout

Even though most people don’t think you need a particular plan when planting a veggie garden, this couldn’t be further from the truth. Unless you make a proper plan and know where everything is, your garden is going to be messy and cluttered, and that’s never good. Instead, work on your layout. Plan the vegetable garden with taller plants in the middle or all together and lower growing root vegetables on the outer edges. For example, a row of carrots between zucchini plants or cabbage heads will make it difficult to work those carrots. Be sure to determine your planting zone. Choosing the proper plants for your climate area will determine your garden’s future success.  Visit a reputable local garden center like Western Gardens.  They won’t try to sell you plants that will not do well in your area.  They also will direct you how to protect certain seedlings from unpredictable early frost we often experience along Utah’s Wasatch Mountains.

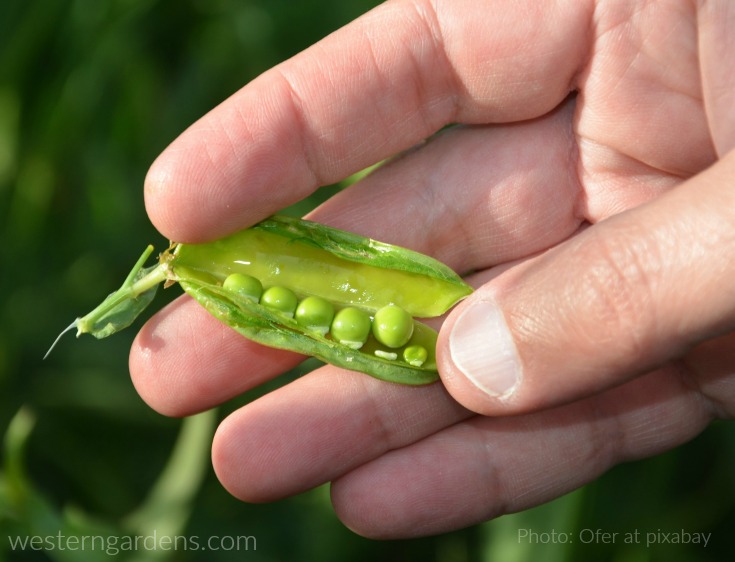
plan a garden and eat fresh peas soon

As outlined above, the effort you do to first plan your vegetable garden, you will find more success.  Now it’s time to prepare your soil, plant it, care for it, and soon you will harvest the many fruits of your labor.  It’s really not that difficult, but it brings great satisfaction to you and your family’s life.  Therefore start small and simple, define every task to be accomplished, and then stick to your plan every step of the way. Your garden center experts would love to help you find success!  Remember that success doesn’t come overnight with a garden; so stay patient, stay focused, and stay dedicated to your vegetable garden.  Before you know it, you’ll be picking and munching on those delicious fresh vegetables!

Harvesting your vegetable garden

how to plan a vegetable garden

About the Author

Kevin has gone through an extensive home renovation with his son, which he has both thoroughly enjoyed, and dreaded every morning. He is now the proud owner of half his dream house (the other half has been waiting for spring). You can read more of Kevin’s work on PlainHelp.

Filed Under: Gardening, How To, Utah Gardening, Vegetables, Veggie Gardening Tagged With: plan a garden, plan a vegetable garden, planting a garden, vegetable garden, vegetables

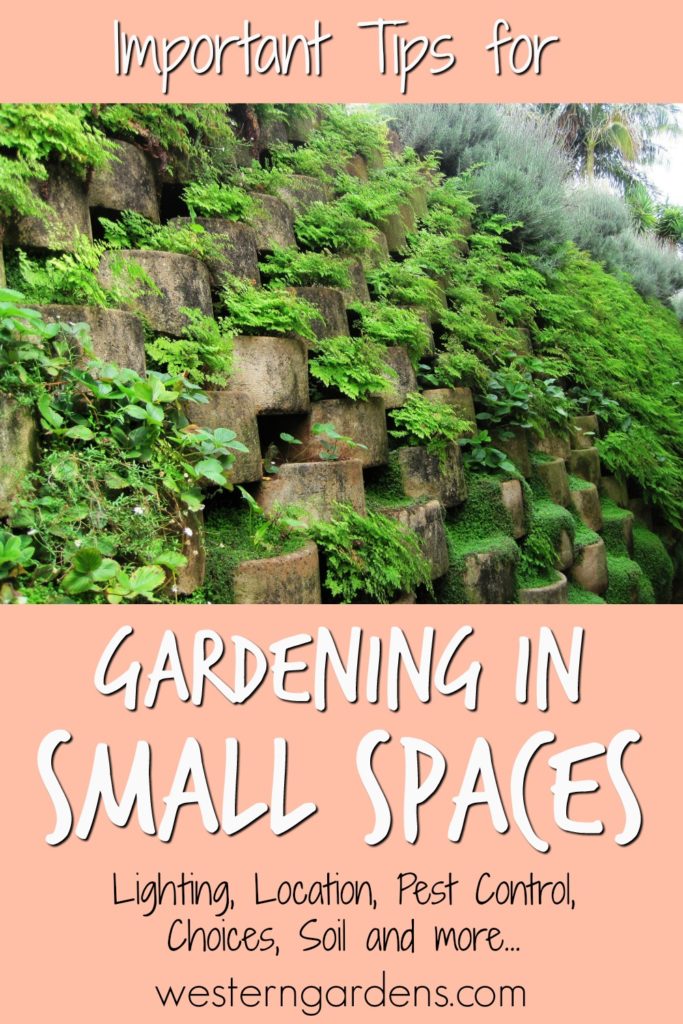
Tips for Gardening in Small Spaces

February 5, 2020 by Wendy Pettit

by Rachael Elizabeth

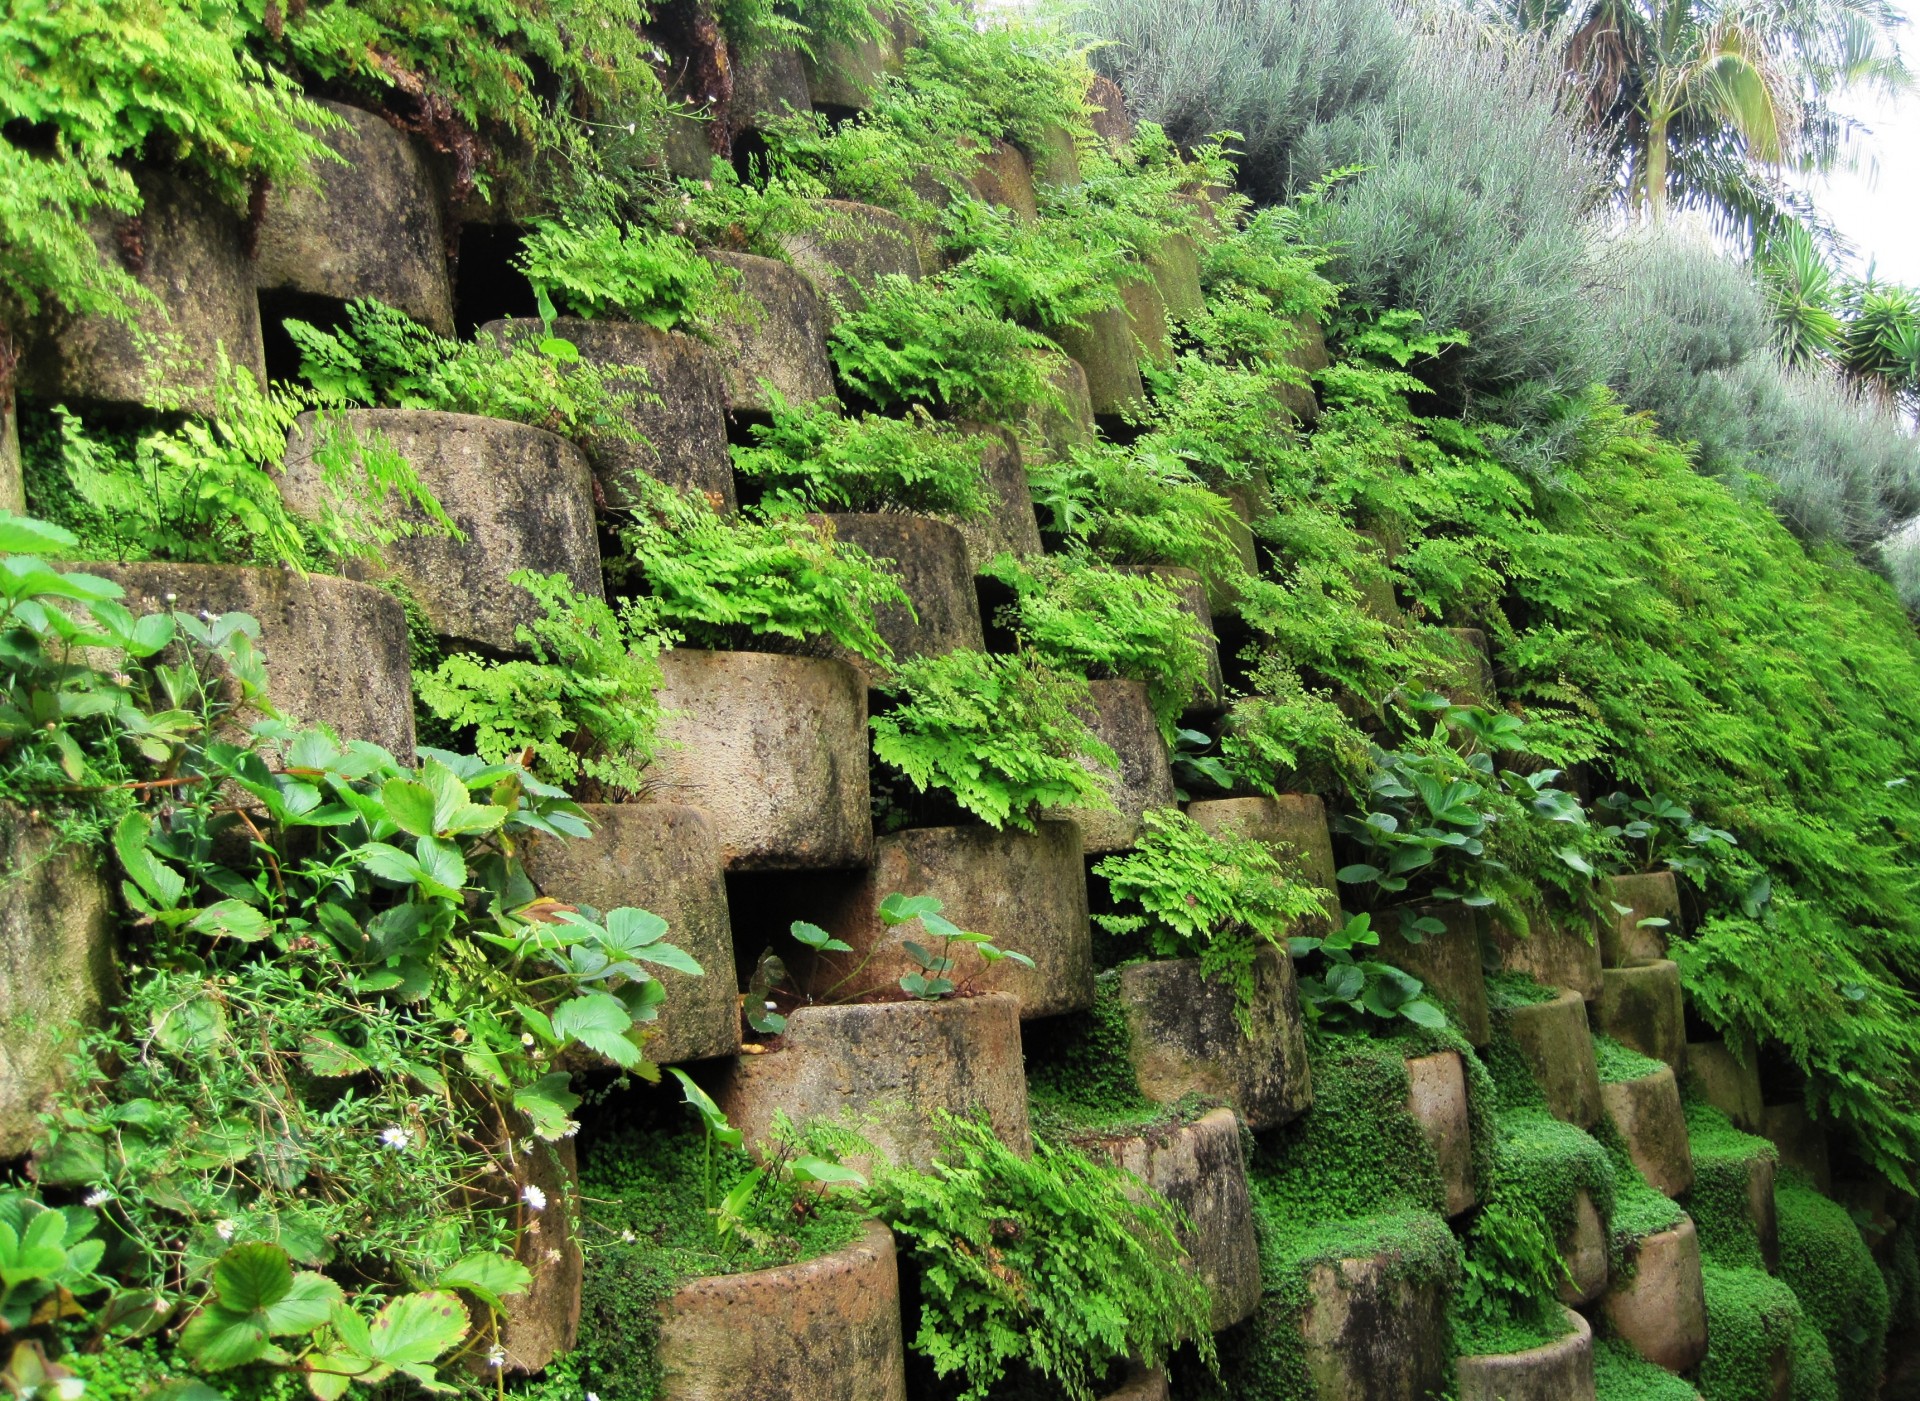
Wall step gardening for small utah gardens

Photo from Needpix

There’s nothing like picking a ripe, red tomato from the vine and popping it in your mouth … yum! Garden-fresh vegetables are a treat, especially when you grow them yourself. You don’t need a large plot of land or lots of tools to spread your seeds. You can do your gardening in small spaces.  Plant Utah flower and veggie gardens in small nooks or pottery — as long as they receive direct sunlight for most of the day.

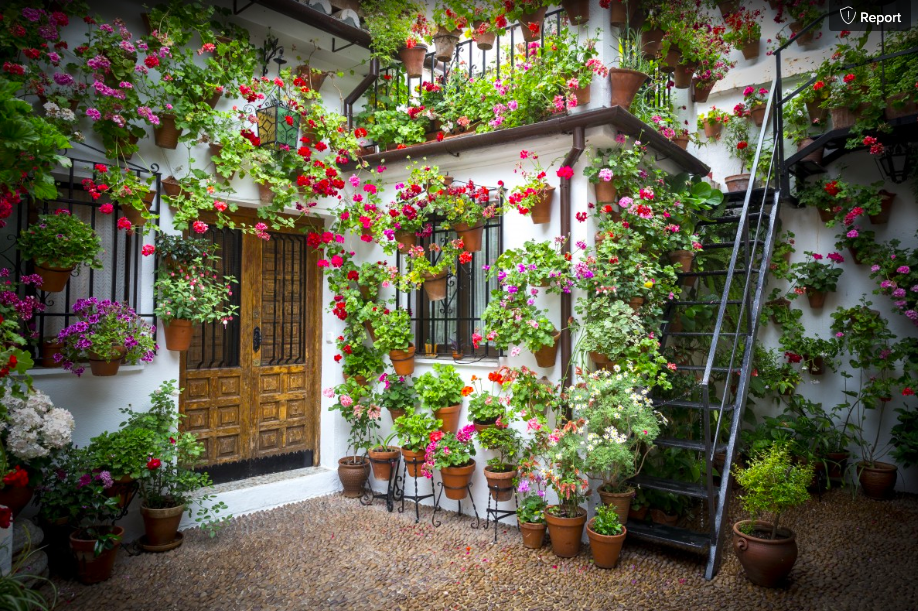
gardening in small spaces with geraniums on wall

Photo from PxHere

Light in Small Gardens

When it comes to plants, “full sunlight” is defined as six or more hours of direct sunshine per day. Before choosing varieties for your garden, you’ll first want to assess the growing space for light. Light-measuring instruments are available, but you can do this yourself by drawing a diagram of the plot. Upon each hour beginning at 7 a.m., jot down on paper, or use your smartphone’s camera to record which areas have sun or shade. Remember that each hour, the angle of the sun determines the direction of light, and it changes as summer begins to fade into fall.

Soil

Now that you know how much sunlight your garden space receives, all you need is soil, seeds (or seedlings) and water. Garden soil in Utah should be well-draining, loose, fertile, and have a pH balance between 6.0 and 8.4. Decaying organic matter in the soil helps plants absorb natural nutrients for feeding. Test the soil and then amend it as necessary with products from your local nursery.

Small Garden Choices

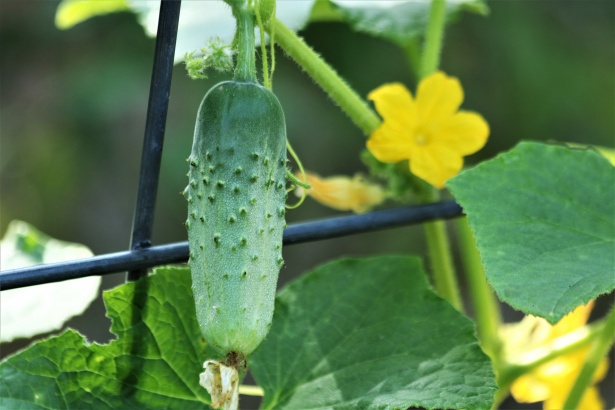
Cucumber on vine in vertical garden

Photo from PublicDomainPhotos

Gardening in small spaces means choosing varieties of flowers, fruits, and vegetables that don’t spread sideways.

Tomatoes, eggplant, zucchini, and lettuce don’t take a lot of space in gardens, and you can plant these vegetables in containers. If you like cucumbers, there are two kinds; vining and bush. Vine cucumber plants will spread; crawling along the ground or climbing trellises. Bush cucumber plants are more compact and better suited for containers and small gardens.

Creative Small Gardening Locations

Why limit yourself to the backyard? Plant your small garden along the driveway; in some old, rehabilitated wall shutters; on a vertical tower; on a flat rooftop; — even on a bird feeder! Anywhere you can place a soil bed that’s in direct sunlight can be a garden. Window boxes, trellises, arbors, potted patio umbrella stands, and framed boxes are just a few ideas to bring your garden to life.

Little Patio Gardens

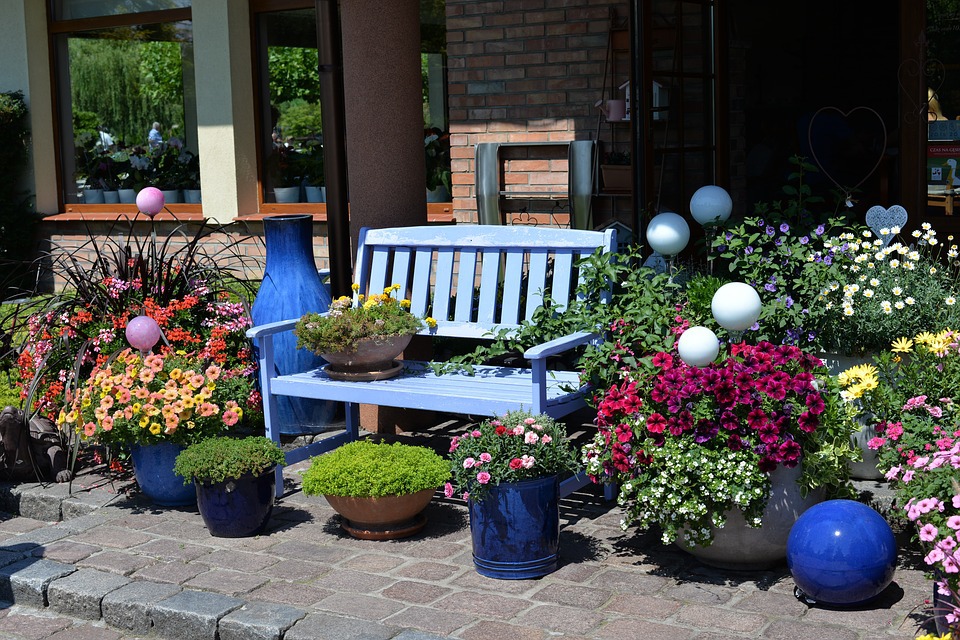
small patio garden for Utah

Photo from Pixabay

Large containers are just as effective as dirt bed gardens, as long as there’s enough sunlight and water available. A mini-garden won’t be overflowing with veggies but, there will be enough for snacks and to add to salads. Beans, tomatoes, peppers, kale, and herbs are perfect for growing in containers. Flowers are also great. Choose some of Utah’s favorites: showy goldeneye, hummingbird, golden currant, or curlycup gumweed.

Pest Control When Gardening in Small Spaces

Much like your Utah lawn, small-space gardens benefit from natural products and predators to control pests. Beneficial nematodes are micro-organisms that feed on grubs and larvae — those tiny worms that eat plant roots. These beneficial nematodes feed on more than 200 species of insects, but they don’t damage plants or roots, and they are not harmful to people or animals.

Slugs and snails are garden-loving pests that enjoy chewing on lettuce, cabbage, strawberries, and other leafy plants, but “normal” pesticides usually don’t work on snails and slugs.  Therefore, you have to get creative.

A beer trap is just what it sounds like — snails and slugs like to belly up to the bar. Fill a small, flat container with beer but don’t let the liquid spill into the soil. Slugs and snails are attracted to the beer, go for a sip, and then fall in and drown. Place a beer trap every 3 feet or so in the garden for this method to be effective.

When gardening in small spaces, don’t forget that natural predators such as those microscopic nematodes will destroy slugs and snails in their early stages. Birds eat them, too!

Gardening space is all relative.  You don’t need more than a few basic tools and a little bit of space to experience the wonderful benefits of gardening.  Make the most of your limited growing area with color, scent, and taste. That small space is waiting for your green thumb!

tips for gardening in small spaces

About the Author

Rachael Elizabeth is a gardening guru and writer. She takes pride tending to her small space garden that is constantly flourishing with fresh herbs and florals. When she’s not practicing her green thumb she can be found exploring nature on a hike or swimming in the lake.

Filed Under: Container Gardening, Flowers, Gardening, How To, Outdoors, Utah Gardening, Veggie Gardening Tagged With: gardening in small spaces, small gardens, small space garden, small utah gardens, vertical gardening

How to Prepare the Ground for your Garden

April 28, 2018 by Western Gardens

Prepare your soil for your vegetable garden

So you want to grow a vegetable garden?  The first step is to prepare the ground for your garden.  Growing a vegetable garden is like painting a room.  The actual painting the room is the “fun” part.  All the preparation before the roller hits the smooth wall is the most important part of painting a room.  Washing, puttying holes, sanding, and priming the walls may seem tedious and unglamorous, but it is very important to create the ultimate finished nicely painted wall.

Preparing the ground for your vegetable garden is just as important as picking the fruits of your labor.  You’ve come to the right place to get started.  Welcome!

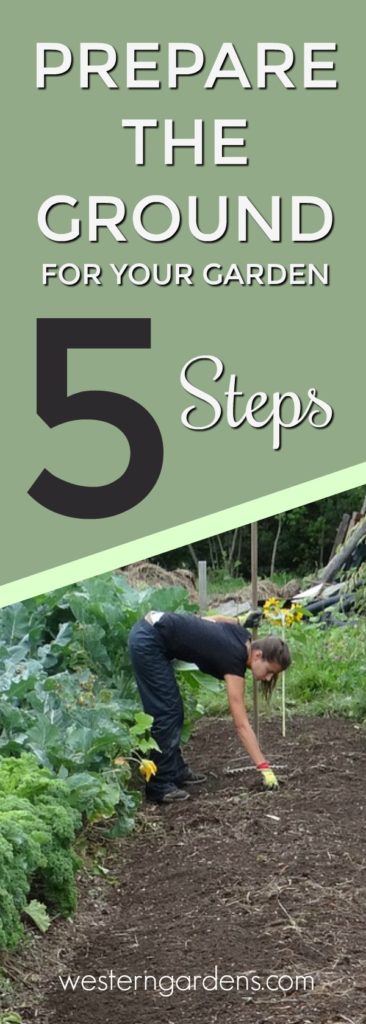
5 steps to prepare the ground and soil for your garden

You can do it!  Here are some steps to get you started in the wonderful world of gardening:

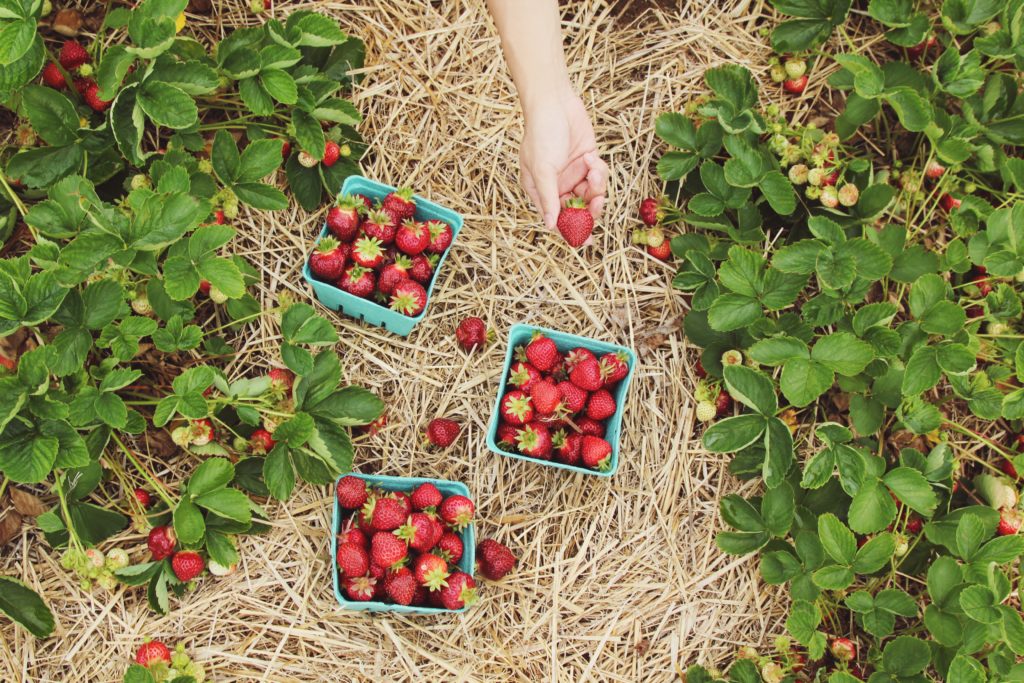
  1.  Start Small – You don’t want to bite off more than you can chew.  It’s like a new exercise program.  In the beginning you may be overwhelmed, tired, and want to quit.  Start smaller.  A plot of ground 8′ x 10′ is plenty big.  You may want to just start with growing a few items in large planters (but there are some vegetables that don’t like the confinement of planters).  Maybe just begin with a small strawberry bed.  Sweet rewards await you.  Find success with a little garden. You can always expand as you get the hang of it.Small garden to begin with
  2. Choose a Sunny Location for a Vegetable Garden –  Vegetables like sunlight.  Most vegetables like 8-10 hours of sun in 24 hours.  Trimming overgrown unwanted bushes or trees could be done to create more sunlight for your garden.  If you are doing a flower bed, decide whether it will be for shade loving plants or full sun plants.Shovel in dirt digging vegetable garden
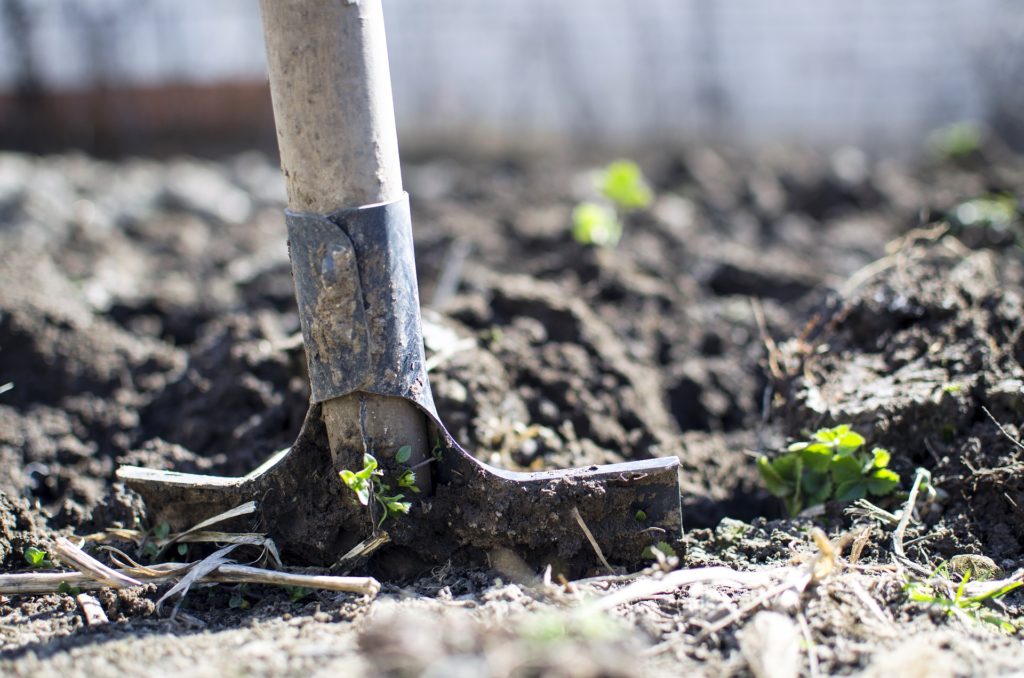
  3. Clearing the Space – Now that you have your area chosen, it’s time to prepare the ground for your garden.  Clear the ground of weeds, rocks, sod, etc. All you want is dirt!  A shovel works well to dig up roots and to turn over your dirt.  If you have sod, you can dig it up with your shovel, but be sure to shake off all the dirt from the roots of the pieces you lift.  You don’t want to rob your garden of the awesome soil.  You can throw the sod into a compost pile.  Some people go to the expense of buying or renting a tiler to work up the soil and sod.  Do what you can afford.  The idea is to get the soil free from weeds, grass, rocks, roots, and other things to hinder your garden growth.  You are “clearing the land” like our forefathers had to do.a good loam soil is what we want to plant in
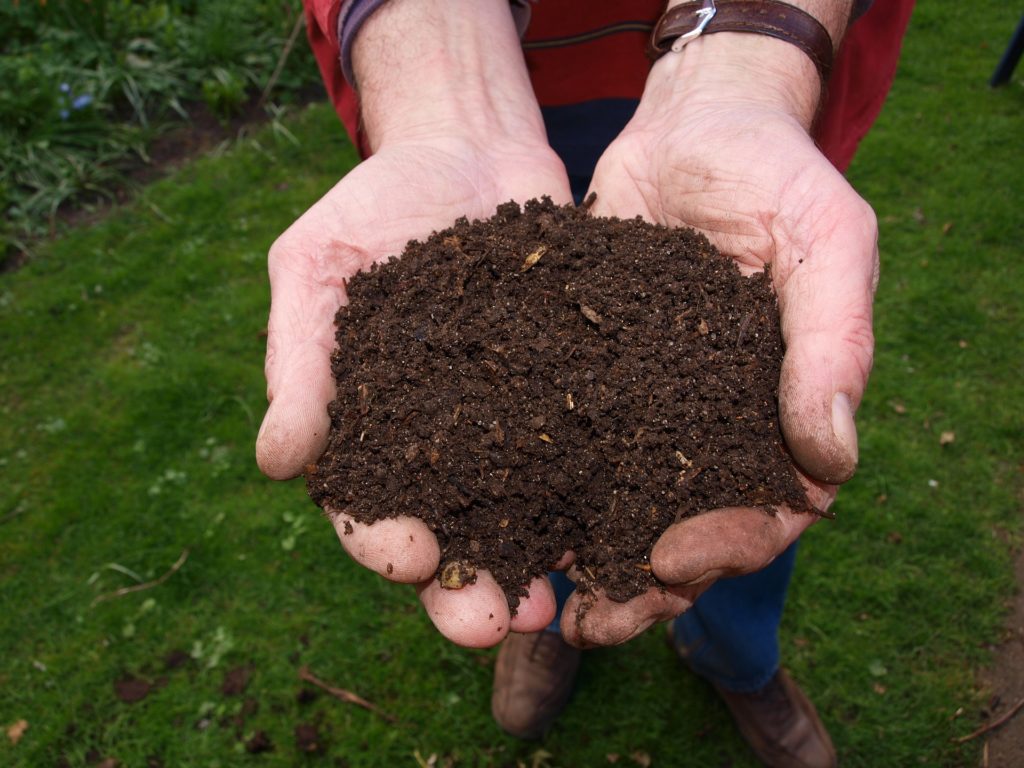
  4. Soil Preparation – Here along the Wasatch front in Utah, we have pockets of all types of soil.  Just in the Salt Lake Valley alone, you could have very sandy soil that doesn’t hold the water well at all, or you may have clay, which holds the water too much and drowns the plants.  Our ultimate goal is to have a good “loam” – a mixture of sand, clay, and good organic matter.  Back to your soil – you must determine what type of soil you have.  If you have very sandy soil, you’ll need to add amendments to the soil to get it more to the “loam” we are after.  If you have more heavy clay soil (like mine), then you will need to amend the soil with different products, again to bring it to that balanced loam we seek.   If you are not sure what kind of soil you have, take a gallon size baggie with about 2 cups soil from your garden plot and visit your local garden center like Western Gardens.  Inquire of their garden experts and they can identify what type of soil you have.  They will also identify what soil amendments you may need to add to your dirt.  Lots of times it’s just needing to add more organic matter to the soil.  They’ll tell you the method you should follow for your situation and your soil.  You may just need to top dress your bed with some bags or a load of topsoil.  But ask the garden experts and they’ll help you.  They want you to be successful too. dog with hose in mouth
  5. Watering Method – You will want to at least know how you are going to water your first garden.  To start off this year, you may just want to purchase a soaker hose to attach to your existing hose and faucet.  Run the hose along your plants or seeds once they are in the ground.  After you get the hang of gardening, you can invest in more elaborate watering methods.  Watering with a hose from above could also be an initial plan.  Just as long as your plants get the proper water needed, you should find success.

Now you are ready to plant!  Easy-to-grow crops like onions, peas, beets, carrots, and zucchini are a great place to start, especially in small gardens.  There are many vegetables that are easy and will save you money throughout the season. If you would like advice on the best vegetables to start with in your garden, and for what varieties work well in our Salt Lake climate, you can always stop by Western Gardens and talk to one of our helpful gardeners.  Here is an article about Warm Season vs Cold Season Vegetables to plant, depending on when your soil is ready to plant up.  They are always ready to help you with organic pest control suggestions, fertilizer recommendations, and their opinions for the best time to plant.

Also, this article from Gardener’s Path is very good and goes into more details.  Planning and Planting Your First Vegetable Garden  Check it out!

Filed Under: Gardening, How To, Utah Gardening, Veggie Gardening Tagged With: dirt, first garden, garden soil, prepare the ground, prepare the soil, soil preparation, soil types, utah soil

How to Compost Your Kitchen Scraps

April 25, 2018 by Marjorie Carter

by Marjorie Carter

Alchemists are famous for their efforts to turn lead in to gold.  It was thought that a “base metal” could be purified or perfected so that it transformed in to something more valuable.

While their efforts were always in vain, it is possible to transform much of your daily waste from food preparation in to something more valuable than it’s original form.  Put in some grass clippings, add in your apple cores, roll together with your potato peelings, onion skins, watermelon rinds, and shredded paper bags.  Let it heat and stir once in a while.  Voila! You end up with black gold (aka compost)!

MY COMPOST EXPERIENCE

The house we bought a few years ago has a large yard (meaning space for a garden) and a few fruit trees.  This is exactly what we were looking for and we have enjoyed trying to keep up with maintaining it.  Our first fall in the house, we were generating a lot of waste as we processed apples, pears, and tomatoes that we’d grown.  We also were looking at all the green waste from pulling up the tomato plants and raking the leaves.  It dawned on us that we could be doing something much more useful and conscientious with all that biodegradable material.  We had spent some money earlier in the year to buy compost from the landfill to amend our soil to make it better for gardening.  Why not make some of our own compost to add to our garden?

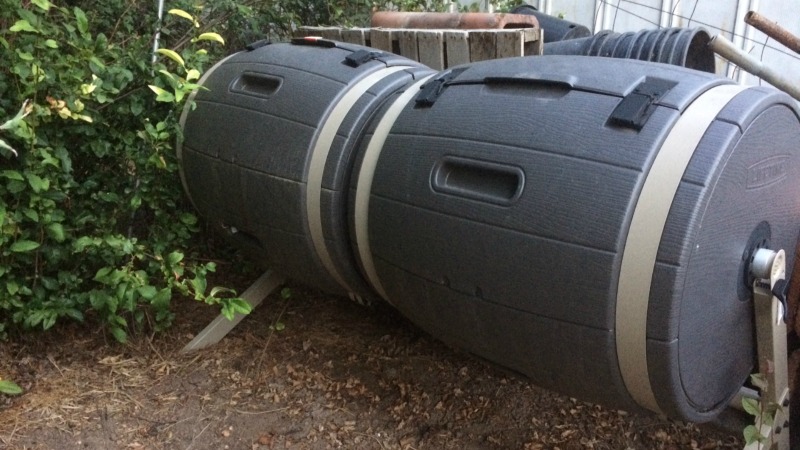
We started by making a big pile in the back corner of the yard but realized quickly that, while this would eventually work, it was sort of unsightly and not as effective as it could be.  We then turned to a store bought composter with two plastic barrels mounted on a frame to allow the user to easily spin the barrels once in a while to mix up the contents.  We quite like this composter but quickly realized that this set up was better suited to someone with a smaller amount of material to compost. We needed something bigger to accommodate the amount of material we were generating with all the green waste from our canning and from our yard.

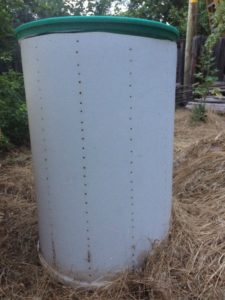
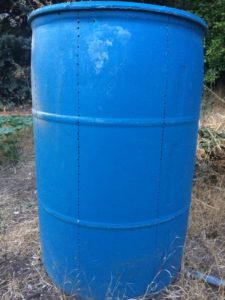
My husband knew someone who was moving and getting rid of a couple of 50 gallon water barrels.  We decided to pick them up to try using them to capture rain water for watering our garden (that’s a conversation for another blog post!) and then it occurred to us that these would make good composting bins.  My husband removed the top from one of them so we could easily put material in to the barrel and then drilled holes down the sides all around (easy and quick job with a power drill).  Suddenly we had much more space to fill. We’ve since added a second 50 gallon bucket in to the composting bin family.

So far we’ve had a couple of ‘batches’ of compost and it is surprisingly satisfying to see the rich black earth that was once a bunch of scraps and leavings.


STEPS FOR COMPOSTING

There are a few tricks to composting but, overall, it’s quite a simple task.

STEP 1:  The first thing is to pick a spot for your composting. Pick a spot that gets plenty of sun since heat is an important factor in getting all that green waste to break down.

STEP 2:  Next you need to pick a container. There are lots of commercially available options out there, you can build your own enclosure, or repurpose something the way we did.

STEP 3:  Once you’ve got things set up, you can start adding the organic material.

MATERIALS TO COMPOST

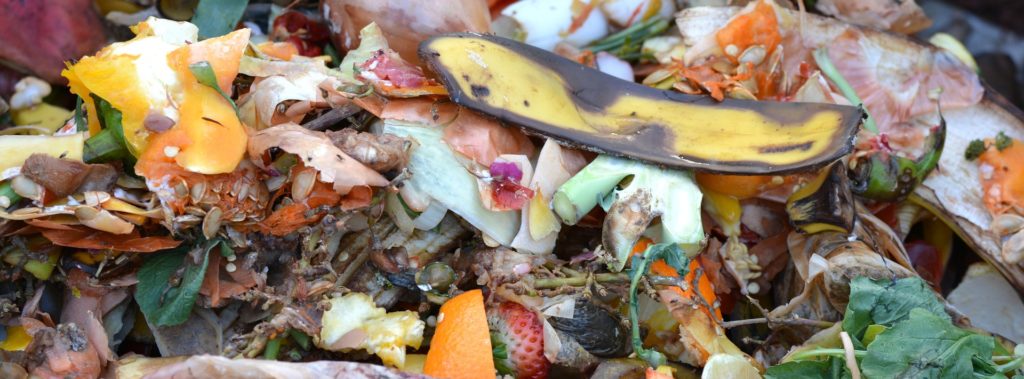
GREEN WASTE: Green waste includes grass clippings and the fruit and vegetable waste you would normally put in the trash.  Try keeping a metal bowl on the counter to hold your orange peels, wilted spinach leaves, banana peels, coffee grounds, etc.  Empty it daily to keep from attracting fruit flies.  They also sell little counter top buckets with lids for holding your compost.  I own one but I find that I tend to ignore it, even once it’s filled (out of sight out of mind!), and then end up with a smelly mess that is harder to get out of the container.  A bowl keeps things visible so I don’t forget to dump it out regularly.

BROWN WASTE:  Brown material can include dried leaves from your trees, cardboard egg cartons, paper bags, sawdust, and tree bark or cuttings.  As with the green waste, breaking this material in to smaller pieces will speed up the process – shred the paper bag or egg carton, use a wood chipper to chop up large branches, and so on.

AIR: There are steps to composting that include making sure the pile gets air, turning it, and making sure it stays moist.  These will help speed the process.  If you have the space for your compost to sit and do its thing for months, rather than weeks, then these steps can be more intermittent.  I have been a slow composter from the start (mostly due to laziness! Turning is something I just don’t remember to do very often). If you want your compost churned out at a faster pace, then you’ll need to be more mindful of these steps.

HEAT: Heat is important to composting, too, but don’t let that stop you from putting organic material from your scrap bowl in to the composter (rather than sending it to the landfill) during the winter. The decomposition process still occurs during the winter but at a slower pace and will pick back up once it starts to warm up.

It is important to remember that you need a mix of green and brown waste to make good compost. The green waste will provide nitrogen for the final product and the brown waste will provide carbon.  Both components are essential. Too much nitrogen in the compost will make it a smelly mess.  Too much carbon and the compost will take a very long time to decompose in to that black soil you’re hoping for.

TIPS ABOUT YOUR COMPOST

A few tips about the things you throw in to the compost pile/bin –
– large pieces of watermelon rind will take longer to break down than small ones so try chopping them up in to pieces no bigger than 1 inch by 1 inch.
– Egg shells can be added to your compost bin BUT they won’t break down as quickly as the green waste.  If you add egg shells, crush them as small as you can before tossing them in the compost bin
– Don’t put cherry pits or nut shells into the composter.
– Don’t put in bones or meat or dairy or oily materials
– Don’t add weeds with seeds (unless you are diligent with temperatures reaching 160 degrees)
– Don’t add diseased plant material (again, temperature issue, and the last thing you want to do is spread disease throughout your garden)


According to the experts at Utah State University, during the growing season, 30% or more of landfill waste is organic yard refuse (https://extension.usu.edu/htm/publications/publication=4955). Home composting eases landfill problems and helps “reuse, reduce, and recycle” this organic material into a valuable soil amendment.

For me, the thing that is most satisfying about composting is this last point.  My efforts may be small in the grand scheme of the trash scene, but I’m doing my part to keep as much waste out of the landfill as I can.  It also just so happens that doing this is actually beneficial to me.  When I dig into my garden, I know that some of that earth was once on my kitchen countertop as scraps and are now contributing to my delectable tomatoes.

Pin me – composting kitchen scraps!

Basic steps to composting kitchen scraps into rich soil

Filed Under: Gardening, How To, Tips & How To's, Uncategorized, Utah Gardening, Yard Care Tagged With: compost, compost kitchen scraps, composting, kitchen scraps

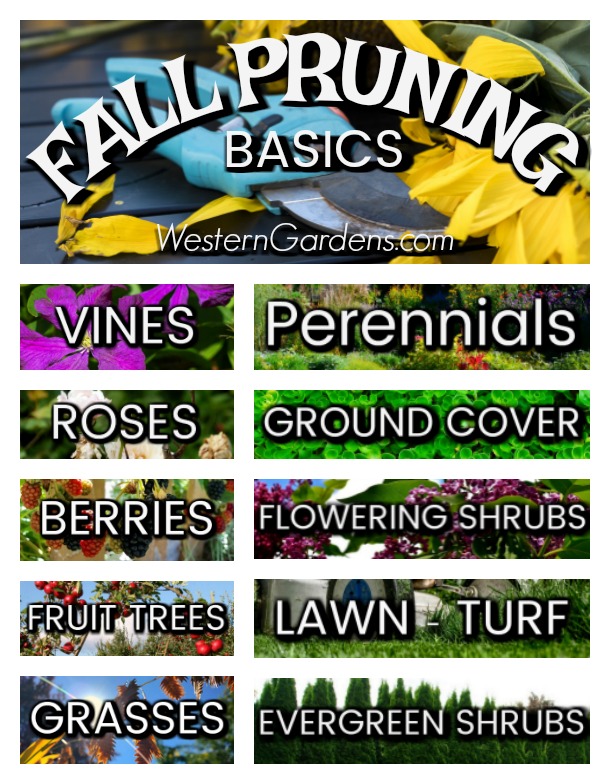
Fall Pruning Your Utah Garden – Basics

October 5, 2017 by Wendy Pettit

Time to do your fall pruning in your Utah garden along the Wasatch Front.  Pruning your garden for winter is fairly simple. Follow two main basic pruning rules and then follow guidelines for various plants listed.

Follow these simple guidelines for fall pruning your garden and yard.

GENERAL Pruning Rules to Remember:

Rule #1 – Don’t prune plants until they are finished blooming.

Rule #2 – Prune dead or broken branches at any time of the season.

FALL Pruning Guidelines:

Fall Pruning of Flowering Shrubs

To keep with Rule #1, remember not to prune fall blooming shrubs until they are done blooming.  Examples of fall blooming shrubs include Rose of Sharon, Hydrangeas, etc. Spring blooming shrubs (forsythia, spirea, lilac, etc) should be pruned in the spring or summer after they are done blooming. Often, these shrubs bloom on new growth, so prune them early in the season to get some good growth for the next year’s blooms.

Before you get started pruning your flowering shrub, keep in mind to retain and enhance the shrub’s naturally graceful habit. Take care not to cut the shrub into a boxy or unnatural shape (unless you want to sacrifice flowers and make a hedge). Remove dead and crossing branches.  Cut ¼ of the oldest canes to the ground. This gives the plant renewed strength, letting light and air circulation into the center of the plant and provides growing space for new flowering stems.

fall pruning your evergreen shrubs

Fall Pruning of Upright Evergreen Shrubs

Lightly prune to shape.  Shrubs like Arborvitae may need wrapping or tying with twine to keep the snow from breaking off the branches.

Fall Pruning of Rose Bushes

Pruning depth depends on the type of rose.  If a hybrid tea or a floribunda type, prune down to 24” above ground.  Otherwise, prune to shape the bush. Prune out dead and broken branches. May mulch around the base of the bush in case of unexpected sub-zero winter temperatures.  In the spring, if there has been winter damage, you will be able to prune off the winter-kill.  Click here for a good article on how to prune your roses.  
fall pruning your vines in your utah garden

Fall Pruning of Vines

Pruning depends all upon the type of vine.  Some clematis need pruning, other clematis do not.  Follow the directions on the plant tag from a reputable local garden center, or ask the experts at the local nursery.
fall pruning your berry plants

Fall Pruning of Berry Plants

Again, pruning requirements drastically vary depending on type of berry and cultivar.   Ever-bearing plants require different pruning techniques than main crop berries.  And even then there are different needs.  You don’t want to trim back too far in the fall if you need to leave that newer growth for next year’s berries.  Again, consult the expert gardeners at your reputable garden center.  Be sure to know what variety of berry you have.

fall pruning your utah fruit trees

Fall Pruning of Fruit Trees

Do not prune fruit trees until winter when they are dormant, i.e. leaves have fallen and temperatures are in 30’s & 40’s.  In northern Utah, we recommend pruning during January and February.  Follow proper tree pruning techniques in the winter.  Winter Pruning video.  Remember that at any time, you can prune away dead or broken branches.

fall mowing your lawn for winter

Fall Mowing “Pruning” of Lawn/Turf

Mowing your lawn is actually a type of “pruning”.  Your last mowing of the season should be shorter than during the summer months when you want the shade of the blades to help retain moisture in the soil and more green for healthier roots.  When you are ready to put your lawnmower away, set your lawn mower to 1½” setting and give your lawn a good pruning!  WARNING:  Don’t be overly ambitious and “scalp” the lawn.  A nice short cut is desired, but you don’t want to injure the base of the plant.  

Additional Fall Lawn Note:  Now is a time to spread your fall fertilizer.  If you have had issues with fungus, now is the time to apply a fungicide treatment.  Also, weed control is still viable when daily high temperatures are higher than 55-60 degrees. Weeds love the forgotten fall lawn.

fall pruning your utah perennials

Fall Pruning of Perennials

Be sure to remember Rules #1 and #2 above.  Not pruning until the plant finishes blooming also applies to dividing and transplanting in the fall.  Don’t transplant until the plant is done blooming.  This means that your fall bloomers like Autumn Joy Sedum, chrysanthemums, etc., need to finish blooming before you divide and transplant or prune.  Be patient! You have plenty of other pruning and garden work to do.  These are the last ones to prune before the beds are done for the winter.  

Two Additional General Fall Pruning Rules for Most Perennials: 

  1. Prune when the plants begin to die back, leaving their greenery to continue feeding the roots as long as possible. 
  2. Cut them down to 3-4 inches above the soil. This is because most perennials die down to the ground in the winter.  Leaving 3 inches will mark the plants during winter.  Also in the spring the 3-4 inches is low enough you won’t need to go back and prune as the plant emerges.  

EXCEPTIONS to Pruning Perennial Rules:  Woody perennials like lavender need only light pruning to shape and evergreen perennials like candytuft should also only be lightly pruned.  If you question what to prune or how much, follow the guidance from your master gardener at the independent garden center like Western Gardens.  We would love to help you have a successful garden.

How to prune ground cover in the fall

Fall Pruning of Ground Covers –

Simply trim lightly.

How to prune your ornamental grasses in the fall

Fall Pruning of Ornamental Grasses

If you enjoy the silhouette of your grasses, leave them to admire throughout late fall.  Later trim to 6-8 inches above ground.

Fall Pruning Questions:

If you have any questions about fall pruning for winter, please feel free to stop by our Western Garden Centers and visit with one of our expert gardeners. We’ll be happy to answer any of your questions.

Fall Reminder:

While you are pruning and cleaning up, breathe deep the fresh autumn crisp air and admire the changes taking place in your garden.

What fall pruning do you enjoy doing in your yard?


The beginner basics of fall pruning your utah garden for winter.

Photo credit: Pixabay

SaveSave

SaveSave

Filed Under: Gardening, How To, Lawn Care, Tips & How To's, Utah Gardening, Yard Care Tagged With: berries, berry plants, evergreen shrubs, fall pruning, flowering shrubs, fruit trees, ground cover, ornamental grasses, Perennials, perennials pruning, pruning, pruning roses, rose bushes, roses, shrubs

  • Go to page 1
  • Go to page 2
  • Go to page 3
  • Go to page 4
  • Go to Next Page »

Primary Sidebar

Shopping Cart

Items in Your Cart

Your cart is empty
Visit The Shop

Follow Western Gardens

  • Facebook
  • Instagram
  • Pinterest
  • YouTube

See what we’ve been pinning!

Follow Me on Pinterest
Followed by people.
?

Pinterest Badge by Skipser

Here’s What We’ve Been Up To!

Save water and money by Turf Training - train your lawn to grow deep roots
work at western gardens utah garden center
Senior gardening woman Edu Carvalho from Pexels
nursery center open to public

Copyright © 2023. Western Gardens - Privacy Policy