• Skip to primary navigation
  • Skip to main content
  • Skip to primary sidebar

Western Garden Centers

for what grows here

  • Home
  • How To
  • Gift Cards
  • Calculate Mulch
  • Locations
    • Store Hours
    • About
    • Garden Shop Employment Team
  • Weddings
    • Salt Lake City, UT
    • West Valley, UT
  • Blog
    • Gardening
    • Recipes

dirt

How to Prepare the Ground for your Garden

April 28, 2018 by Western Gardens

Prepare your soil for your vegetable garden

So you want to grow a vegetable garden?  The first step is to prepare the ground for your garden.  Growing a vegetable garden is like painting a room.  The actual painting the room is the “fun” part.  All the preparation before the roller hits the smooth wall is the most important part of painting a room.  Washing, puttying holes, sanding, and priming the walls may seem tedious and unglamorous, but it is very important to create the ultimate finished nicely painted wall.

Preparing the ground for your vegetable garden is just as important as picking the fruits of your labor.  You’ve come to the right place to get started.  Welcome!
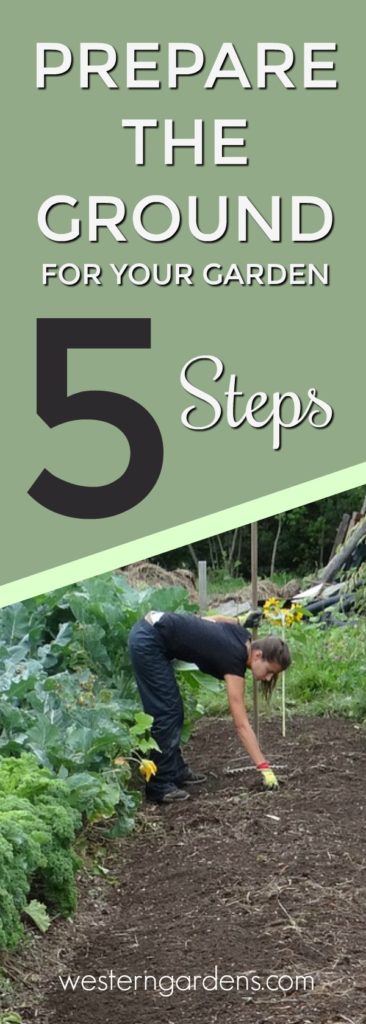
5 steps to prepare the ground and soil for your garden

You can do it!  Here are some steps to get you started in the wonderful world of gardening:

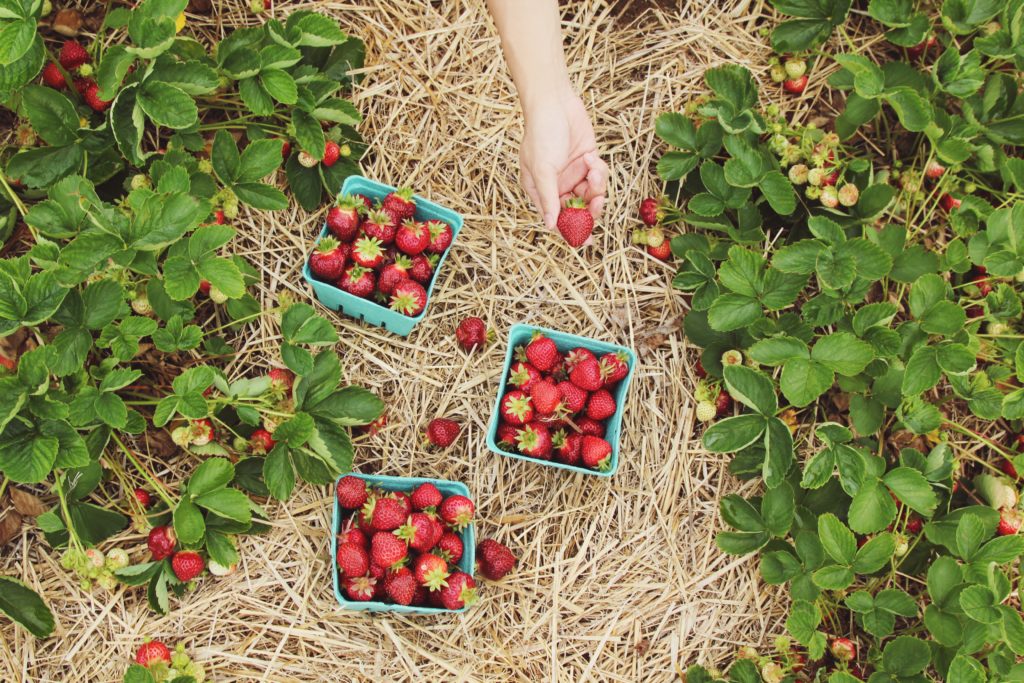
  1.  Start Small – You don’t want to bite off more than you can chew.  It’s like a new exercise program.  In the beginning you may be overwhelmed, tired, and want to quit.  Start smaller.  A plot of ground 8′ x 10′ is plenty big.  You may want to just start with growing a few items in large planters (but there are some vegetables that don’t like the confinement of planters).  Maybe just begin with a small strawberry bed.  Sweet rewards await you.  Find success with a little garden. You can always expand as you get the hang of it.Small garden to begin with
  2. Choose a Sunny Location for a Vegetable Garden –  Vegetables like sunlight.  Most vegetables like 8-10 hours of sun in 24 hours.  Trimming overgrown unwanted bushes or trees could be done to create more sunlight for your garden.  If you are doing a flower bed, decide whether it will be for shade loving plants or full sun plants.Shovel in dirt digging vegetable garden
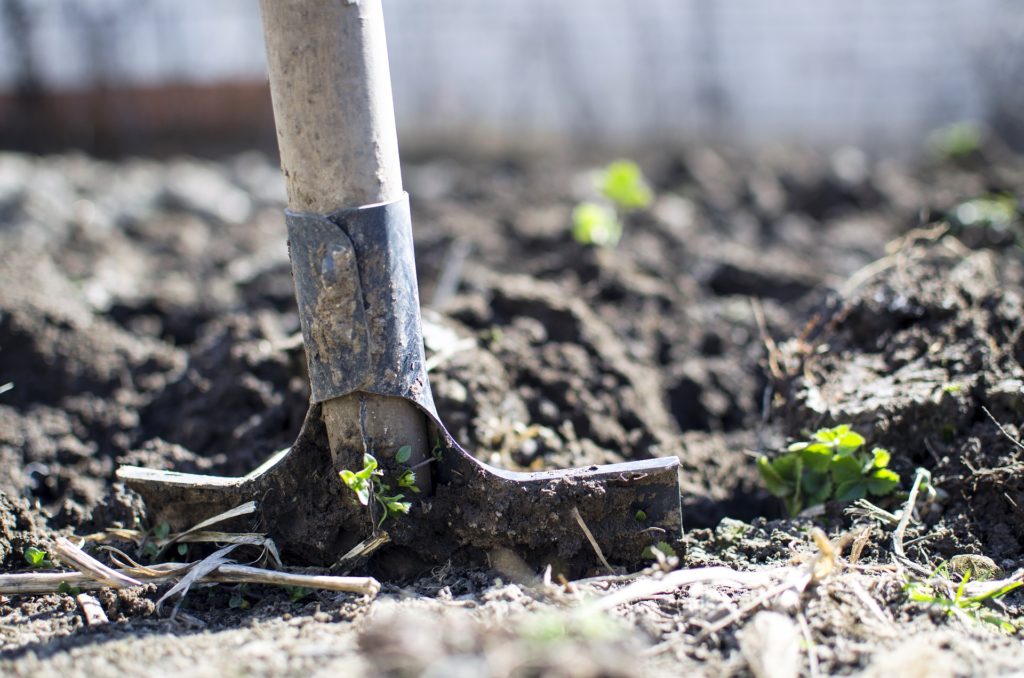
  3. Clearing the Space – Now that you have your area chosen, it’s time to prepare the ground for your garden.  Clear the ground of weeds, rocks, sod, etc. All you want is dirt!  A shovel works well to dig up roots and to turn over your dirt.  If you have sod, you can dig it up with your shovel, but be sure to shake off all the dirt from the roots of the pieces you lift.  You don’t want to rob your garden of the awesome soil.  You can throw the sod into a compost pile.  Some people go to the expense of buying or renting a tiler to work up the soil and sod.  Do what you can afford.  The idea is to get the soil free from weeds, grass, rocks, roots, and other things to hinder your garden growth.  You are “clearing the land” like our forefathers had to do.a good loam soil is what we want to plant in
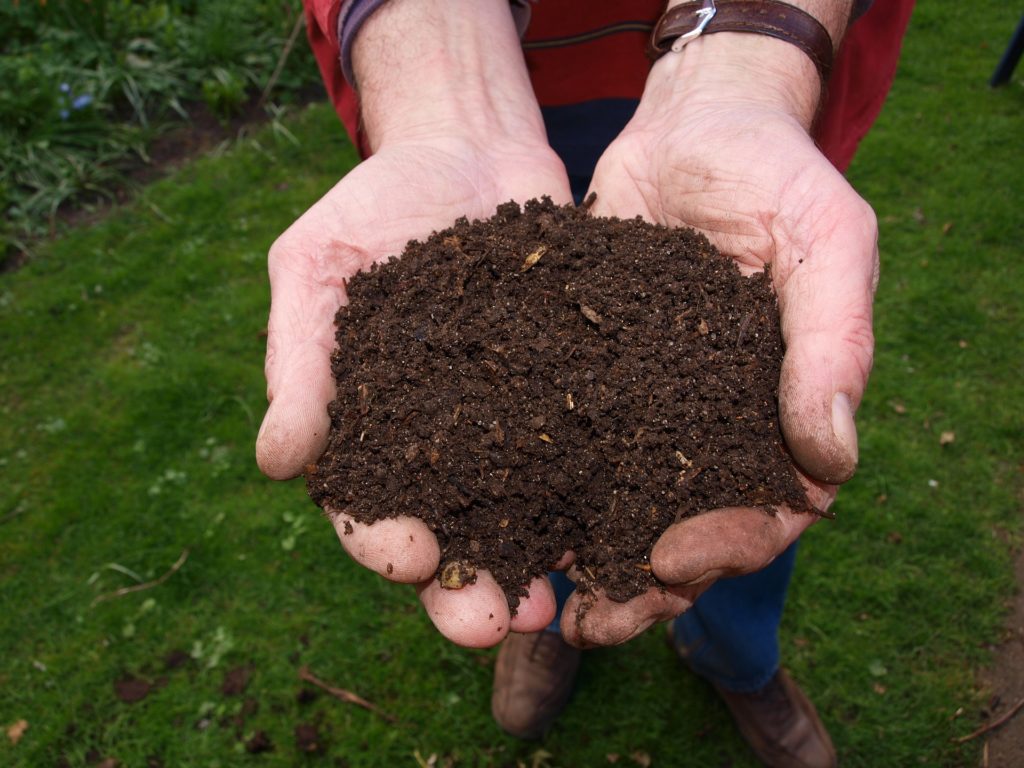
  4. Soil Preparation – Here along the Wasatch front in Utah, we have pockets of all types of soil.  Just in the Salt Lake Valley alone, you could have very sandy soil that doesn’t hold the water well at all, or you may have clay, which holds the water too much and drowns the plants.  Our ultimate goal is to have a good “loam” – a mixture of sand, clay, and good organic matter.  Back to your soil – you must determine what type of soil you have.  If you have very sandy soil, you’ll need to add amendments to the soil to get it more to the “loam” we are after.  If you have more heavy clay soil (like mine), then you will need to amend the soil with different products, again to bring it to that balanced loam we seek.   If you are not sure what kind of soil you have, take a gallon size baggie with about 2 cups soil from your garden plot and visit your local garden center like Western Gardens.  Inquire of their garden experts and they can identify what type of soil you have.  They will also identify what soil amendments you may need to add to your dirt.  Lots of times it’s just needing to add more organic matter to the soil.  They’ll tell you the method you should follow for your situation and your soil.  You may just need to top dress your bed with some bags or a load of topsoil.  But ask the garden experts and they’ll help you.  They want you to be successful too. dog with hose in mouth
  5. Watering Method – You will want to at least know how you are going to water your first garden.  To start off this year, you may just want to purchase a soaker hose to attach to your existing hose and faucet.  Run the hose along your plants or seeds once they are in the ground.  After you get the hang of gardening, you can invest in more elaborate watering methods.  Watering with a hose from above could also be an initial plan.  Just as long as your plants get the proper water needed, you should find success.

Now you are ready to plant!  Easy-to-grow crops like onions, peas, beets, carrots, and zucchini are a great place to start, especially in small gardens.  There are many vegetables that are easy and will save you money throughout the season. If you would like advice on the best vegetables to start with in your garden, and for what varieties work well in our Salt Lake climate, you can always stop by Western Gardens and talk to one of our helpful gardeners.  Here is an article about Warm Season vs Cold Season Vegetables to plant, depending on when your soil is ready to plant up.  They are always ready to help you with organic pest control suggestions, fertilizer recommendations, and their opinions for the best time to plant.

Also, this article from Gardener’s Path is very good and goes into more details.  Planning and Planting Your First Vegetable Garden  Check it out!

Filed Under: Gardening, How To, Utah Gardening, Veggie Gardening Tagged With: dirt, first garden, garden soil, prepare the ground, prepare the soil, soil preparation, soil types, utah soil

Compost and Amending Soil

February 23, 2016 by Becky

Compost | Amending Soil | Why you should STOP tilling your garden!  www.westerngardens.comCompost | Amending Soil | Why you should STOP tilling your garden!

Compost and amending soil can seem tricky and intimidating if you’re not sure where to start.  It’s actually a simple process that will give you great results in your garden and better nutrition in your harvest.  We’re breaking it down for you and explaining why we recommend {or don’t recommend!} different products and processes.  Let’s get started!

compost and soil ammendments | gardening | how toAmending Soil–What is it, Why and How Often?

Amending soil means adding organic matter to your garden in order to give back the nutrition your fruits & veggies took from it last year to grow your healthy, beautiful plants.  Without soil amendments, your garden could be deficient in different nutrients necessary to grow healthy plants and yield a strong harvest.  You should amend your soil every year by placing a 2-3″ layer of compost over your garden beds.

Why Compost?

Also called Gardener’s Gold or  Black Gold, compost is both partially decomposed organic matter {mostly plants and the manure of plant-eating animals} and the microbes that do the decomposing.  Because it is made up primarily of plant matter, compost contains the right proportion of the elements needed for plant growth.  Compost does many things for your soil, including:

  • Provides Nutrition  It’s the source of all basic nutrition for plants.
  • Improves Soil Structure  It separates soil particles and creates aeration, and nurtures the organisms that build and maintain it.
  • Increases the Ability of Soil to Retain Water Compost can hold up to 6 times its weight in water.
  • Contributes to the Health of Plants  May help prevent some diseases and promotes plant growth.
  • Moderates Soil pH  Most compost is already the ideal pH for optimal plant growth, and will help moderate the pH level in the soil.
  • Feeds Soil Organisms  Compost is the food source for many, many organisms whose activities greatly improve soil structure, increase aeration and water retention, and make it easier for plant roots to grow.  Compost feeds not only worms, but also soil bacteria and fungi, protozoa, nematodes, and more.  (The Vegetable Gardener’s  Bible, 142)

compost and soil ammendments | gardening | how to

Bumper Crop

Bumper Crop Organic Soil AmendmentNot everyone can compost because of space, time, location, or other reasons.  You can still amend your soil even if you don’t save your kitchen scraps and lawn clippings!  Our favorite soil amendment is Bumper Crop, a compost with an organic fertilizer, mycorrhizae (a beneficial bacteria that supports stronger root systems), worm castings (lots of plant-ready nutrients), and kelp meal (filled with micro-nutrients).  This is what we use in our own gardens, and recommend to our customers.

Click NEXT to find out why you might NOT want to till your garden!

Next Button


Images courtesy of winnod and posterize at FreeDigitalPhotos.net

Pages: Page 1 Page 2

Filed Under: Gardening, Tips & How To's, Yard Care Tagged With: compost, dirt, flowers, gardening, how to's, soil, tilling, veggies, Western Gardens

How to Plant a Flower Pot

May 3, 2014 by Becky

Flower pots are an easy, beautiful way to dress up your porch and yard.  They add a great pop of color and a lot of interest, and you can try something new without a commitment to your landscape.  We’ve put together a few tips to make your planters really stand out and look their best this Spring!

flower pots

Choose Your Pot

  • Pick something that will match its surroundings…or stand out and make a statement!

Prepare Your Pot

  • The first thing to add to your pot is a coffee filter.  This will let water drain through the hole, but keep all that potting soil where it belongs…in the pot!  This is especially helpful if your planters will be on a porch or patio, or other area you want to keep clean.
  • Add a couple of inches of small rocks over the coffee filter.  This will help your soil drain better, which will keep your plants healthier.
  • If your pot is large and you worry that it will be too heavy when filled, try placing a smaller pot inside your large pot and upside down over the layer of rocks.
  • Once your rocks (and smaller inverted pot, if necessary) are in place, add some potting soil.  Fill the pot about 2/3 full.  This way you can set each of the plants in the pot without digging individual holes…you will fill soil in between the plants once they are all in place.

Add some Drama!

  • The three types of plants for your pot are “Thrillers, Fillers & Spillers.”
  • When you remove the plants from their containers, gently tear the roots away from the soil so they will begin to grow into the soil, instead of circling  their root ball.
  • Thrillers add height and dimension.  Place in the center of your pot.  Grasses are a great choice for a center plant, anything from Purple Fountain Grass to Dracaena Spikes.
  • Fillers add rich color and interest.  Place around your “thriller” plant.  Choose your favorite flowers…the possibilities are endless!
  • Spillers add a special, dramatic touch as they begin to cascade over the side of your pot.  They stay beautiful all season long.  Sweet Potato Vines and Creeping Jenny are always popular!

flower pot 4

Make it Odd

  • Use odd numbers when you are adding plants to your pot.  One of those basic design principles…odd numbers are more pleasing to the eye.  Add them in 1’s, 3’s or 5’s.

Keep it Happy

  • Be sure to give your flowers pot the water they need, but don’t over-water!  Feel the soil…if it’s still nice and moist, don’t water.  If the soil is just barely moist, it’s time for water.  {A good rule of thumb is to stick to your finger in the soil about two inches to feel how moist it is.  Let the soil become just moist between waterings, but don’t let it dry out.}  Plants in full sun will need water more frequently than plants in full shade.  You will figure out quickly how often to water your pots, then just make it part of your gardening routine!

Check out our video, Mike will show you how to put it all together!

Flower pots are a gorgeous addition to any yard.  We would love to see yours!  Email your pictures to [email protected] for a chance to be featured on our Instagram account!  {Or use the hashtag #westerngardencenter}  Be sure to follow us @western_gardens if you aren’t already!

flower pot blog main

Filed Under: Flowers, Gardening, Tips & How To's Tagged With: dirt, flower pots, flowers, how to's

Primary Sidebar

Shopping Cart

Items in Your Cart

Your cart is empty
Visit The Shop

Follow Western Gardens

  • Facebook
  • Instagram
  • Pinterest
  • YouTube

See what we’ve been pinning!

Follow Me on Pinterest
Followed by people.
?

Pinterest Badge by Skipser

Here’s What We’ve Been Up To!

Save water and money by Turf Training - train your lawn to grow deep roots
work at western gardens utah garden center
Senior gardening woman Edu Carvalho from Pexels
nursery center open to public

Copyright © 2023. Western Gardens - Privacy Policy