Hello Gardening Friends, thanks for stopping by!
If you’re excited to work in your yard or garden, but not sure where to begin, then you’ve come to the right place! We’ve put together a list of things to do throughout the month.
You may not need to do everything on this list. For example, if you don’t have bare patches to reseed or Spring bulb foliage to cut back, skip over those items on the list. Just pick what applies to your home and yard and plan out when you will do it all throughout the month!
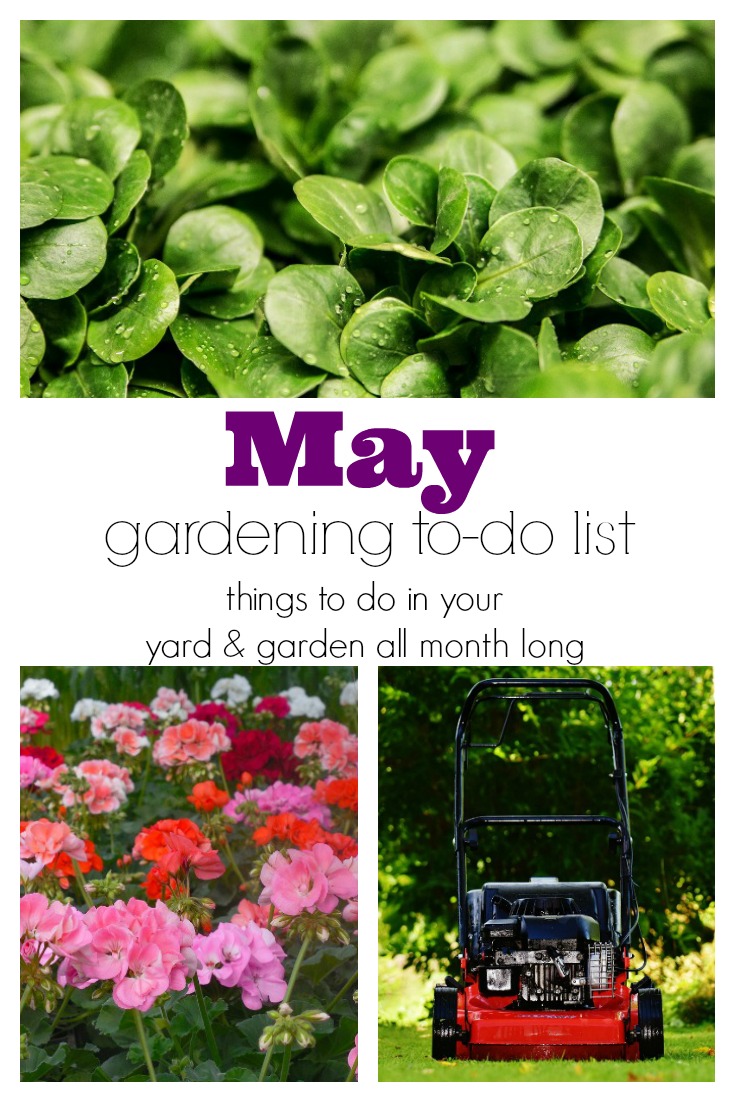
May Gardening To-Do List
➺Train your Lawn – Turn Sprinklers On only when needed – Let the lawn tell you when it needs watering. Click here for more details.
➺Lawn Watering – Use a “moisture meter” probe to determine adequate moisture.
➺Water Conservation – Conserve water by watering before 10:00 am or after 6:00 pm.
➺Lawn Aeration – Its not too late if you haven’t already.
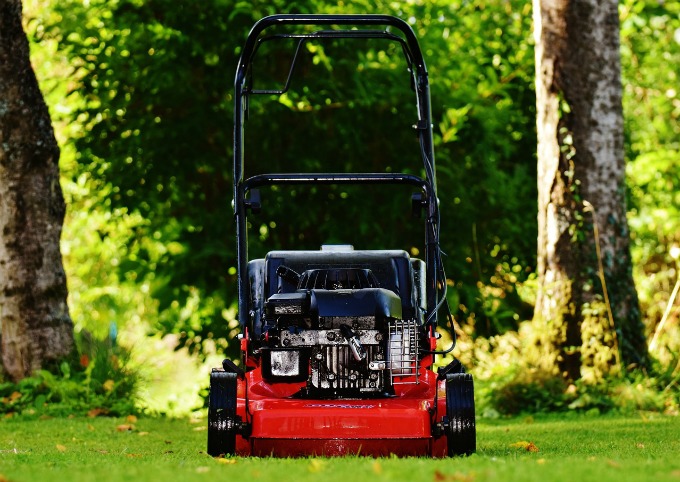
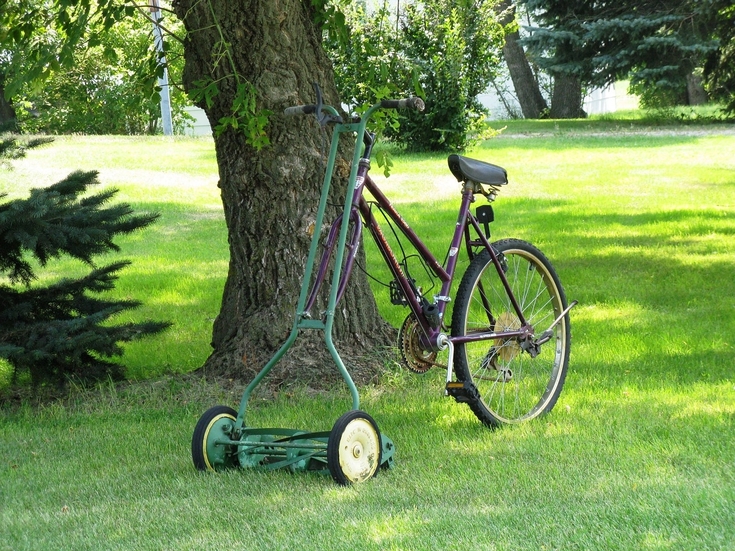
➺Set Lawnmower Height to 2½-3 inches. This allows the lawn to “shade” its soil making for a healthier lawn.
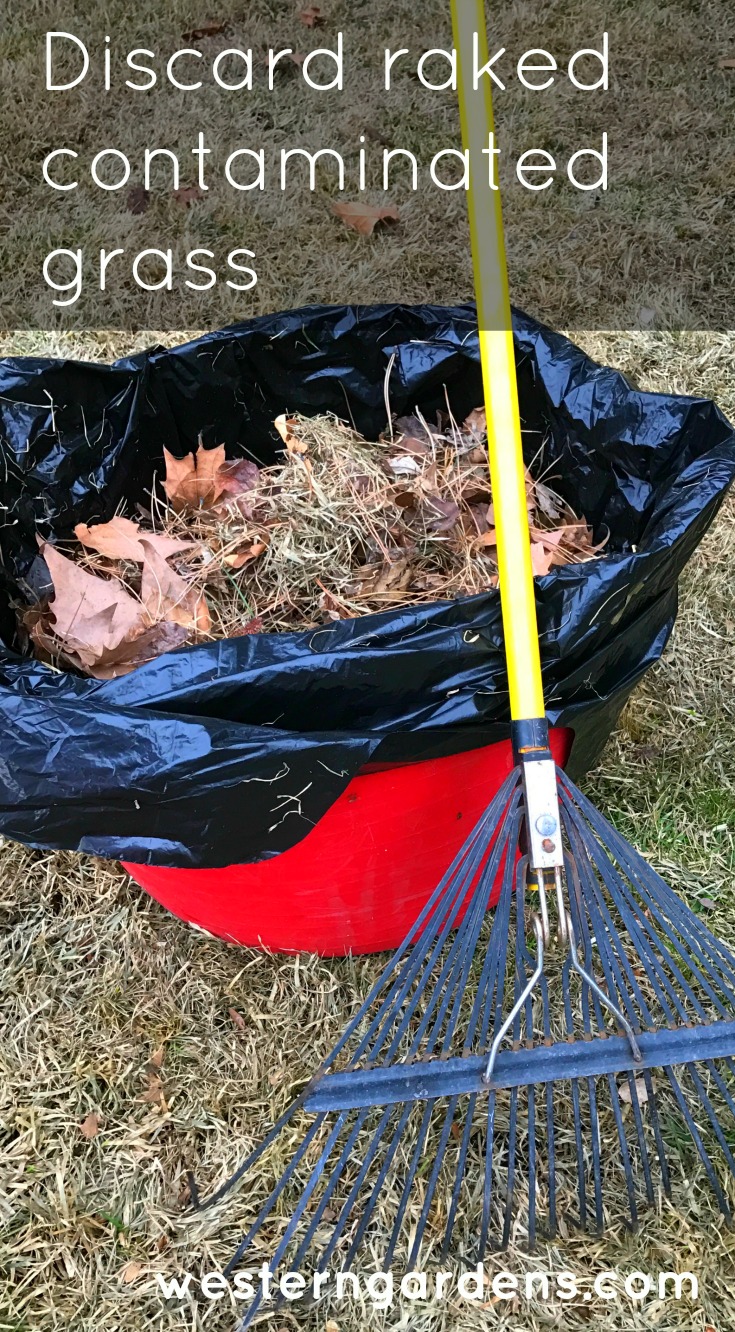
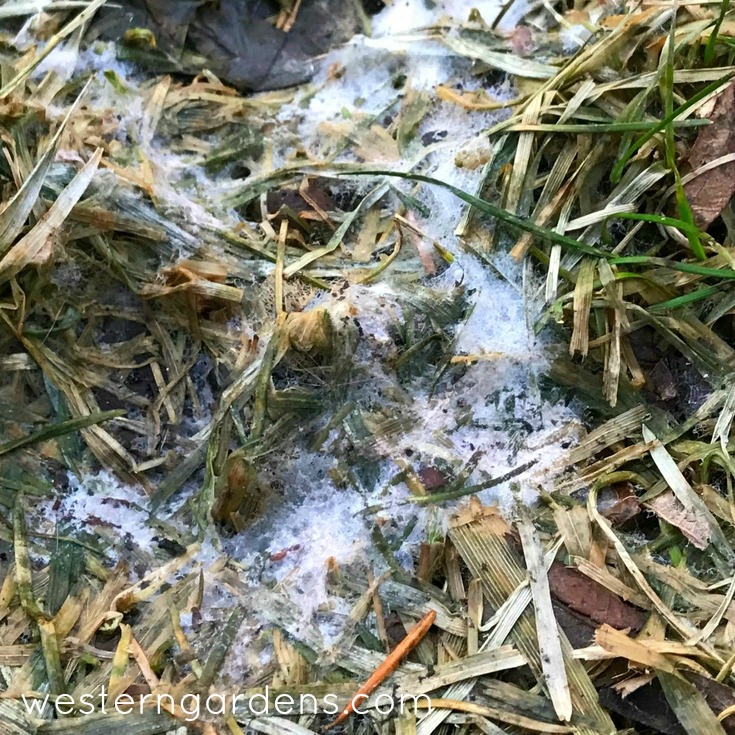
➺Lawn Broadleaf Weed Control (Liquid application) – for Dandelions, violets, etc. Weed-A-Lawn is a great product. Spot treat or apply to big areas of lawn where needed. Follow manufacturer’s instructions.
➺Lawn Crabgrass and Spurge – Second application of pre-emergent granular (6 weeks after the first application).
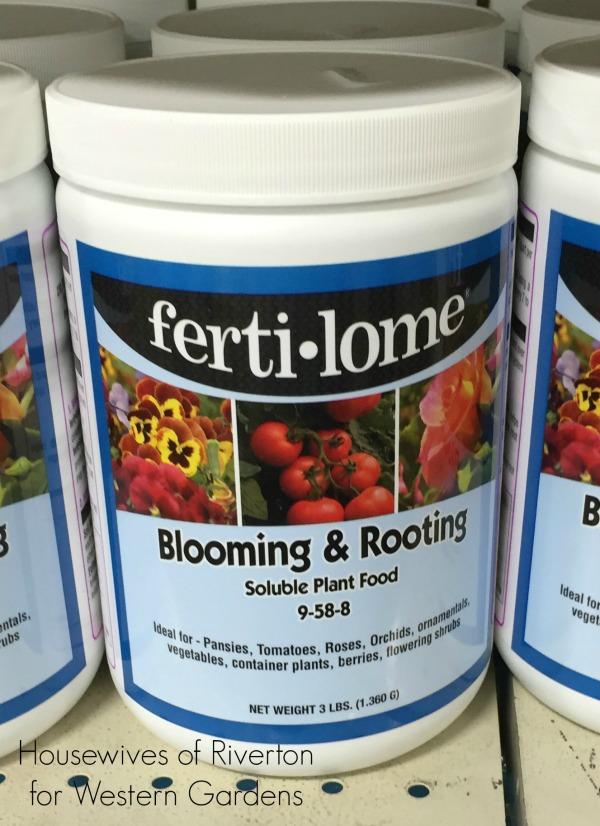
➺Fertilize Lawn with a weed-killing post-emergent granular fertilizer —do NOT water in—apply it to a moist lawn and let it sit for a day
➺Seed Bare Patches in Your Lawn unless you’ve already used a pre-emergent, in which case, wait until September to seed bare patches. Click here for more.
➺Weed, Thin Out & Mulch newly planted seedlings
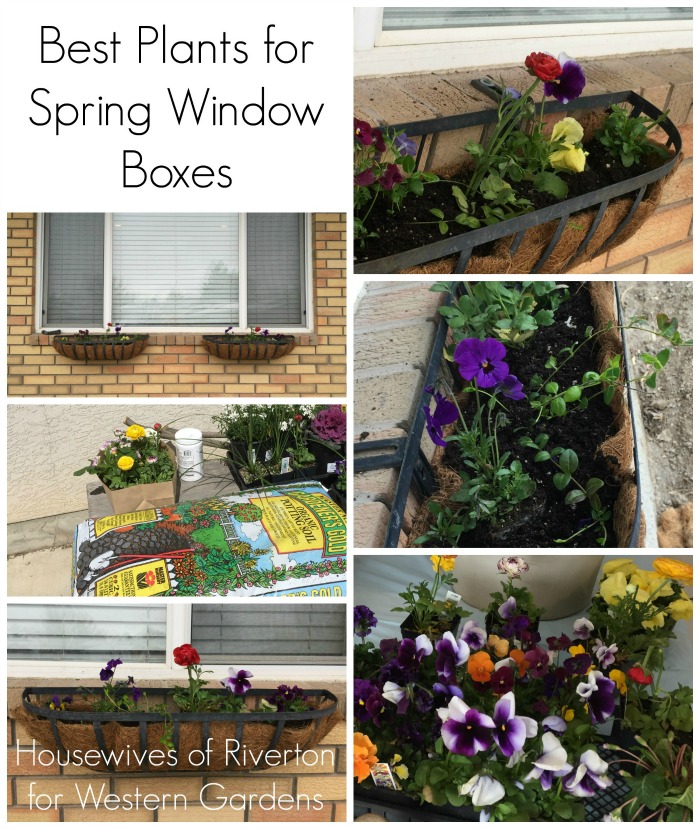
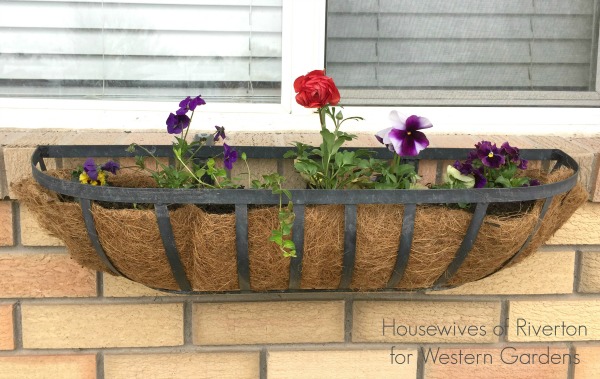
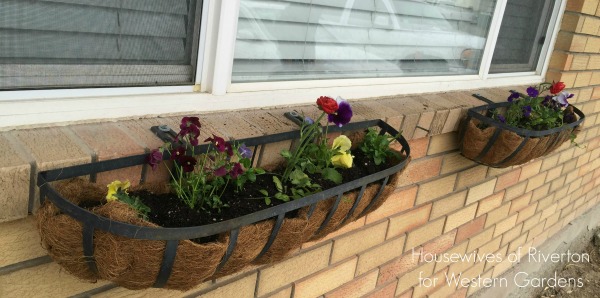
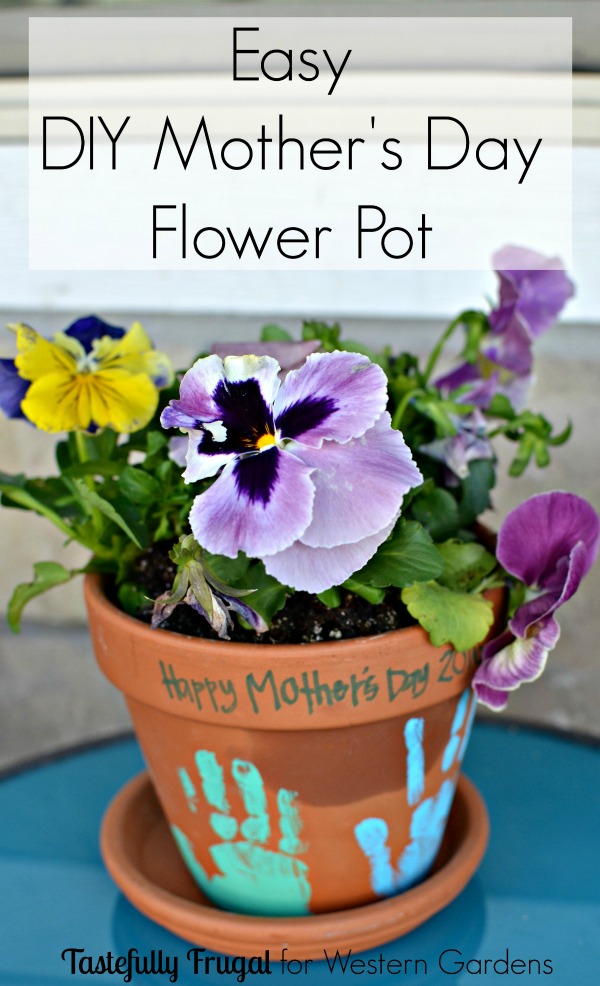
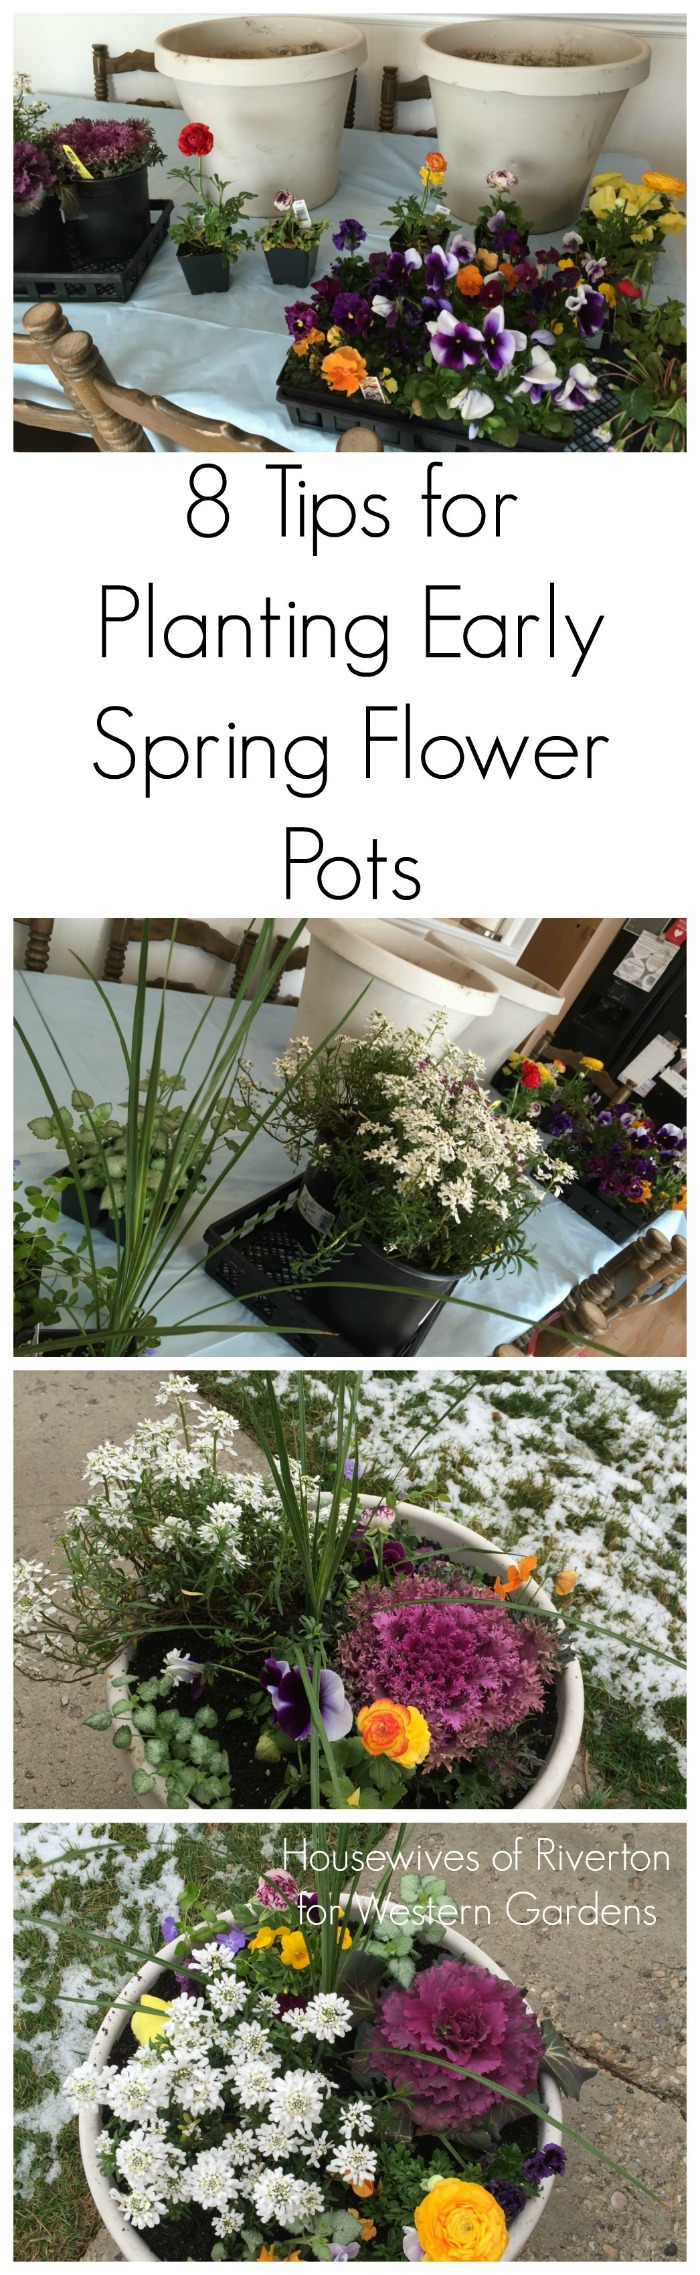
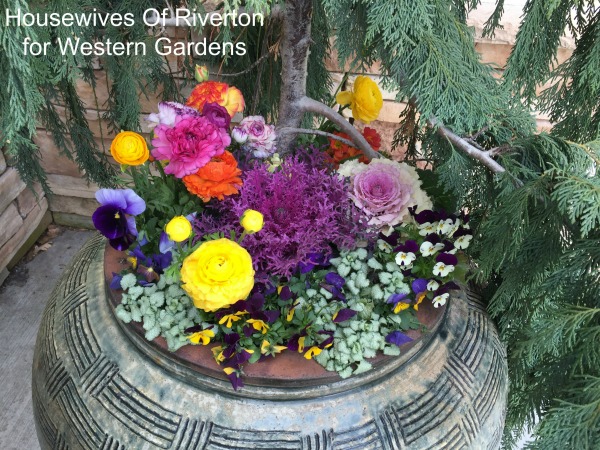
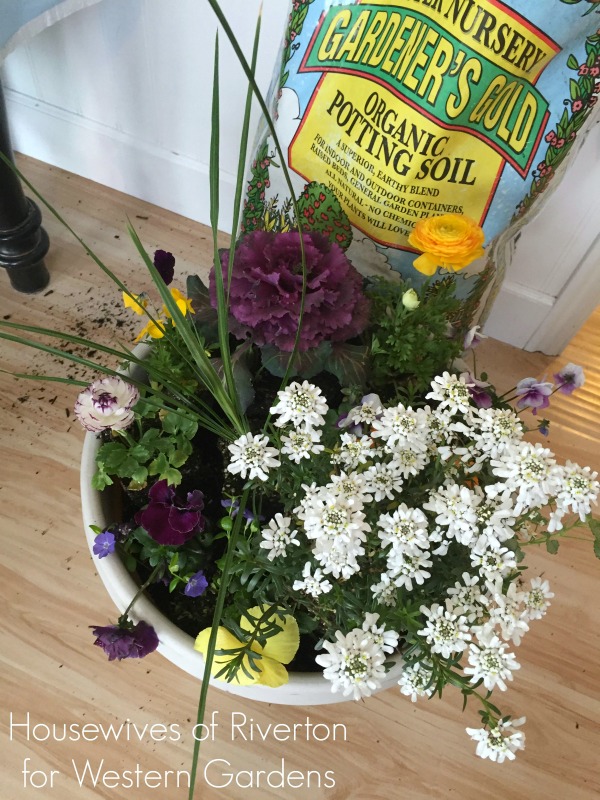
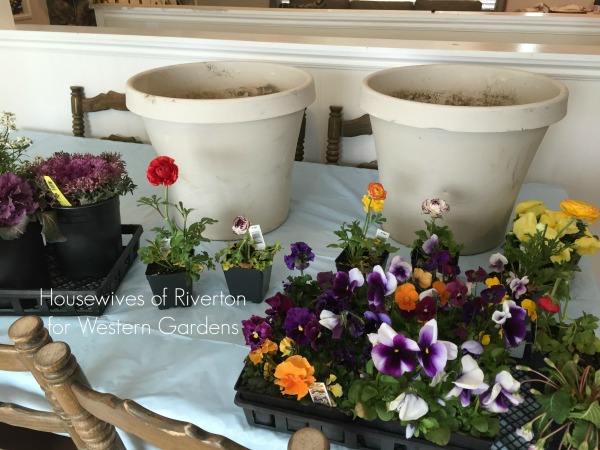
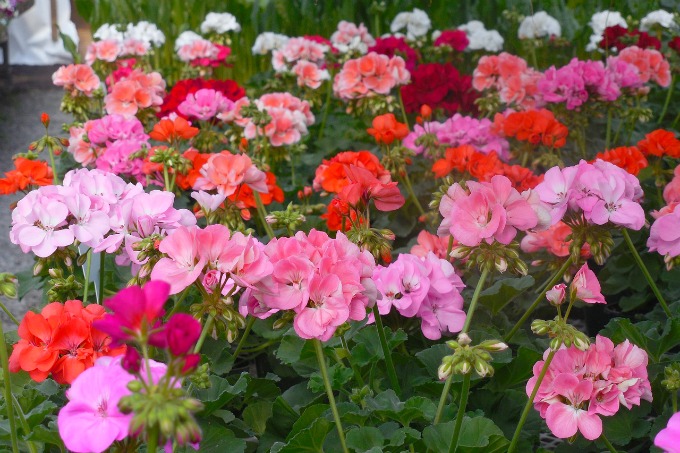
➺Plant Your Favorite Annuals for beautiful color—most can be safely planted after frost danger has passed (some are hardy enough to be planted earlier, check with your local nursery)
➺Spring Bulbs – Remove Spent Flower Heads (aka dead-heading) and AFTER foliage fades and turns brown, cut back leaves.
➺Summer Blooming Bulbs – Plant dahlias, day lilies, and gladiolus. Click here for instructions.
➺Plant Trees, Shrubs, and Perennials – Early spring or late fall are great times to do this. Click here for tips.
➺Divide and/or Transplant Perennials – Summer bloomers: early in the month. Spring bloomers: after blooming is done.
➺Flowering Shrubs – Prune after they finish blooming.
➺Pest Control – Boxelder bugs are a nuisance. Grasshoppers are best controlled when they first hatch. Watch for Leaf roller on boxelder trees. Try to stay ahead of those slimy slugs and snails. Closely follow directions on labels when using insecticides as not to harm bees.
➺Plant Outside
Kohlrabi, parsley, parsnips, potatoes,
Until May 15th: onions & peas
After last frost until June 1st: dry beans, snap beans, eggplant, peppers
After last frost until June 10th: watermelon & winter squash
Until July 1st: cauliflower, parsley, swiss chard
Until July 15th: beets & broccoli
After last frost until July 20th: cucumbers and summer squash
Until Sept 1st: radishes
and so much more….
If you liked learning these tips from the experts, here is another good tip – come in and visit us!
Be sure to check out our June Gardening To-Do List too!
*This is not an exhaustive list. If we’ve overlooked something, feel free to let us know in a comment below!


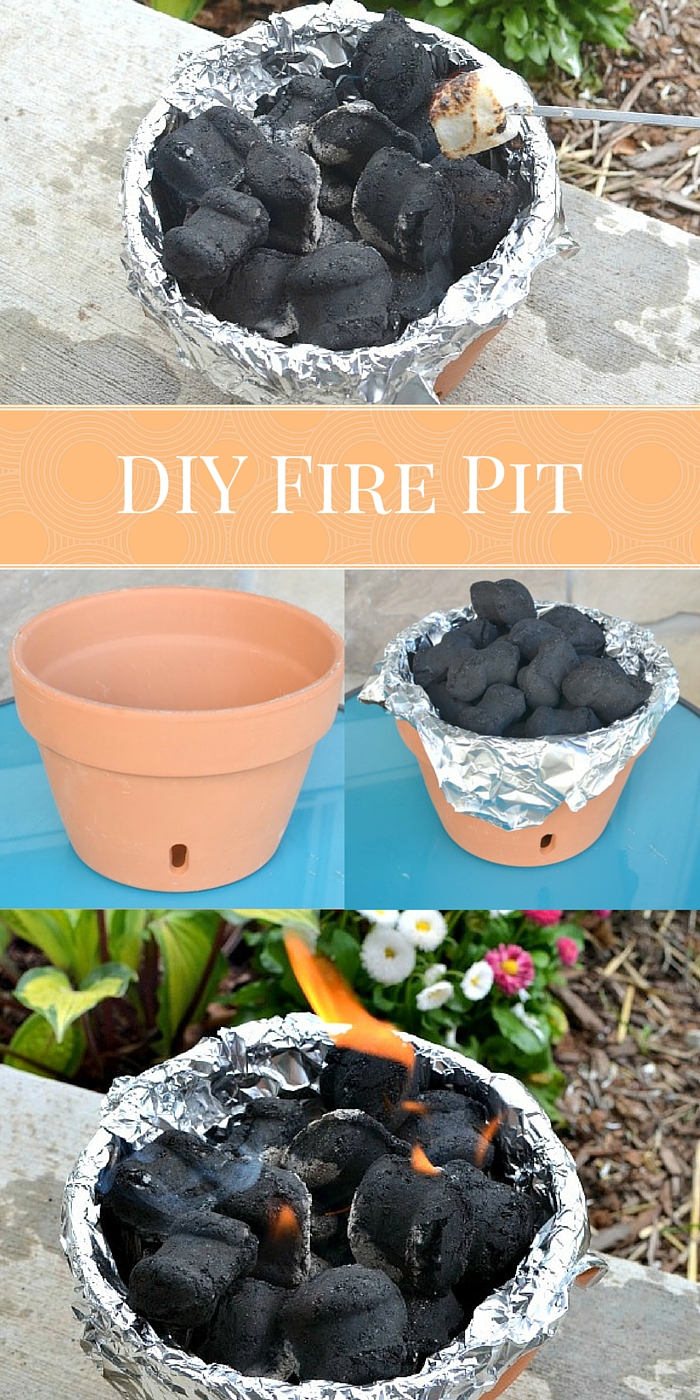
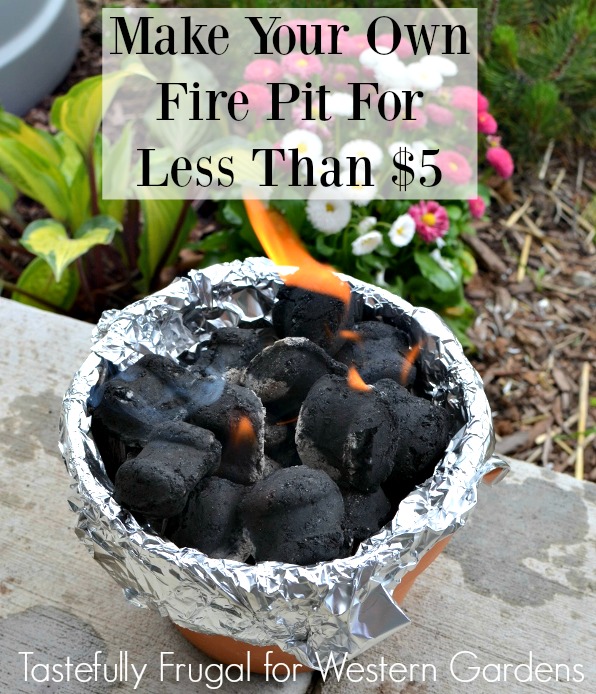
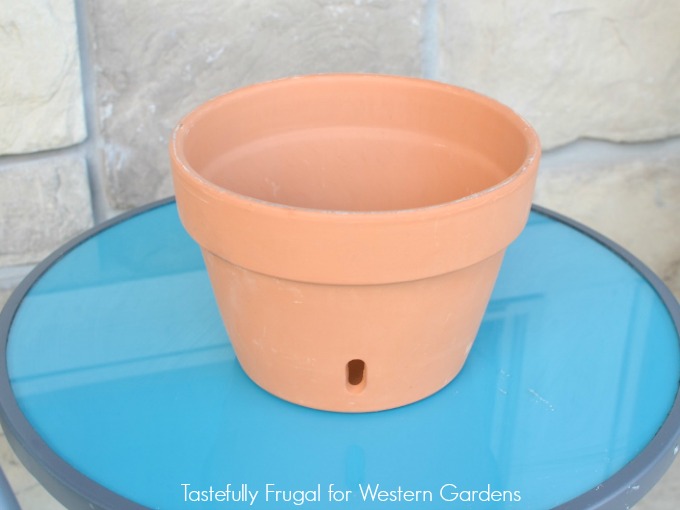 I took matters into my own hands and made a mini fire pit out of a terra cotta pot for our front porch! I took my husband, who is definitely the brains of our family, into