• Skip to primary navigation
  • Skip to main content
  • Skip to primary sidebar

Western Garden Centers

for what grows here

  • Home
  • How To
  • Gift Cards
  • Calculate Mulch
  • Locations
    • Store Hours
    • About
    • Garden Shop Employment Team
  • Weddings
    • Salt Lake City, UT
    • West Valley, UT
  • Blog
    • Gardening
    • Recipes

Kids Craft

Wheat Grass Easter Eggs – Kids Project

March 28, 2017 by Wendy Pettit

Welcome Friends!  Glad you dropped in.

This Wheatgrass Easter Egg is a great kid craft to do anytime in the spring, not just for Easter.  It is inexpensive and easy to make – even little 3 year-old hands can do this; customizable to whatever you have – plastic egg, bucket, basket, whatever; quick and fun to do – who doesn’t like to play in the dirt; and very gratifying within a few days – children observe the growing seeds.  If you want to do this for the holiday, you need to think ahead about 1 1/2 weeks. Easter changes every year, so be sure to check the calendar!

wheatgrass easter eggs are simple to make and fun to watch grow.

SUPPLIES:

» Leak-proof Easter container – pail, bottle, cup, plastic-lined basket, etc.  (I’m using a large plastic easter egg I found at my local dollar store. It came with a lid.)

» Plastic wrap or plastic lid

» Potting soil or vermiculite  (I used potting soil from my last year garden pots.)

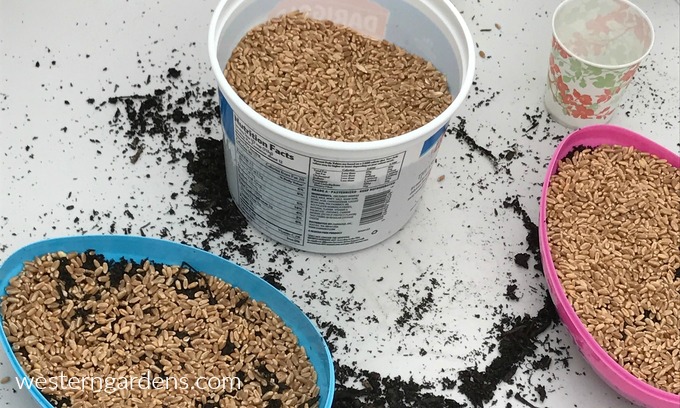
» Whole-wheat grain (I used 30 year old wheat I had in my food storage.)

» Water

Items needs for making wheatgrass easter egg project.

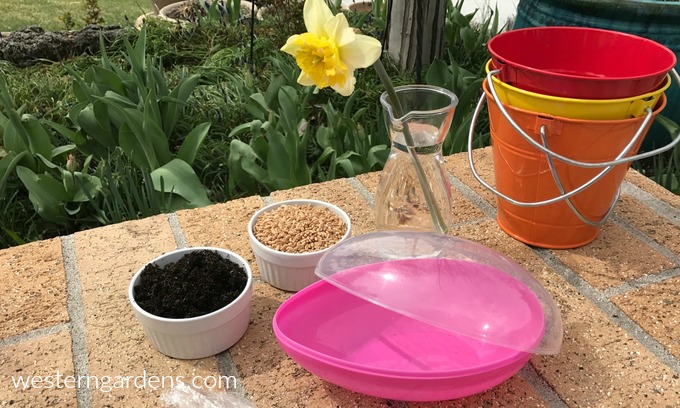
Soil, whole wheat grain, container, plastic wrap or cover, and water. That’s it!

Wheatgrass Easter Egg INSTRUCTIONS:

1. One to two weeks before Easter, fill container with soil or vermiculite to 1-2 inches below the top of the rim.  Gently pat down.

Placing soil into container.

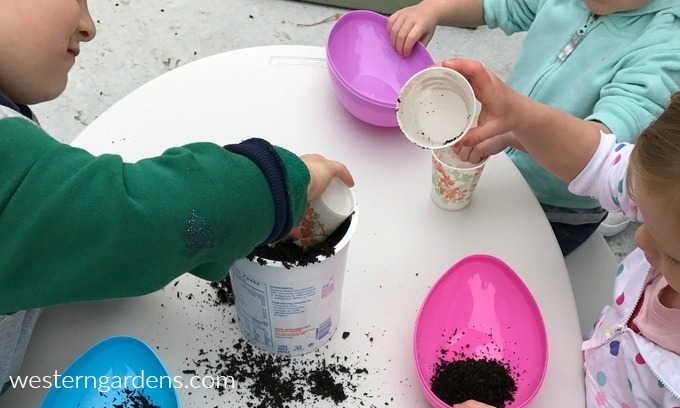
Little by little putting soil in to within 1-2 inches of rim.

Pat down the soil

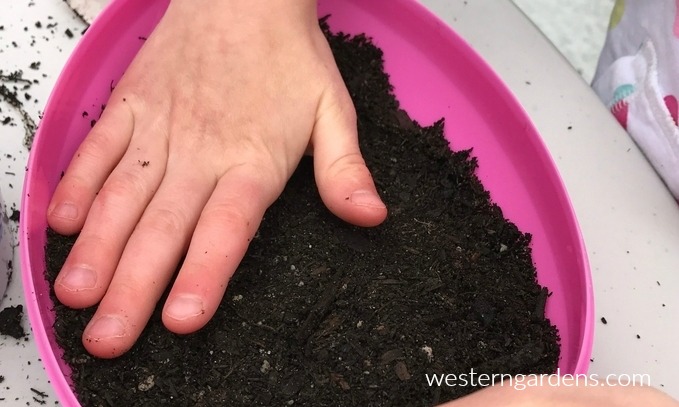
Gently pat soil. (You can talk or sing to it too if you want!)

Little girl with soil on hands.

Don’t have to get all dirty!

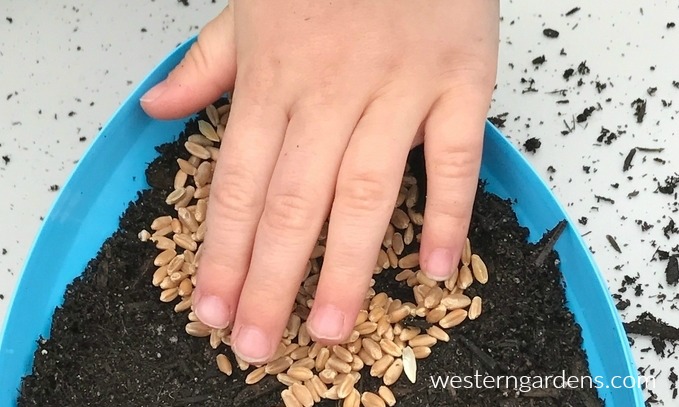
2. Sprinkle a layer of wheat over the soil.

Sprinkling wheat grain on top of the soil.

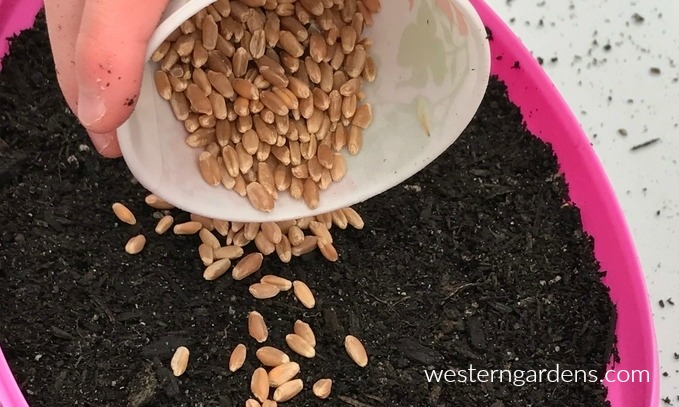
The layer of wheat stays on top of the soil. Do not cover the seeds with dirt.

3. Pour water into container until water is barely visible beneath the wheat.  Note: Drain or “bail” out some water if you accidentally add too much and the seeds are swimming.

Pour water onto seeds and dirt.

Be slow and careful when pouring water into your container.

bailing out too much water from seeds and soil.

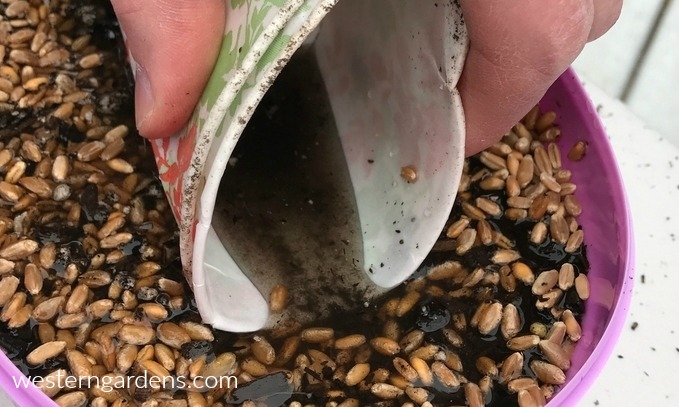
Be careful to bail out water if you get too much. Don’t want the seeds to drown!

4. Place lid or plastic wrap over the wheat.  

5. Place container in a sunny spot (not in direct sunlight).

6. After 2-3 days, small sprouts should appear.  Remove plastic top.  

Little wheatgrass starts are popping out.

Take lid or plastic off when you see the wheat growing. Put in good sunlight (not direct-sunlight).

7. Watch your wheatgrass grow.

NOTE:  During this process, if wheat appears to be dry, mist lightly with water.

8. In 7-10 days, you should have a velvety grass patch!!  

wheatgrass grows quickly.

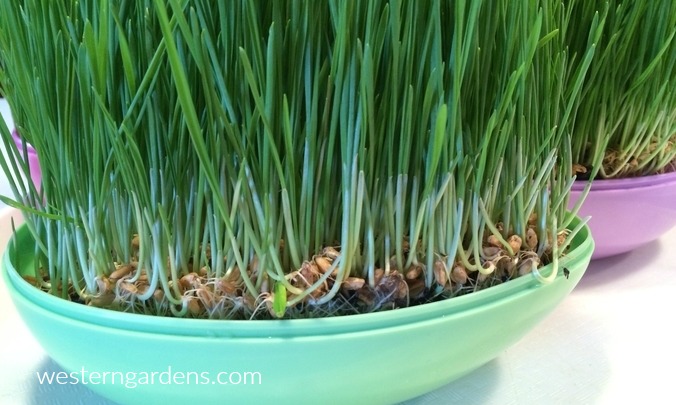
Be patient and watch your grass grow. For fun, get a ruler and mark how far the grass grows in a day.

I initially did this project with a group of women.  We tied pretty ribbons around the eggs and shared them with family and neighbors to watch grow.

Wheatgrass Easter Eggs are ready to give away with ribbon around them.

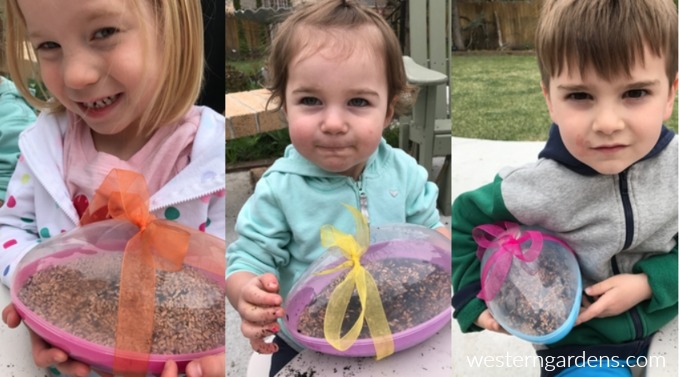
Put a ribbon around the egg and give to another to let them see the seeds grow. Or keep for yourself and enjoy measuring how much the grass grows in a day! Or make a fairy garden in the grass!

9. Add smaller plastic eggs or other little Easter characters in the wheatgrass, if desired.  After the wheatgrass had grown in the egg that I kept for my own family,  I placed in the grass colorful plastic eggs filled with jelly beans and other Easter favorites.  IDEA: It could be fun to create a fairy scene.

A byproduct of this activity – Wheatgrass juice  

Instead of throwing away your Wheatgrass Easter Egg, you could try making wheatgrass juice.  You’ve got a good little crop to give it a try.  Wheatgrass is gluten-free and is touted as one of the best super foods.  Many believe that it can detoxify the body and improve digestion.   Learn some basics about preparing this superfood by clicking here. 

Basics about wheatgrass juice


Filed Under: Crafts, How To Tagged With: Easter, easter craft, easter eggs, how to's, kid crafts, kid friendly, Kids Craft, seeds, wheat, wheatgrass

DIY Bird House Kid Craft

July 15, 2016 by Sydney Anderson

This DIY Bird House is a great kid craft, it’s easy to make and customize…even for little hands!DIY Bird Feeder Kid Craft: Let kids make their own bird houses in just a few minutes!

Do you get birds in your yard? We didn’t get many last year, but this year it seems like there is always a flock (well, at least 5 or 10!) coming and going throughout the day.  My boys love looking out the window and watching them on the grass, so I decided to bring nature a little closer to home and build a bird house for the front porch!

DIY Bird Feeder Kid Craft: Let kids make their own bird houses in just a few minutes!
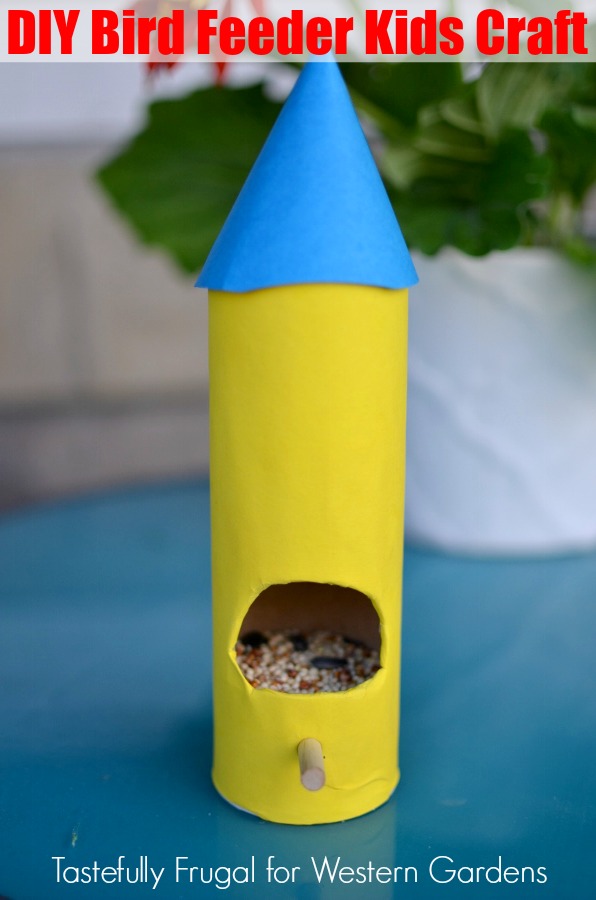
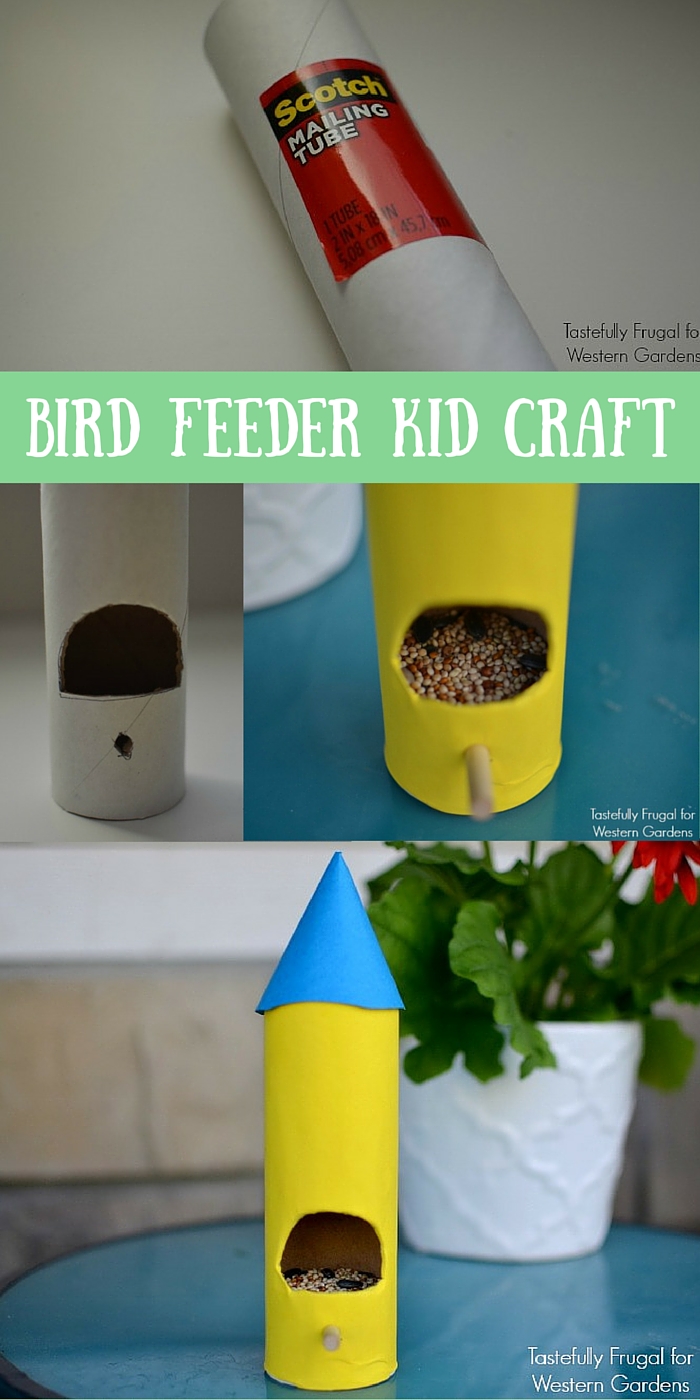
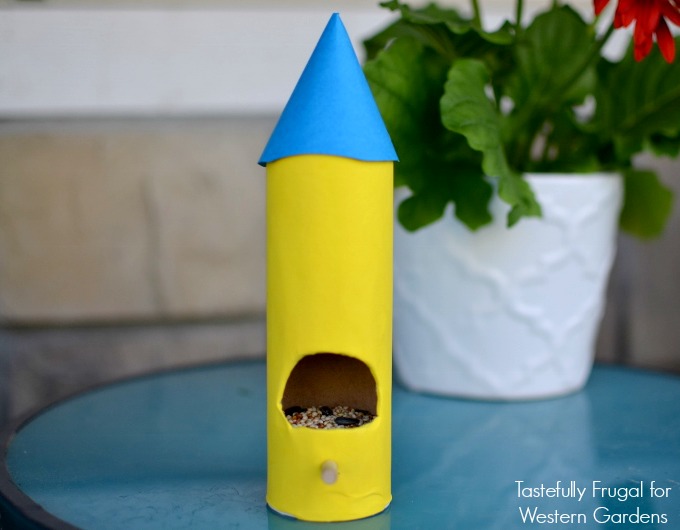
I didn’t think my kids would have the patience to sit through building a birdhouse from wood (they are 3 and 4) so I decided to go with something a little more simple.
DIY Bird Feeder Kid Craft: Let kids make their own bird houses in just a few minutes!

DIY Bird House Kid Craft

Supplies:

  • Shipping Tube (I picked this one up from the FedEx store for $3)
  • Wooden Dowels (you can pick them up at any hardware or hobby store)
  • Cardstock or Construction Paper
  • Scissors
  • Hot Glue Gun
  • X-Acto Knife or Razor Blade
  • Washi Tape, Feathers, Beads or other embellishments
  • Bird Seed (I found a huge variety at Western Gardens)

DIY Bird Feeder Kid Craft: Let kids make their own bird houses in just a few minutes!

DIY Bird Feeder Kid Craft: Let kids make their own bird houses in just a few minutes!

Directions:

  1. Decide on the height of birdhouse you want, measure and cut the shipping tube (we made ours 6″).
  2. Trace a half circle on the shipping tube to put the food in, and cut it out with the X-acto Knife.
  3. Measure and cut the dowel for the perch (ours was about 3″ long).
  4. Cut a small hole below the larger hole in the tube (for the dowel to go in).
  5. Wrap cardstock around tube, measure and cut the cardstock to fit around the tube.
  6. Hot glue the cardstock on to the tube.
  7. Hold the tube up to the light and cut out the large and small circles in the cardstock.
  8. Place the dowel inside the smaller hole and use hot glue to secure.
  9. Hot glue the shipping lid into place.
  10. Cut a piece of cardstock in a contrasting color 6″ x 2.5″.
  11. Roll into a cylinder and hot glue together.
  12. Let kids embellish the roof however they want.
  13. Use hot glue to attach the cylinder to birdhouse.
  14. Pour birdseed into the larger hole.

DIY Bird Feeder Kid Craft: Let kids make their own bird houses in just a few minutes!

Place it on a solid surface, or thread string or rope through the top of the tube to hang from a branch or a porch hook. We have ours sitting on our front patio table and the birds still come up for a snack!  These birdhouses are made with cardstock, so make sure to bring them in if you know a storm is coming…they probably won’t make it through the rain.

DIY Bird Feeder Kid Craft: Let kids make their own bird houses in just a few minutes!

My boys love looking out the window and watching the birds eat from their feeder! We’re also making a bird bath to see if we can get a few more visitors from nature to our porch. What fun ways do you like to bring nature close to home?  Tell me in the comments below!

Check out another fun way to get kids into nature:

Color Scavenger Hunt | Tastefully Frugal

Color Scavenger Hunt

Filed Under: Crafts Tagged With: Birdhouse, DIY, Kids Craft

Primary Sidebar

Shopping Cart

Items in Your Cart

Your cart is empty
Visit The Shop

Follow Western Gardens

  • Facebook
  • Instagram
  • Pinterest
  • YouTube

See what we’ve been pinning!

Follow Me on Pinterest
Followed by people.
?

Pinterest Badge by Skipser

Here’s What We’ve Been Up To!

Save water and money by Turf Training - train your lawn to grow deep roots
work at western gardens utah garden center
Senior gardening woman Edu Carvalho from Pexels
nursery center open to public

Copyright © 2023. Western Gardens - Privacy Policy