by Marjorie Carter
Alchemists are famous for their efforts to turn lead in to gold. It was thought that a “base metal” could be purified or perfected so that it transformed in to something more valuable.
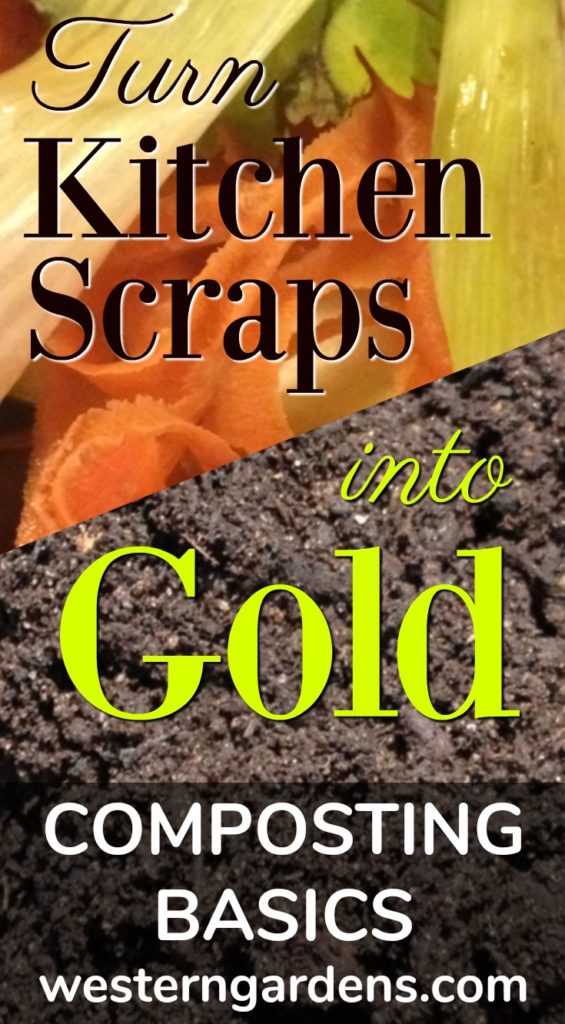
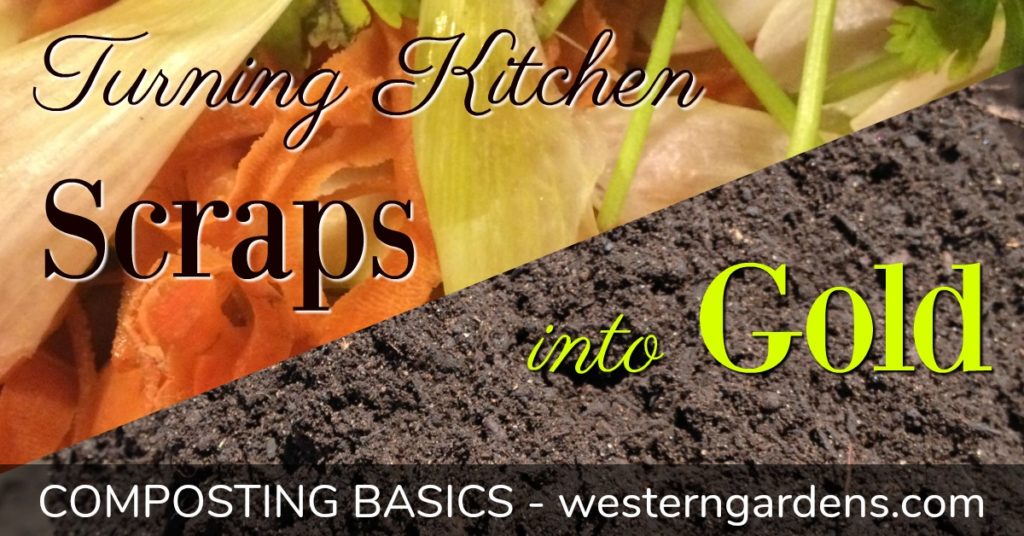
While their efforts were always in vain, it is possible to transform much of your daily waste from food preparation in to something more valuable than it’s original form. Put in some grass clippings, add in your apple cores, roll together with your potato peelings, onion skins, watermelon rinds, and shredded paper bags. Let it heat and stir once in a while. Voila! You end up with black gold (aka compost)!
MY COMPOST EXPERIENCE
The house we bought a few years ago has a large yard (meaning space for a garden) and a few fruit trees. This is exactly what we were looking for and we have enjoyed trying to keep up with maintaining it. Our first fall in the house, we were generating a lot of waste as we processed apples, pears, and tomatoes that we’d grown. We also were looking at all the green waste from pulling up the tomato plants and raking the leaves. It dawned on us that we could be doing something much more useful and conscientious with all that biodegradable material. We had spent some money earlier in the year to buy compost from the landfill to amend our soil to make it better for gardening. Why not make some of our own compost to add to our garden?
We started by making a big pile in the back corner of the yard but realized quickly that, while this would eventually work, it was sort of unsightly and not as effective as it could be. We then turned to a store bought composter with two plastic barrels mounted on a frame to allow the user to easily spin the barrels once in a while to mix up the contents. We quite like this composter but quickly realized that this set up was better suited to someone with a smaller amount of material to compost. We needed something bigger to accommodate the amount of material we were generating with all the green waste from our canning and from our yard.
My husband knew someone who was moving and getting rid of a couple of 50 gallon water barrels. We decided to pick them up to try using them to capture rain water for watering our garden (that’s a conversation for another blog post!) and then it occurred to us that these would make good composting bins. My husband removed the top from one of them so we could easily put material in to the barrel and then drilled holes down the sides all around (easy and quick job with a power drill). Suddenly we had much more space to fill. We’ve since added a second 50 gallon bucket in to the composting bin family.
So far we’ve had a couple of ‘batches’ of compost and it is surprisingly satisfying to see the rich black earth that was once a bunch of scraps and leavings.
STEPS FOR COMPOSTING
There are a few tricks to composting but, overall, it’s quite a simple task.
STEP 1: The first thing is to pick a spot for your composting. Pick a spot that gets plenty of sun since heat is an important factor in getting all that green waste to break down.
STEP 2: Next you need to pick a container. There are lots of commercially available options out there, you can build your own enclosure, or repurpose something the way we did.
STEP 3: Once you’ve got things set up, you can start adding the organic material.
MATERIALS TO COMPOST
GREEN WASTE: Green waste includes grass clippings and the fruit and vegetable waste you would normally put in the trash. Try keeping a metal bowl on the counter to hold your orange peels, wilted spinach leaves, banana peels, coffee grounds, etc. Empty it daily to keep from attracting fruit flies. They also sell little counter top buckets with lids for holding your compost. I own one but I find that I tend to ignore it, even once it’s filled (out of sight out of mind!), and then end up with a smelly mess that is harder to get out of the container. A bowl keeps things visible so I don’t forget to dump it out regularly.
BROWN WASTE: Brown material can include dried leaves from your trees, cardboard egg cartons, paper bags, sawdust, and tree bark or cuttings. As with the green waste, breaking this material in to smaller pieces will speed up the process – shred the paper bag or egg carton, use a wood chipper to chop up large branches, and so on.
AIR: There are steps to composting that include making sure the pile gets air, turning it, and making sure it stays moist. These will help speed the process. If you have the space for your compost to sit and do its thing for months, rather than weeks, then these steps can be more intermittent. I have been a slow composter from the start (mostly due to laziness! Turning is something I just don’t remember to do very often). If you want your compost churned out at a faster pace, then you’ll need to be more mindful of these steps.
HEAT: Heat is important to composting, too, but don’t let that stop you from putting organic material from your scrap bowl in to the composter (rather than sending it to the landfill) during the winter. The decomposition process still occurs during the winter but at a slower pace and will pick back up once it starts to warm up.
It is important to remember that you need a mix of green and brown waste to make good compost. The green waste will provide nitrogen for the final product and the brown waste will provide carbon. Both components are essential. Too much nitrogen in the compost will make it a smelly mess. Too much carbon and the compost will take a very long time to decompose in to that black soil you’re hoping for.
TIPS ABOUT YOUR COMPOST
A few tips about the things you throw in to the compost pile/bin –
– large pieces of watermelon rind will take longer to break down than small ones so try chopping them up in to pieces no bigger than 1 inch by 1 inch.
– Egg shells can be added to your compost bin BUT they won’t break down as quickly as the green waste. If you add egg shells, crush them as small as you can before tossing them in the compost bin
– Don’t put cherry pits or nut shells into the composter.
– Don’t put in bones or meat or dairy or oily materials
– Don’t add weeds with seeds (unless you are diligent with temperatures reaching 160 degrees)
– Don’t add diseased plant material (again, temperature issue, and the last thing you want to do is spread disease throughout your garden)
According to the experts at Utah State University, during the growing season, 30% or more of landfill waste is organic yard refuse (https://extension.usu.edu/htm/publications/publication=4955). Home composting eases landfill problems and helps “reuse, reduce, and recycle” this organic material into a valuable soil amendment.
For me, the thing that is most satisfying about composting is this last point. My efforts may be small in the grand scheme of the trash scene, but I’m doing my part to keep as much waste out of the landfill as I can. It also just so happens that doing this is actually beneficial to me. When I dig into my garden, I know that some of that earth was once on my kitchen countertop as scraps and are now contributing to my delectable tomatoes.
Pin me – composting kitchen scraps!