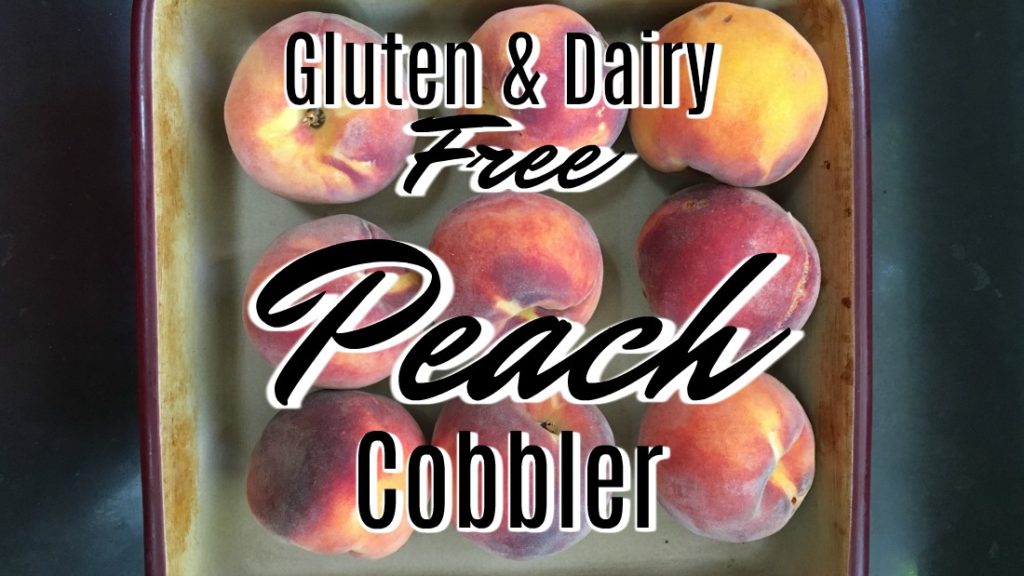
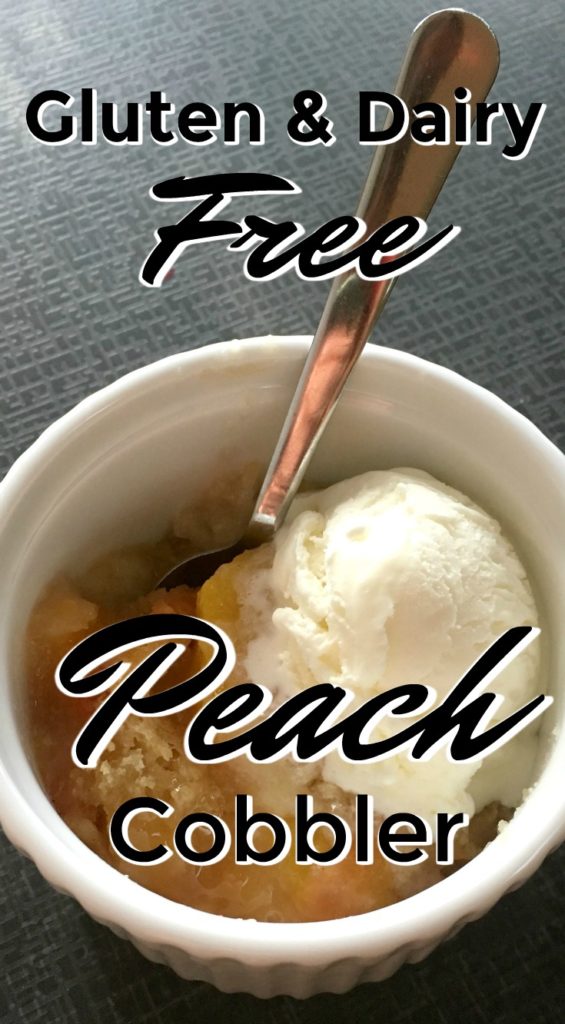
Having someone over for dessert but you have no idea what to feed them because they’re Gluten Free, Dairy Free, or Vegan? Here’s a recipe for gluten and dairy free peach cobbler that will be sure to impress those with or without food allergies. And this recipe is just in time for the ripening of your Red Haven peaches from your tree.
INGREDIENTS
2 cups sliced fresh, frozen, or canned peaches
1-2 tsp lemon juice
3 Tbsp coconut oil
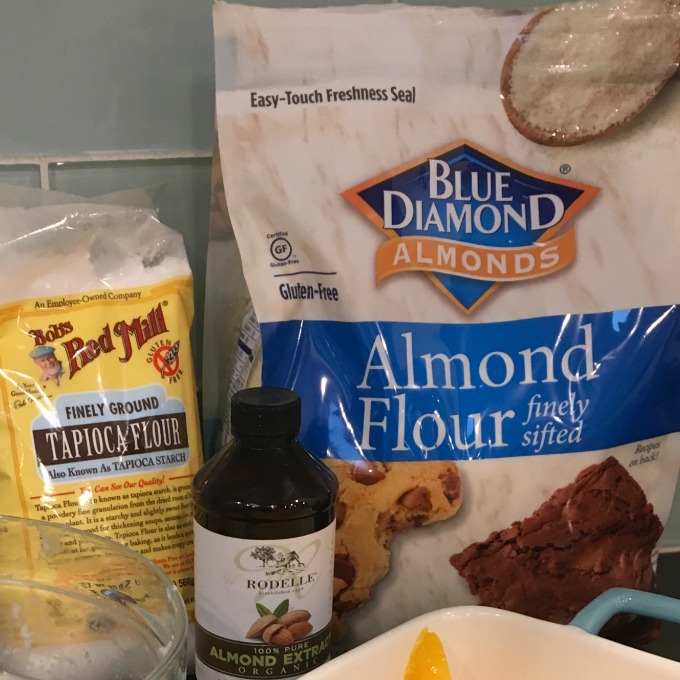
1/2 tsp almond extract
dash of cinnamon (optional, but highly recommended)
3/4 cups sugar
2/3 cup almond flour or brown rice flour
1/3 cup tapioca flour
1 tsp baking powder
dash of salt
1/2 cup coconut milk
1 tsp xanthum gum (you can omit this if you don’t have it, it just makes the flours stick together since they don’t have gluten in them)
DIRECTIONS
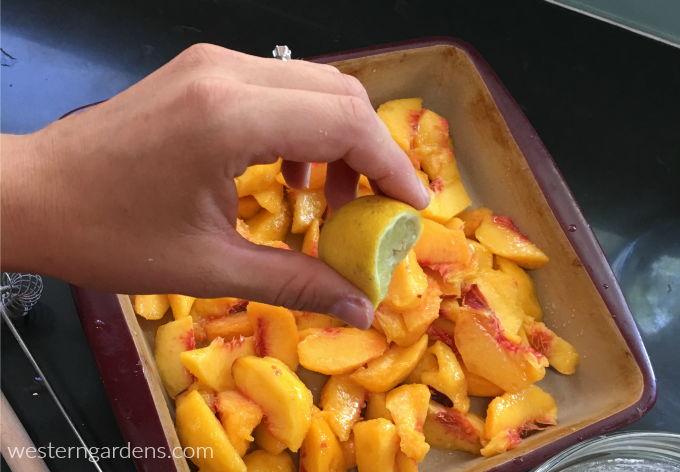
Peach preparation:
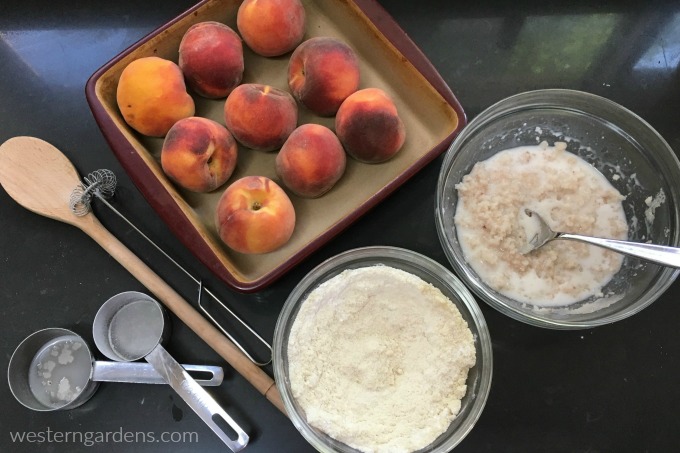
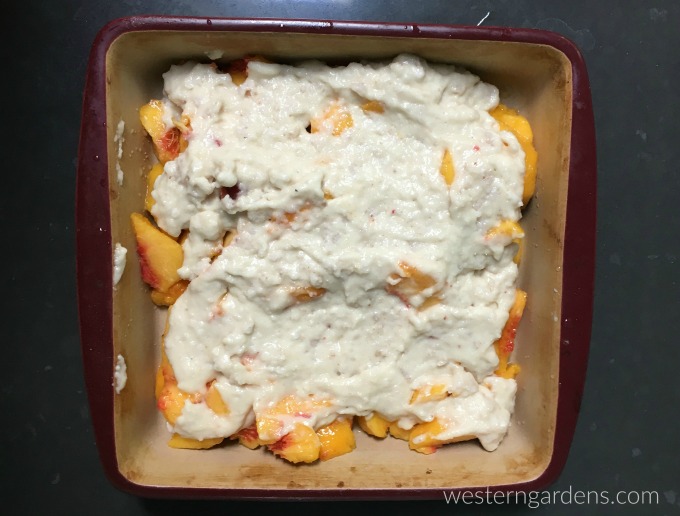
First, peel and slice your fresh peaches and place fruit in 2 1/2 quart dish and drip lemon juice over them. If you use canned peaches, drain and dump in dish.
 Batter:
- Cream together melted coconut oil and sugar, then add almond extract.
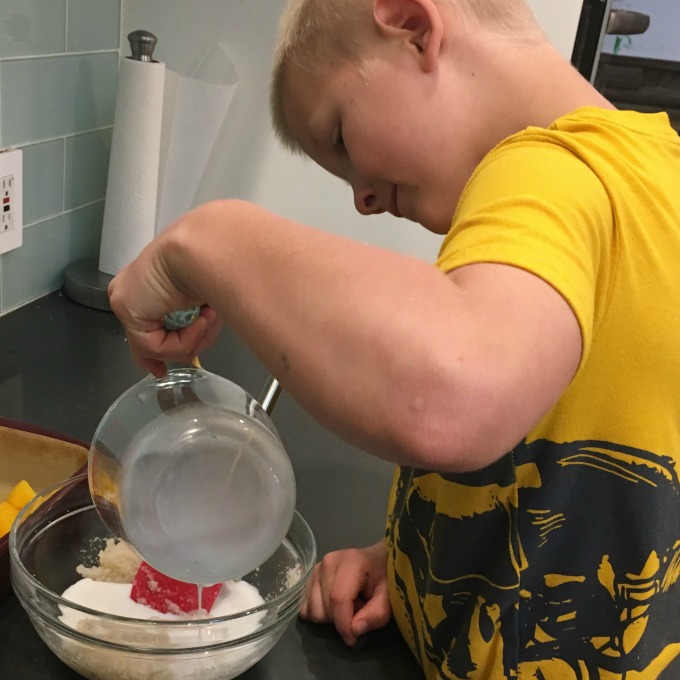
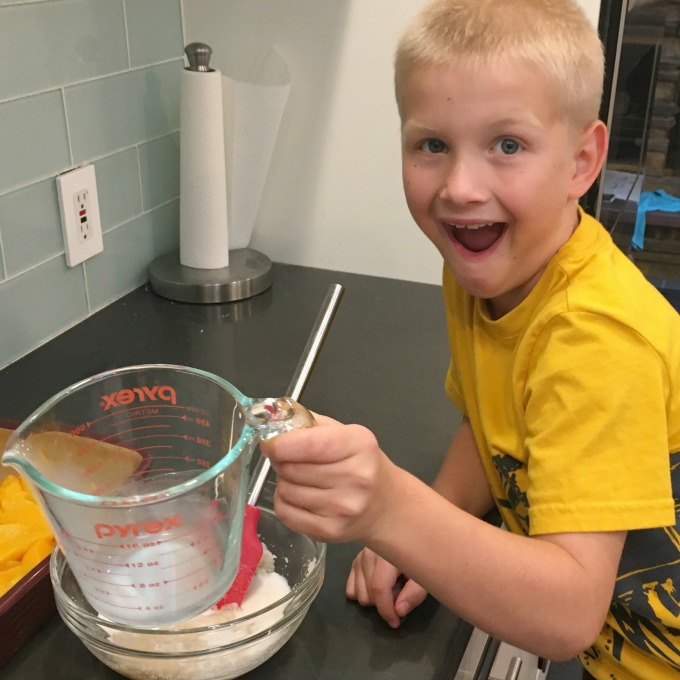
- Add in coconut milk, then rice/almond flour, tapioca flour, baking powder, xanthum gum and dash of salt.
- Mix well and spread over fruit. This will be thick and a tad lumpy.
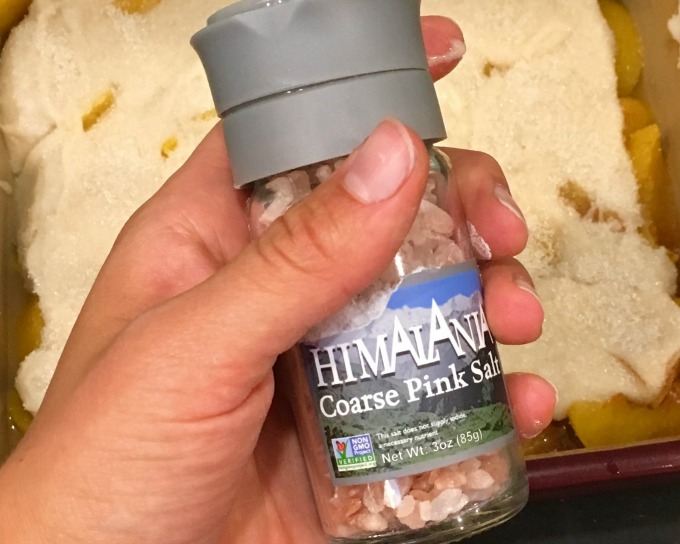
- After this, I like to lightly sprinkle the top with a little sugar and a little freshly ground salt.
Bake at 350 degrees F for about 25-30 minutes. I bake the cobbler until it starts to look caramelized on top, which gives a bit of a crunch to go with the chewy middle.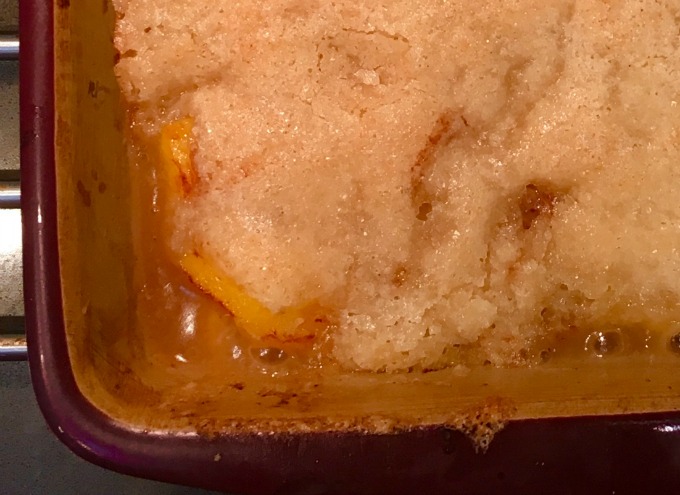
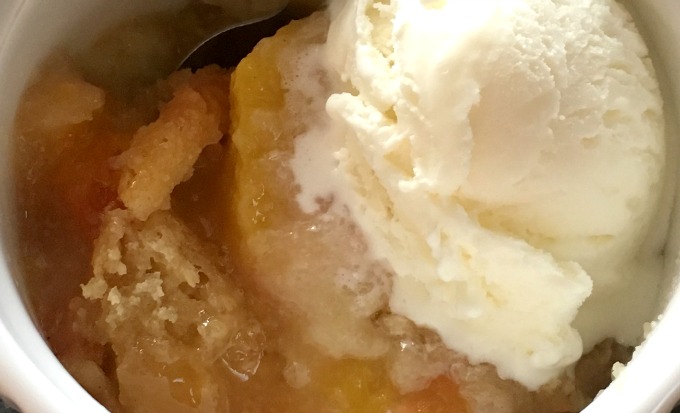
Serve warm plain or with frozen ice cream of choice. I personally like it served up with a little bit of coconut milk if I don’t have any dairy free ice cream on hand. My husband tells me it’s delicious with vanilla ice cream.
This recipe works great with using brown rice flour, or almond flour. After trying both, our favorite is the almond flour version.
Careful, it’s addicting and you might want to eat this entire dish of gluten and dairy free peach cobbler.
NOTE: Cobbler can be made with canned peaches, but it is always best made with fresh picked peaches from your peach trees from Western Gardens. Fall is a good time to plant trees.

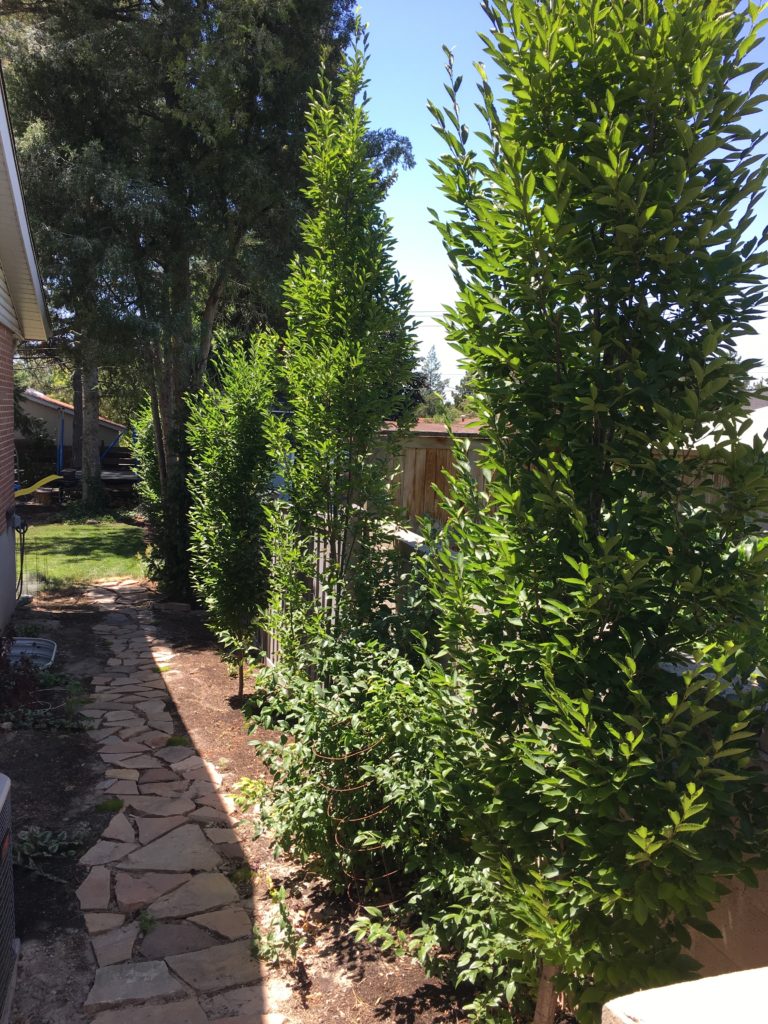
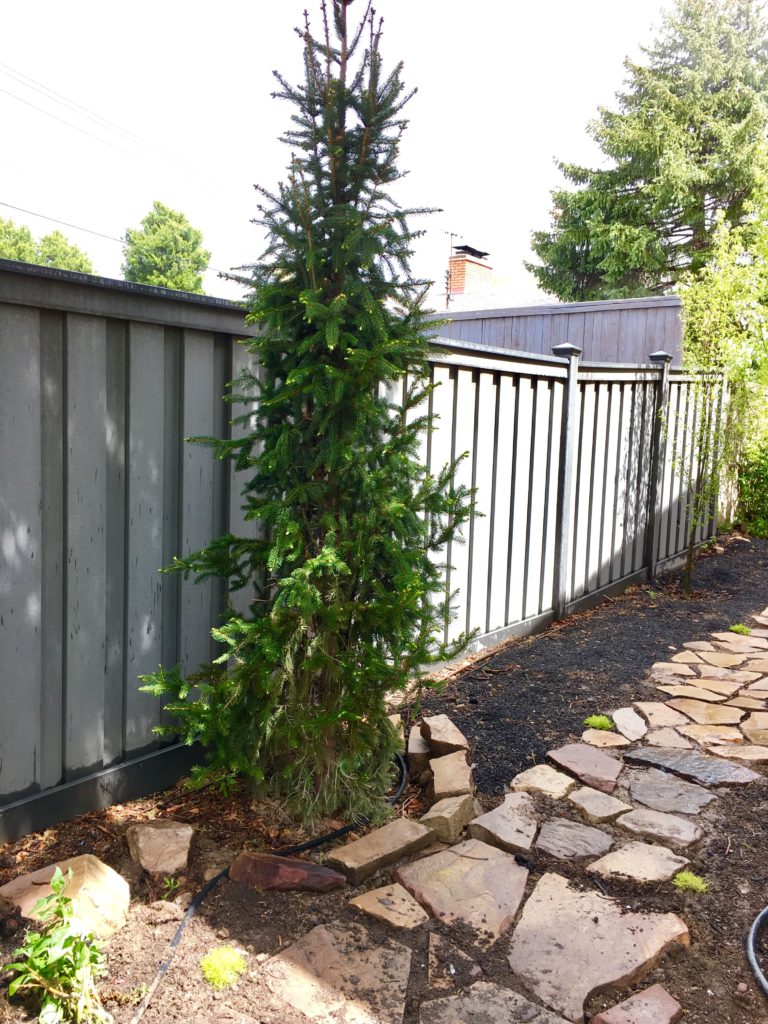
 These are one of my favorite trees, with dark green needles and a columnar shape. Mature height at 10 years is 20 feet with widths of 5-6 feet. Can grow to 30 feet tall. These are fast growing, and require full sun. Plant 5-6 feet apart for more of a hedge look. If you’d like the branching to stay tight, look for a “wellspire” variety of the Columnar Norway Spruce.
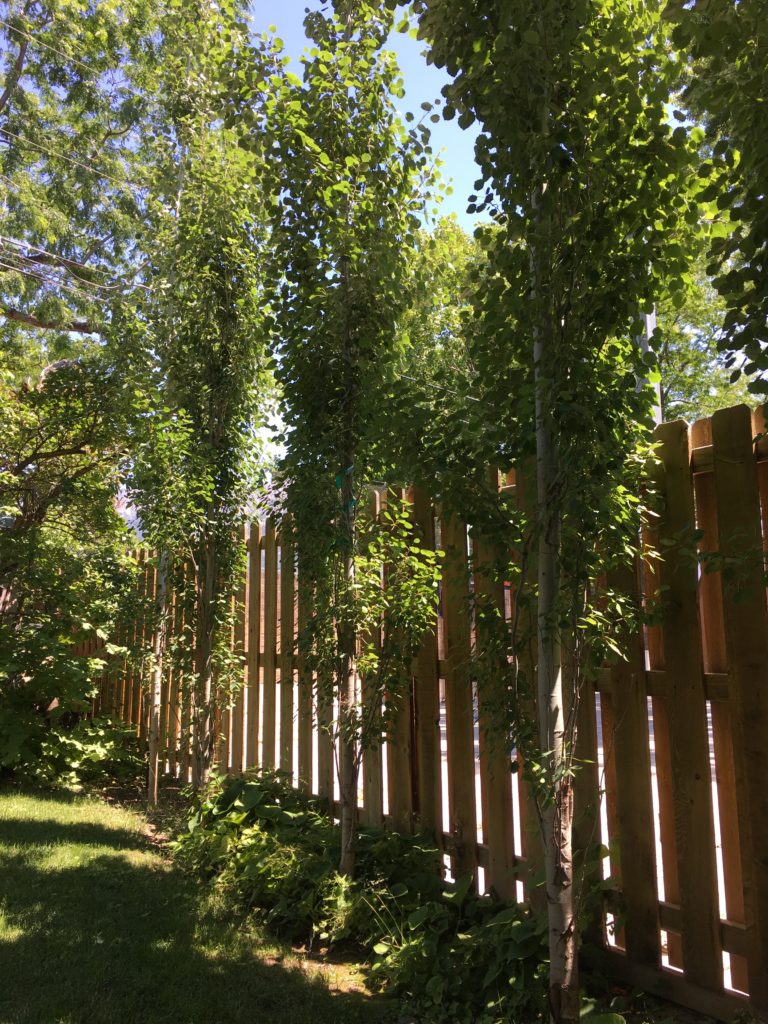
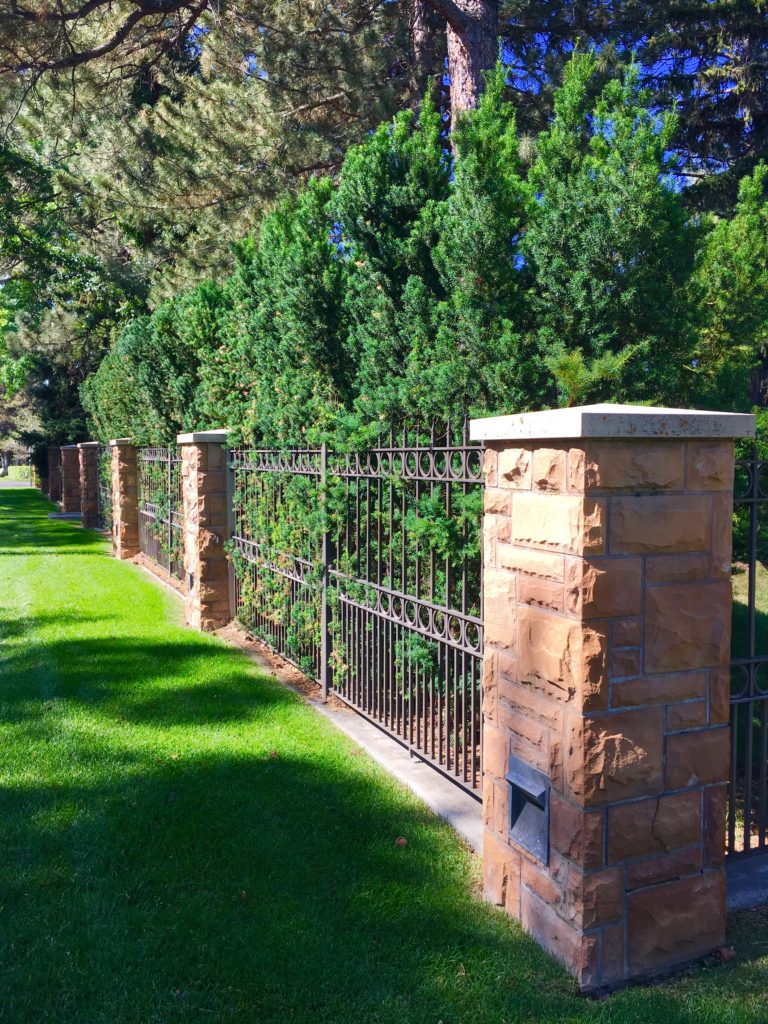 These are an evergreen shrub with a slow growth rate. Mature height is 10-12 feet tall and 3-4 feet wide. These also do well as foundation plantings and require partial to full sun. They have delicate dark green foliage. In the above photo, the hicks yew add height and privacy to a 6′ iron and stone fence. Beautiful!
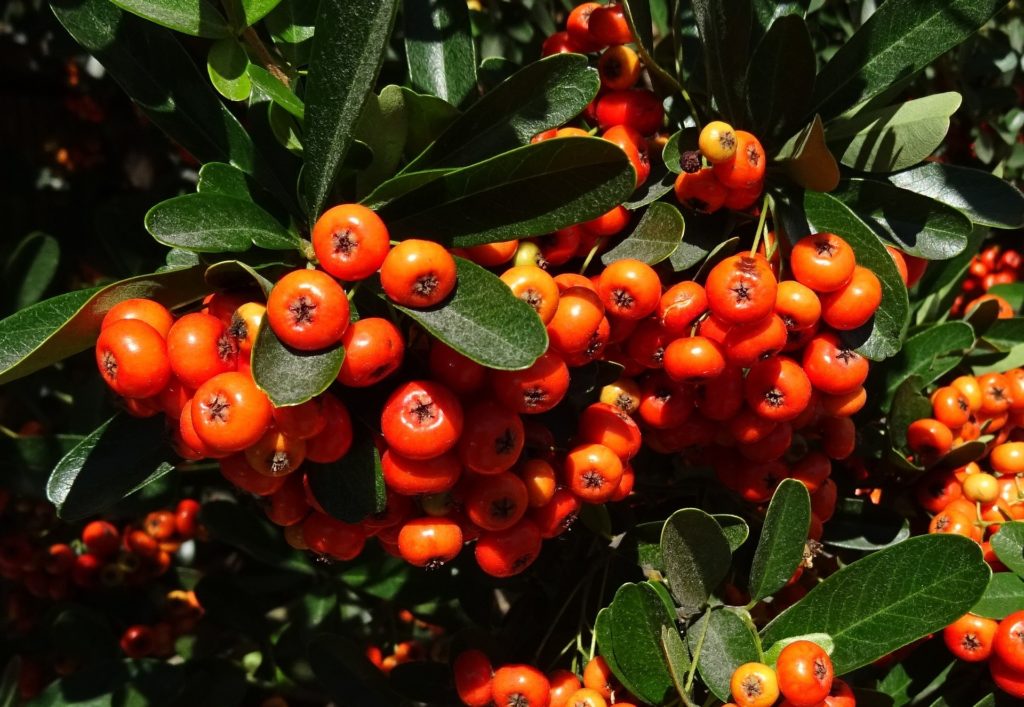
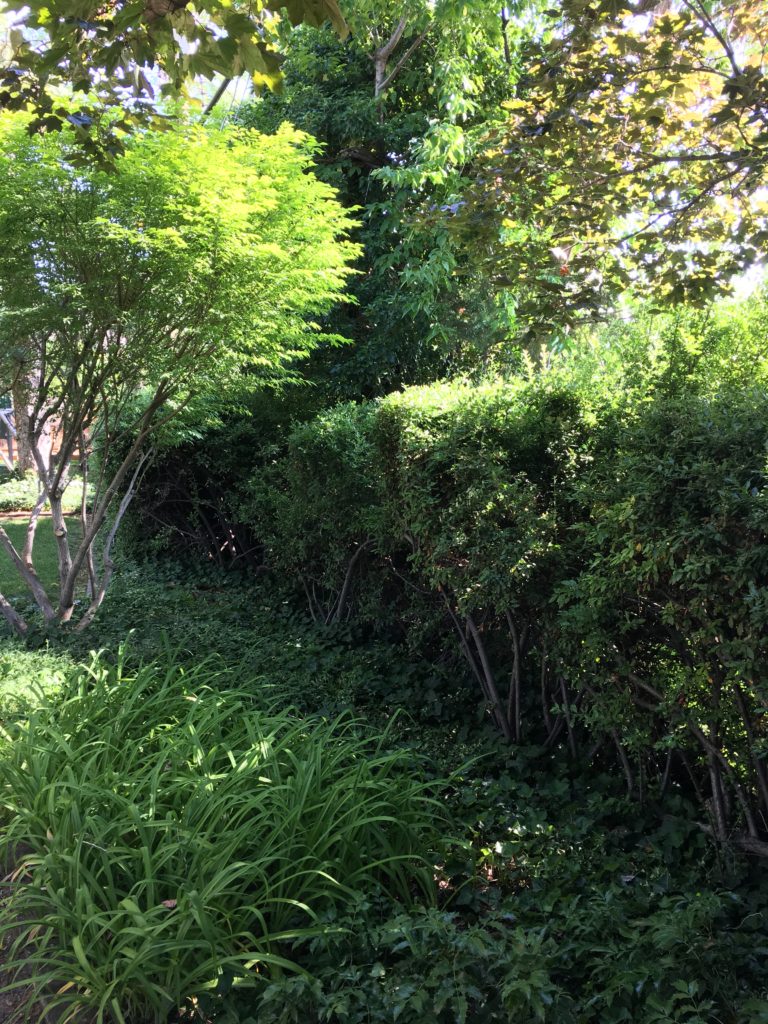 This is a fast growing shrub or tree, that does well in sun, part shade, or shade. It has green foliage year round, and berries that attract birds. Be warned, it has sharp thorns that are great at keeping unwanted people/animals out. Pyracantha is fast growing and if you begin trimming it, you will continue painfully doing so every 4 weeks forever. Letting to grow naturally (without trimming), will quickly give you a high green privacy screen. The variety Yukon Belle grows to 8-10 foot high privacy screen. It grows 6-8 feet wide so be wise where you plant. Some varieties grow to be 12 feet tall and wide. Ask your local expert at Western Gardens what variety is best for your yard. There are several.