Welcome, I’m so glad you stopped by!
Do you have frequent visitors to your yard? Visitors that may not be very welcome…because they’re eating your landscape?! Oh, deer! If you get these visitors like we do, we are here to help! We’re sharing 10 beautiful plants you can add to your flower beds and containers, that deer will leave for you instead of taking for a snack.
Several years ago we moved to a new area with a well-known urban deer population. The city’s deer herd was notorious for visiting yards and sampling the local landscaping. In the beginning, being in the midst of the deer was a treat. We had never lived in an area with this much access to wildlife.
The novelty quickly wore off as our plants began to vanish.
Plants that had thrived for years in our old yard were no match for the deer’s appetites. It became clear that we had to adapt our landscaping or our yard would continue to serve as a 24-hour deer buffet.
Through research, trial and error, we found deer-resistant plants that grow in our area. There are still a few deer delicacies planted in the yard (I just can’t give up my hostas!) but for the most part we’ve been successful in keeping them away.
When looking for a deer-resistant plant, a good rule of thumb is to choose something fragrant, prickly, or poisonous to the deer. The deer won’t always obey this rule, especially if they’re hungry and food is scarce, but this is a good place to start. Here are 10 deer-resistant plants that thrive in a variety of environments.
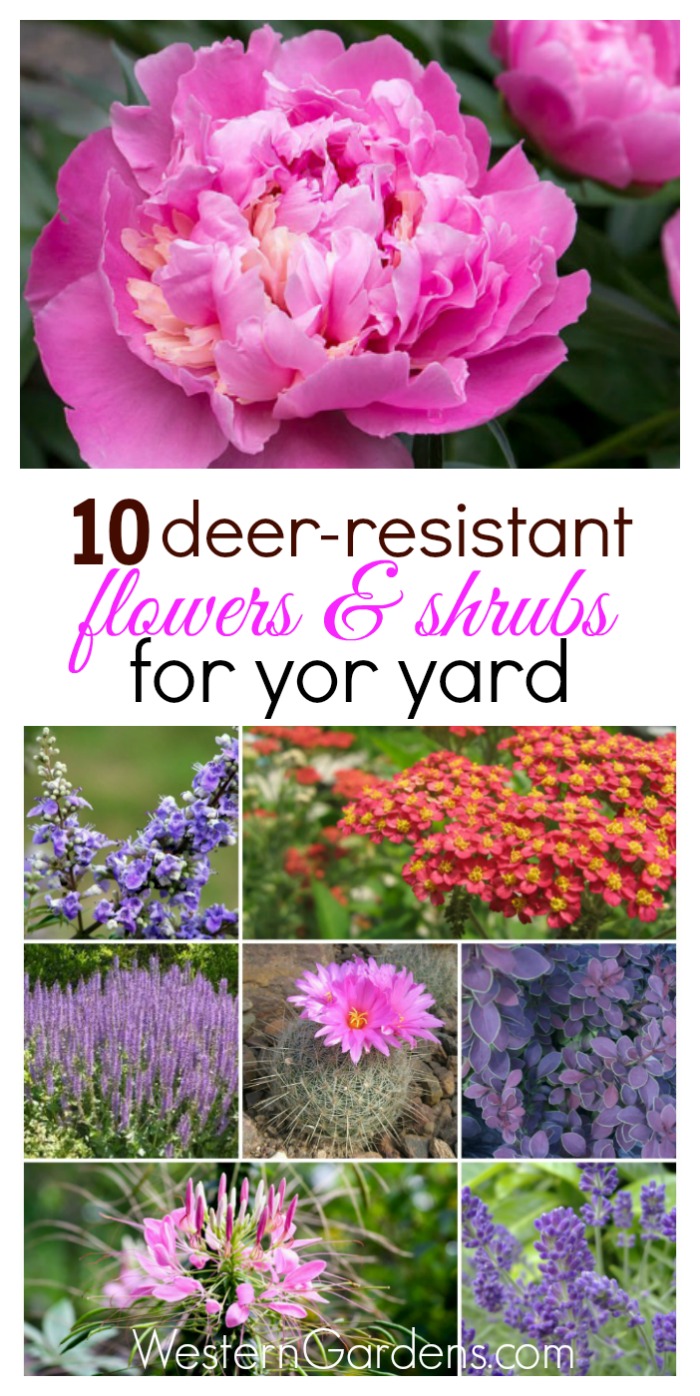
10 Deer-Resistant Plants
FRAGRANT PLANTS
1. Lavender
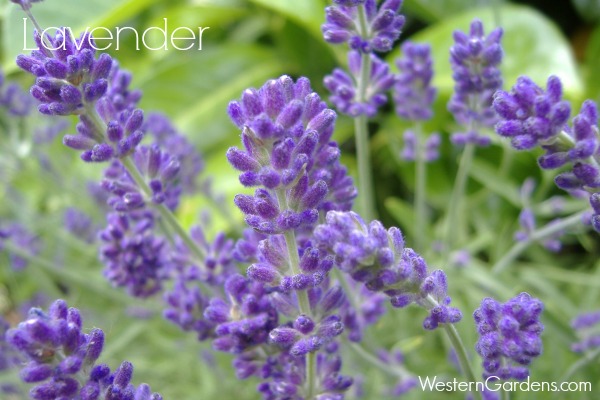
Lavender is always an excellent choice for a deer resistant plant. This hardy, fragrant perennial requires little water and maintenance.
2. Salvia

Salvia is another perennial that produces a strong fragrance which deer find extremely unpleasant. The plant comes in a wide variety of colors and is a strong perennial that will be easy to care for year after year.
3. Yarrow
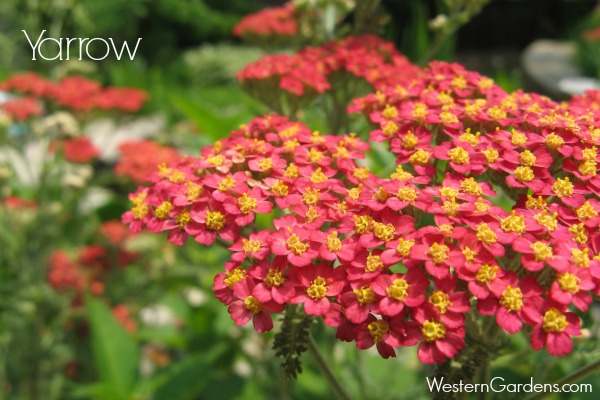
Yarrow plants are not overly picky about soil requirements, making them an excellent choice for many people. Bright, colorful flowers bloom throughout the summer, but the deer won’t be tempted to snack thanks to the strong aroma produced by the yarrow leaves.
4. Butterfly Bush
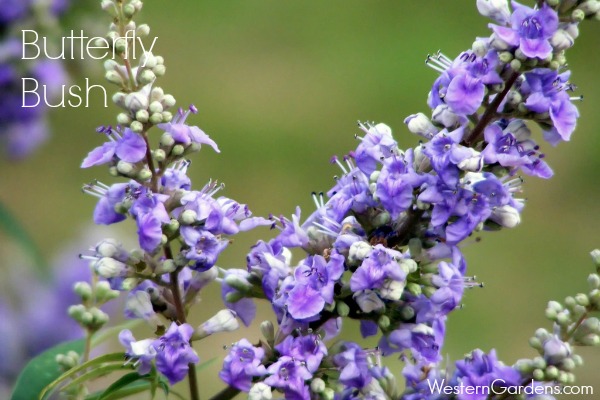
Another fragrant, drought-resistant perennial, Butterfly Bush is an excellent choice if you are looking for a flowery, deer resistant shrub. It grows quickly, produces a large amount of blooms, and does well in almost any type of soil.
Click NEXT to see which beautiful prickly plants will keep deer away! ![]()
Salvia image courtesy of Rawich at FreeDigitalPhotos.net
Lavender and Yarrow images courtesy of wikimedia commons
Butterfly Bush image courtesy of staticflickr


