• Skip to primary navigation
  • Skip to main content
  • Skip to primary sidebar

Western Garden Centers

for what grows here

  • Home
  • How To
  • Gift Cards
  • Calculate Mulch
  • Locations
    • Store Hours
    • About
    • Garden Shop Employment Team
  • Weddings
    • Salt Lake City, UT
    • West Valley, UT
  • Blog
    • Gardening
    • Recipes

Blog

April 20, 2015 by Becky

Cookie Butter Apple Dip Mother’s Day is just around the corner and do we have a treat for you today!  In fact, we have a double treat.  We’re going to show you a simple 4 ingredient Cookie Butter Apple Dip in mini chocolate bowls, PLUS we have a great giveaway for a Gardening Grab Bag!  Win it for yourself, or give it to a favorite mother in your life.  Keep reading, you won’t want to miss a thing!

Cookie Butter Apple Dip
The chocolate bowls go together in minutes, and then you can put them in the fridge to set.  Everything can be prepped ahead of time so you can just pull it out of the fridge when you’re ready to serve!
Cookie Butter Apple Dip
Simply melt your chocolate (the instructions below will keep it in temper.  If you overheat the chocolate, the cocoa butter molecules won’t realign properly, resulting in a soft set chocolate even at room temperature).  Put a small dollop of chocolate on a lined cookie sheet, dip the balloon in the chocolate, and place it on the dollop of chocolate.  Then just let the chocolate harden, deflate the balloon, and you’re ready to fill it with cookie butter fluff!

Cookie Butter Apple Dip

Ingredients:

  • 1/2 cup chocolate
  • 6 Tbsp cookie butter
  • 2 Tbsp vanilla greek yogurt
  • apple slices

Directions:

  1. Blow up 7 water balloons to desired size (I did mine small).  Wash and dry balloons.
  2. Melt chocolate in the microwave or over a double boiler.  (Microwave in 15 second intervals, stirring in between, in a plastic bowl until smooth).
  3. Put a small dollop of melted chocolate on a lined cookie sheet (a little bigger than a nickle).
  4. Dip a balloon part way in chocolate until it’s the size you’d like.  If necessary, use a spoon to push the chocolate onto the balloon.  Place on the dollop of melted chocolate.  Repeat with all balloons.
  5. Let chocolate set.  Place in the fridge for 15 minutes if necessary.
  6. When chocolate is set, make a small snip with scissors near the knot of the balloon.  You want it deflate, not pop.  Peel deflated balloon out of the chocolate bowl.
  7. Thoroughly combine the cookie butter and yogurt.  Place in a sandwich bag, snip a corner, and pipe into chocolate bowls.  Serve with apple slices.

**********THIS GIVEAWAY IS NOW CLOSED**********

Mother's Day Gardening Giveaway And now for the Mother’s Day Giveaway!  We’ve teamed up with Bite of Delight to bring you this awesome gardening grab bag valued at over $55!  {It contains a pruner, trowel, trigger nozzle, garden shears, gardening gloves, kneeling pad, tote, and a black 3-pocket apron that will be custom embroidered with the winner’s name of choice!}  And we’ll ship it all to you in time for Mother’s Day!

a Rafflecopter giveaway
Giveaway ends 4/27/15, so don’t wait to enter!  Open to US residents only.
We are also running this giveaway on our Instagram account, so head there for even more chances to win!

And if that wasn’t enough, there are NINE more chances to win equally awesome prizes from these other fabulous blogs for yourself or a favorite Mother in your life.

Giveaway-Group
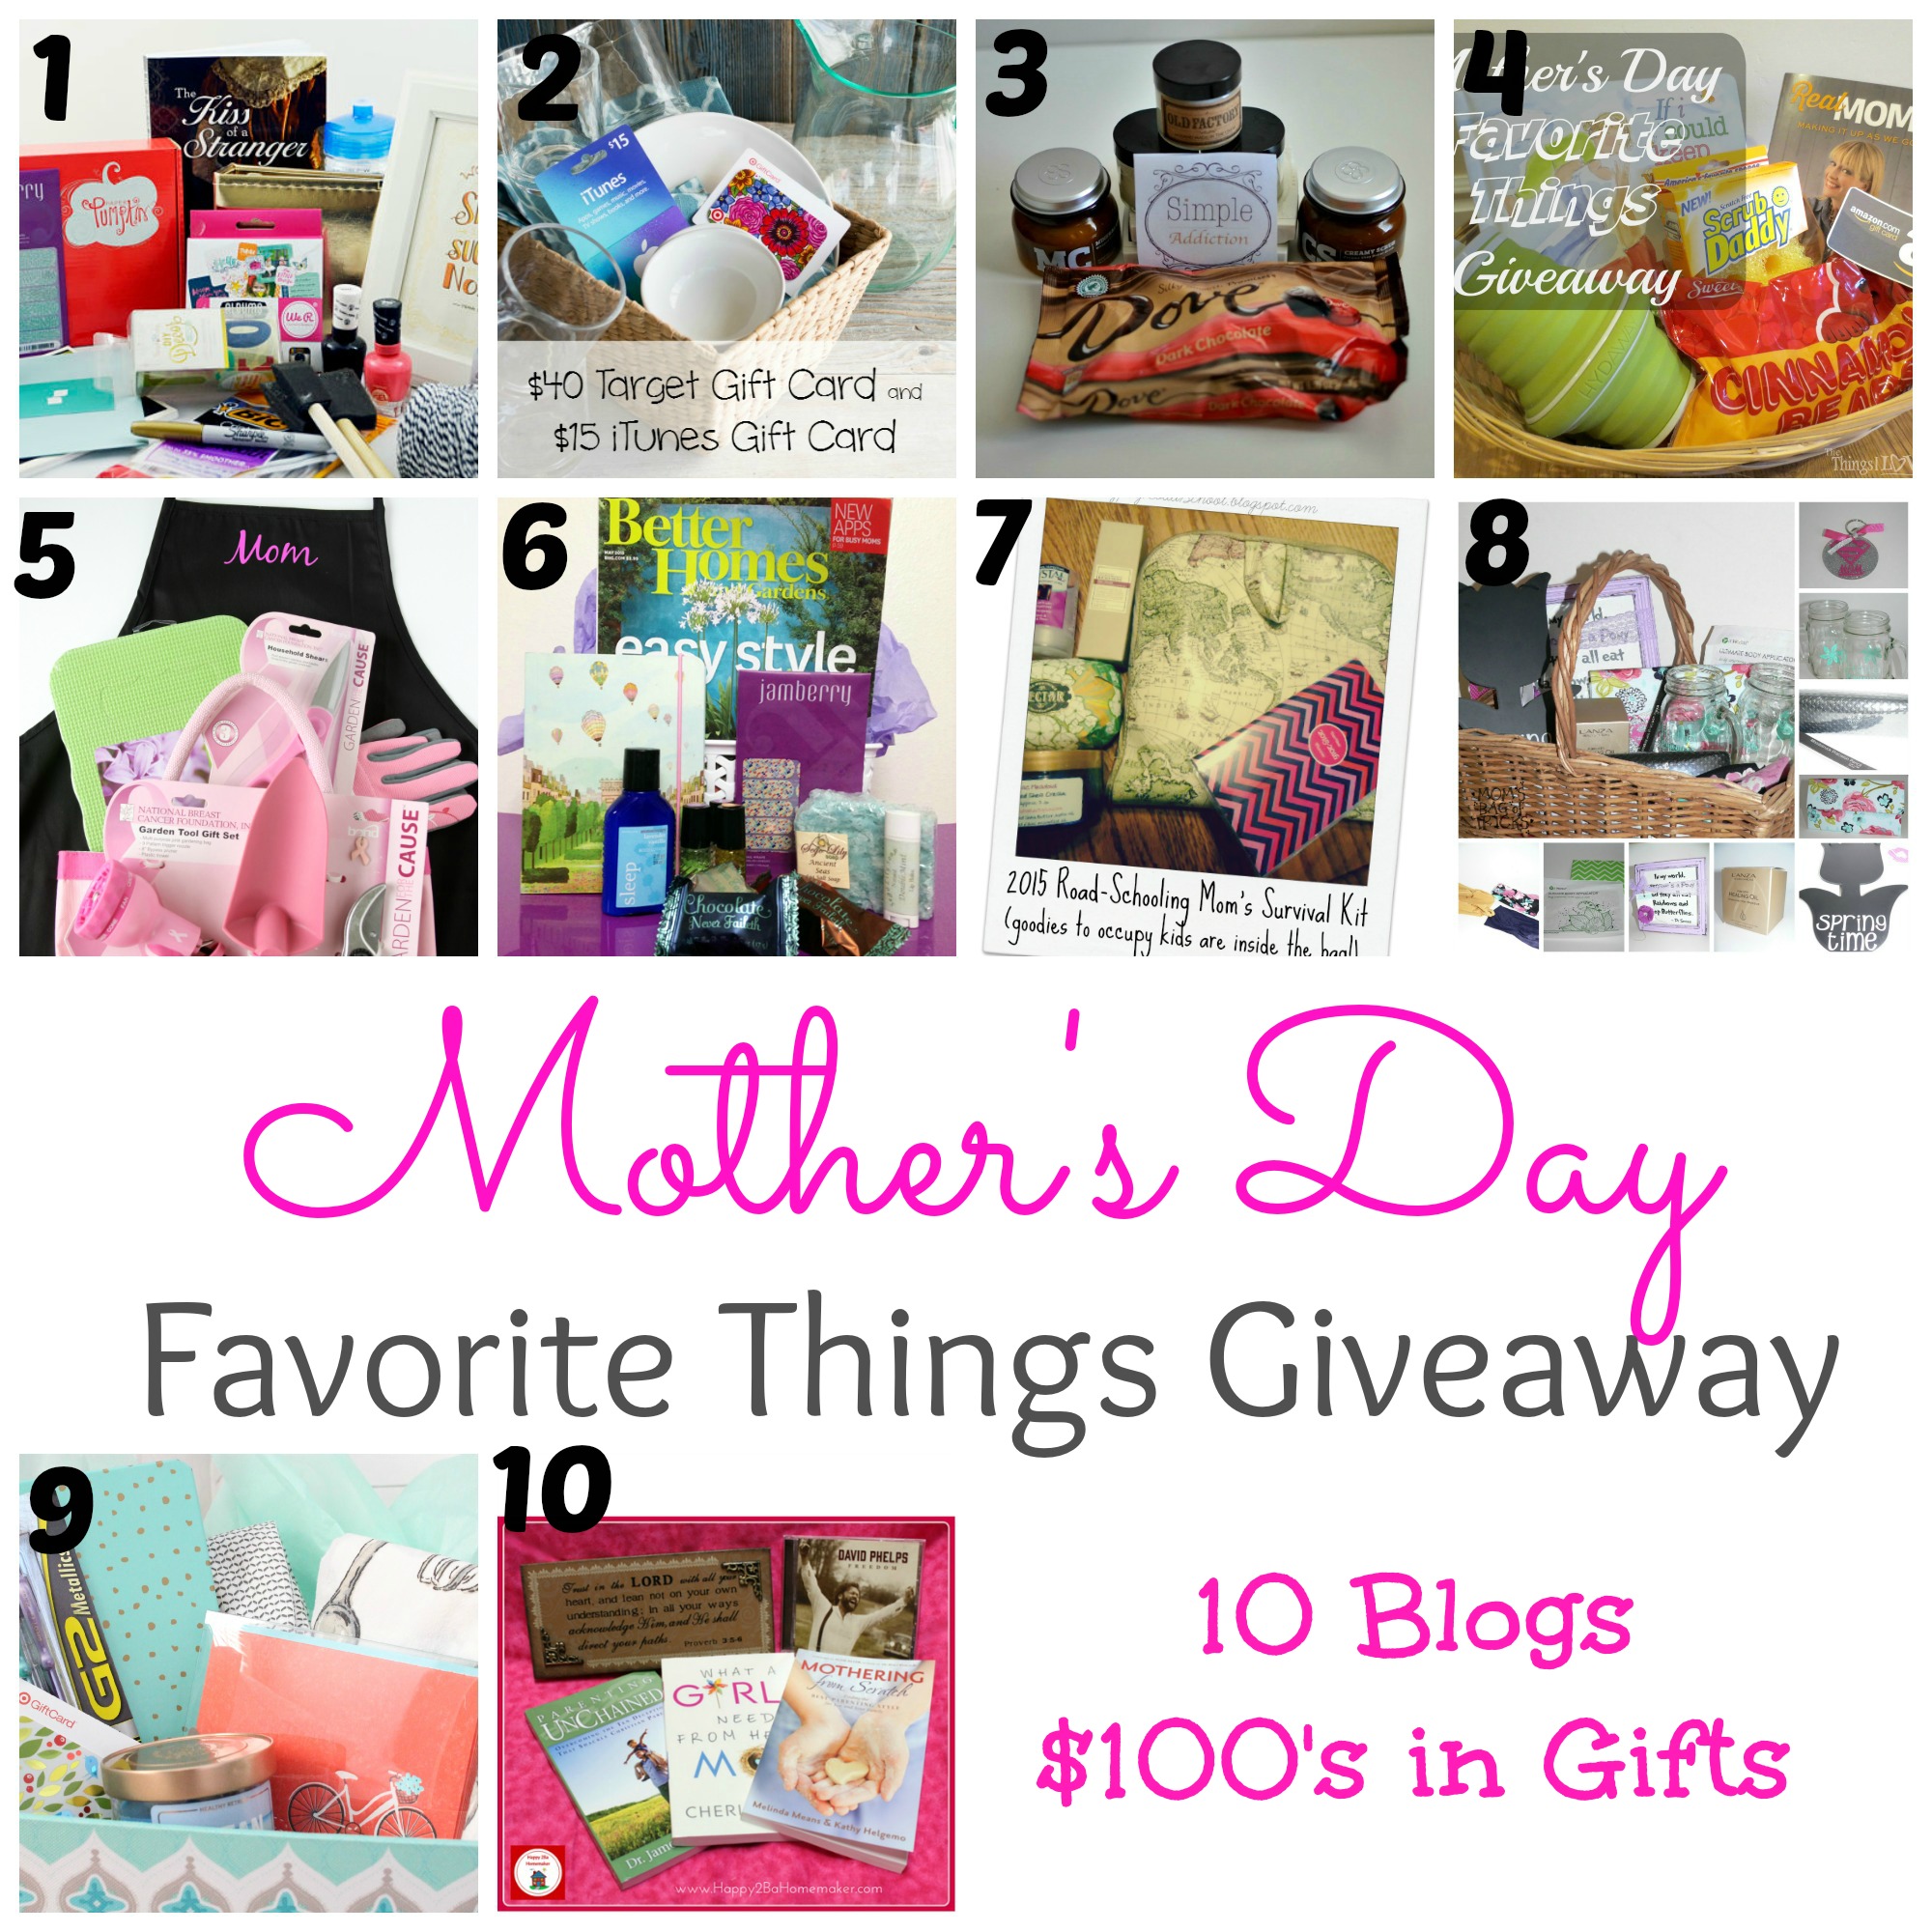
1- My Daylights 2- Eat It & Say Yum 3- Tastefully Frugal 4- The Things I Love Most 5- Bite of Delight and Western Gardens 6- Home Crafts by Ali 7- Gypsy Road School 8- Mom’s Bag of Tricks 9- Honest Harm 10- Happy 2BA Homemaker

Cookie Butter Apple Dip

Filed Under: Fruit, Giveaways, Recipes, Tips & How To's Tagged With: Fruit, giveaway, Mother's Day, recipe, recipes

April 1, 2015 by Becky

Planting a Spring flower bed may seem like a daunting task if you’re new to gardening, but we have 10 easy tips and tricks to help you create a beautiful, inviting  space in your yard.

Planting Spring Flowers1 -Lay Out Your Plants Before You Buy.  Today’s planting actually started out on the floor in the nursery of Western Gardens.  I laid out all of my plants on a cement square to help me decide how much I needed for the space to be planted.  Once I had what I needed, it was easy to load up and head to the flower bed!

Planting Spring Flowers2- Clean Up Your Flower Beds.  I always start every planting by cleaning up what’s already there.  It seems simple, but it makes a big impact to just clear away old debris. 3- Add 2 Inches of Compost Over Top of the Flower Bed.  No need to work it into the soil, the nutrients will work their way down to your plants’ roots.  We could almost just stop here, at this point the bed already looks so much fresher and cleaner!  The fun part is next though, so let’s get planting!

Planting Spring Flowers4- Use an Auger to Plant Bulbs.  One of my favorite tools is a bulb planting auger.  It’s an attachment that fits a standard-size drill, and it makes planting bulbs SO easy and fast!  {You can pick one up at your nearest Western Gardens.}  Just drill down about 6 inches, drop your bulbs in, and fill back in with soil!  Bulb planting at its finest.  And simplest.

Planting Spring Flowers5- Add Unique Plants like Veggies!  I am always looking for ways to plant veggies in a landscape, so I took some along.  Lettuce for some extra green, and some sugar snap peas to put on the trellis.  It’s a great addition because it’s unique and beautiful, and who doesn’t want a sugar snap pea on their way out the door?

Planting Spring Flowers6- Incorporate Unique Elements that you might not always see in a flower bed.  I found a trellis at Western Garden Center that went perfectly with the yellow front door and bistro table on the patio.  Always try to find cool things to throw in a landscape, but never force it.  If it doesn’t go with the flow, don’t try to make it work.

Planting Spring Flowers7- Adjust Flowers Prior To Digging.  Before I dig any holes for my flowers, I lay them all out in the bed still in their containers.  This is the time to make changes and play around with design.  One important tip I always give is, take 10 steps back, take a deep breath, and look at what you are about to do.  Adjust now before it’s too late!

Planting Spring FlowersIf everything looks perfect, take your hand shovel, and dig into that bed!  All the hard work is over now, so it is time to get everything into the ground.  8- Before the flowers go in the ground, gently tear part of the plants’ root systems…it will encourage the roots to grow into the surrounding soil instead of circling itself (like it’s been doing in the container).  9- Once all your flowers are planted, quickly give it a drink of water.  If you’re planting when it’s hot outside, there’s a good chance those plants are in shock.  Watering them right away will help them get established in their new home.

Planting Spring Flowers10- Don’t Be Afraid To Try Something New!  We can’t wait to see those Sugar Snap Peas on that trellis!  Now grab a lemonade,  pull up a chair and enjoy your beautiful new flowers… and enjoy a sugar snap pea for me!

Planting Spring FlowersPlants in this post’s flower bed include:   Sugar Snap Peas, Lettuce, Pansies, Prim Rose, Ornamental Cabbage, Ranunculus

{We are often asked what kind of compost we use in our own gardens.  We recommend Bumper Crop all natural organic soil builder.  It’s great for veggie gardens, flower beds, planter boxes, and pretty much anywhere else you want to put it!}Planting Spring Flowers

Filed Under: Flowers, Gardening, Outdoors, Tips & How To's, Yard Care Tagged With: flowers, garden tools, gardening, how to's, tips, Western Garden Centers, Western Gardens

December 23, 2014 by Becky

cranberries 4Sugared Cranberries are an easy, beautiful way to decorate your table, Christmas tree, cheese plate, mousse, or even cupcakes!  They are simple to put together, but I like to let them sit overnight, so start these the day before if you can.  You can still make them the day of if you don’t have the time, and all will be well, but the sugar tends to adhere better and give it a better sugar crust if you let them sit overnight.

cranberry collageIf you want a deeper molasses flavor, you can use raw sugar or brown sugar to make the simple syrup, but white sugar works great as well.  To roll the sugar, it works best to use a coarser-grained sugar, like an organic variety (but not as large as a raw sugar). If you roll it a second time in a fine sugar (just pulse your sugar a few times in your blender!), then it will cover any bare, sticky spots that the coarse sugar didn’t get.  This is optional, but gives the cranberries better coverage.

cranberries 3

Sugared Cranberries

Ingredients:

  • 1 (12 oz) bag fresh cranberries
  • 1 cup water
  • 1 cup sugar
  • coarse sugar (for rolling)
  • fine sugar (for rolling a second time, if desired)

Directions:

  1.  Wash cranberries and discard any that are bruised, damaged or shriveled.
  2. Combine one cup of water and one cup of sugar in a pot, and bring to a simmer.  Stir until sugar is dissolved and remove from heat.  Let cool until it is warm, and pour over cranberries.  {Do not pour hot syrup over your cranberries or they could burst.}  Let sit overnight, or at least until the syrup has cooled.
  3. Remove cranberries from syrup with a slotted spoon and let drain on a cooling rack for about an hour (I like to place mine over a cookie sheet to catch the drips).
  4. Working in small batches, roll the sticky cranberries in the coarse sugar, and place on a clean cookie sheet to continue drying.
  5. Once all the cranberries have been rolled in coarse sugar, roll again in fine sugar to fill in any spots the coarse sugar missed, if desired.  Place on cookie sheet to finish drying (give them a couple more hours if you can).
  6. Store in an air tight container at room temperature.

*My 6 year old niece came over for Thanksgiving and inhaled these cranberries!  So if you like a tart-sweet combination, this is a great snack!

cranberries 5

Filed Under: Fruit, Recipes Tagged With: cranberries, Fruit, Holidays

November 24, 2014 by Becky

Mashed potatoes are a Thanksgiving staple in nearly every home.  They are simple to prepare…but if you don’t do it quite right they can turn out gluey and stiff.  This is my favorite way to make them, and my favorite way to eat them!  They turn out perfectly delicious every time.
Mashed Potatoes mainIf you are in charge of mashed potatoes for Thanksgiving this year, these could make you a very popular person!  The garlic and rosemary give it a subtle flavor, so it will compliment your turkey and sides without overwhelming your guests’ palates.  They are creamy and delicious and the perfect texture…so light and fluffy that you won’t even realize that you’ve had three servings!

Print

Ingredients

3.1
https://westerngardens.com/garlic-rosemary-mashed-potatoes/

* I have made these mashed potatoes with raw garlic added to the boiling water, and I’ve made them with roasted garlic added right before they get mashed.  It’s delicious both ways, so do it the way that speaks to your mashed potato loving heart!

*This recipe doubles easily if you have a big crowd to feed.

*I have mashed this recipe by hand and using an electric stand mixer.  I prefer using a mixer because it’s so much faster and easier!

*Yukon Golds are another great variety for mashing.  I have also used Russets, but I don’t like the texture *quite* as much.  Many people love Russets for mashing though, so try what sounds best!  Stick with it if you like it, or try something else if you think they could improve.  No matter what you choose, you really can’t go wrong!

Mashed Potatoes 2If you need some flavored butter for your holiday spread, be sure to try this Chive Butter (pictured above) or Garlic-Basil Butter.  You can enjoy these flavored butters on mashed potatoes, steamed or roasted veggies, crusty bread or soft rolls.

Filed Under: Herbs, Recipes, Vegetables

November 4, 2014 by Becky

Fresh tomato soup is one of our family’s favorite go-to soups.  It’s comfort food for sure, and pairs perfectly with grilled cheese (a staple in our home)!  There are variations galore, but this is a basic, actually-tastes-like-garden-fresh-tomatoes soup.

Fresh Tomtato Soup This is one of our favorites, especially when you need something quick on a busy weeknight.  It only takes about 20 minutes to throw together, and you don’t have to have a lot of special ingredients.  Just a few pantry staples and, of course, some lovely ripe tomatoes!

This is a great recipe to double, or even triple, and freeze some for another night.  If tomatoes aren’t in season and you don’t have any left from your garden, you can easily substitute canned tomatoes (use 28 oz whole peeled or diced tomatoes).

Print

Ingredients

3.1
https://westerngardens.com/fresh-tomato-soup/

To make the grilled cheese croutons, butter one side each of two pieces of bread.  Place cheese slices between the bread, making sure the buttered sides are facing out.  Cook in a panini press until both sides are golden brown.  Cut into squares and add to soup.

Fresh Tomtato Soup 5*Butter or avocado oil may be substituted for the coconut oil.

Filed Under: Recipes, Tomatoes Tagged With: food, recipe, recipes, Tomato, tomatoes

October 14, 2014 by Becky

Garlic-Basil Butter 4Flavored butters are a simple way to add a touch of sophistication to your meal, especially this garlic-basil butter.  Impress your guests or add it to a weeknight meal.  It’s fancy enough for company, but easy enough for every day!  It takes only minutes to prepare, but it makes even a simple meal seem a little more fancy with delicious flavor!

If you want to take it up a notch, you can have an assortment of herbed butters by adding our chive butter to your spread.  (Spread.  Ha!  Sadly, that pun was intended.)

We love simple recipes, and this one fits the bill.  Garden-fresh herbs and veggies don’t always need a lot of dressing up.  This butter really lets the flavor of the garlic and basil shine through without overpowering your dish.  Summertime perfection!

Print

Ingredients

3.1
https://westerngardens.com/garlic-basil-butter/

Give this garlic-basil butter a try the next time you have fresh herbs, you will not be disappointed in the lovely flavor, and you will love how easy it is to whip up!

Garlic-Basil Butter 1

Butter freezes very well.  Place the butter on a piece of waxed or parchment paper.  Roll it into a cylindrical shape, then twist the ends of the paper to seal.  You can place it in a freezer bag for an extra layer of protection, if desired.  When you need some basil butter, unwrap the log and slice off a disc to use for toast or veggies, or in your recipe.  This is a great option if you are trying to use as much basil as you can at the end of your harvest, and it’s just as easy to make a big batch as it is a single batch.

Enjoy!

Filed Under: Herbs, Recipes Tagged With: basil, garlic, Lemon, lime, recipe, recipes, vegetarian, veggies

October 9, 2014 by Becky

tips to freeze pestoPesto is a great way to use up a lot of basil if your garden is bursting at the seams, or if you need to harvest it before a drop in temperature.  The basil pesto recipe we posted last week is a great one to try, especially if you’re looking for a less expensive pesto that still has wonderful flavor (we used pecans instead of pine nuts!).

But what if you make a big batch of pesto and you can’t finish it before it starts to go bad?  Freeze it!  Freezing pesto is simple, but we have a few tips to keep it fresh and green.  Pesto oxidizes (darkens when exposed to air), so keep reading to find out how to keep it looking bright and green!

Start out with clean ice cube trays and a cookie scoop.  My scoop is 1 tablespoon, and since two would have overfilled the tray, I placed one scoop in each pocket.  You will need just a little space at the top, so don’t fill it completely full.
freeze basil pesto 1
Once you have all of your pesto scooped into the trays, gently tap them on the counter to remove any air bubbles and to settle the pesto into an even layer.  Lightly drizzle a thin layer of olive oil over the top of each pesto cube.  This will help seal out any air that could turn your pesto brown.  Freeze Pesto 2
When you are finished drizzling the oil, cover the tray with a layer of plastic wrap and press it gently onto the pesto to remove the air.  Once the air has been pressed out, just place it in the freezer!
freeze pesto 4
I missed a spot on the plastic wrap…it probably pulled when I picked up the tray.  Check yours before you set it in the freezer just to make sure it didn’t shift like mine!  Because of the oil, it retained it’s green color as it froze, but I like to be double sure that my food will be perfect when I want to use it!
freeze pesto 5
Once your pesto is frozen (I left mine overnight), remove the plastic wrap and run the bottom of the trays under cold water for a second or two to loosen the pesto, if necessary (be careful not to get water on the pesto).
freeze pesto 6
Label a gallon size freezer bag, being sure to include the size of your pesto cubes.
freeze pesto 7
Now just remove the cubes from the trays and toss them all in the bag!
freeze pesto 8
They should be a lovely green color.  Now you are ready to pull out exactly how much you need when you’re ready to eat it!  Garden-fresh flavor any time.  Doesn’t get much better!
freeze pesto 9Be sure to squeeze out as much air as possible before you put your bag of pesto in the freezer, and you’re done!  Easy!

Filed Under: Herbs, Recipes Tagged With: basil, food, garlic, how to's, recipe, recipes, spinach, tips, vegetarian, veggies

October 1, 2014 by Becky

If you still have tons of basil in your garden and can’t stand to see it go to waste at the end of the season, basil pesto is the perfect solution!  You can make it exactly how you like it for MUCH less than you will pay at the grocery store.  It’s delicious in all sorts of recipes…and you can even freeze it (stay tuned for simple instructions)!  There are so many reasons to make pesto, so don’t let that beautiful basil go to waste!

basil pesto 2

Pesto is very versatile…you can make it a strong flavor or make it more mild (which is especially helpful if you’re cooking for kids – or anyone else – who doesn’t like strong flavors!), and you can even add in other greens and different kinds of nuts.  This recipe changes up traditional pesto just a little bit, but it still has a wonderful, rich flavor that will make you happy you made a big batch!  You can always make a smaller batch, but if you have a lot of basil from your garden, this recipe is perfect for using it up!

Print

Ingredients

3.1
https://westerngardens.com/basil-pesto/

Enjoy your pesto tossed with pasta, on baked potatoes or spread on bread!  And stay tuned for some upcoming recipes that use this delicious pesto!

Pine nuts are traditionally used in pesto, and walnuts are often used as a substitution.  We used pecans in our recipe and loved the results!

For a stronger flavor, add in one additional cup of basil leaves and omit the spinach.

Filed Under: Herbs, Recipes Tagged With: basil, food, gardening, recipe, recipes, spinach, vegetarian, veggies

September 24, 2014 by Becky

Chive Butter 8If you are ready to take your meal to the next level, try adding fresh Chive Butter to your dishes!  Delicious on hot rolls, mashed potatoes, corn on the cob, steamed or roasted veggies, and steaks.

Garden-fresh chives are an easy way to make your meal taste more gourmet with almost no effort!  Plus, chive butter can be made ahead of time, saving you the headache of one more thing to do during dinner prep crunch time.  Since I’m always looking for recipes to make my life easier, this one is now at the top of my list!

Chives are not only a great way to add flavor to your meal, they are said to be good for the circulatory system.  They are rich in vitamins A & C, calcium, iron, and contain trace amounts of sulfur.  Plus, they’re beautiful when they bloom…and chives are a perennial plant!  I love that I don’t even have to do anything and they keep coming back every year.  Win!

Chives

Print

Ingredients

3.1
https://westerngardens.com/chive-butter/

Chive Butter 7

Filed Under: Herbs, Recipes Tagged With: butter, chives, Herbs, recipe, recipes

September 16, 2014 by Becky

Tomatoes in a salad are nothing new.  More like an old standby, really.  But if you are new to marinating tomatoes before you add them to your salad, this recipe just might knock your socks off!

Spinach SaladPerhaps unless you’re shopping at a farmer’s market, homegrown garden-fresh tomatoes really have no equal.  Even a good, expensive tomato from the grocery store can never compare in flavor and texture to a vine-ripened, juicy tomato from the garden.  John Denver even sang about homegrown tomatoes!  If you’ve never heard the song, give it a listen.  It’s cute…and true.  Winter without homegrown tomatoes is most definitely a “culinary bummer!”

The balsamic dressing for this salad is simple and goes together quickly, but it adds a wonderful dimension to the tomatoes.  With just a few simple ingredients, your side salad will become the highlight of your meal!

Print

Ingredients

3.1
https://westerngardens.com/spinach-salad-marinated-tomato-basil/

Spinach Salad 2Give this simple salad a try and you might just start marinating all your tomatoes!

For more great recipes using tomatoes and basil, check out:

  • Bruschetta
  • Caprese Appetizers
  • Grilled Caprese Sandwiches

Filed Under: Recipes, Tomatoes, Vegetables Tagged With: basil, food, recipes, salad, spinach, tomatoes

  • « Go to Previous Page
  • Go to page 1
  • Interim pages omitted …
  • Go to page 9
  • Go to page 10
  • Go to page 11
  • Go to page 12
  • Go to page 13
  • Interim pages omitted …
  • Go to page 19
  • Go to Next Page »

Primary Sidebar

Shopping Cart

Items in Your Cart

Your cart is empty
Visit The Shop

Follow Western Gardens

  • Facebook
  • Instagram
  • Pinterest
  • YouTube

See what we’ve been pinning!

Follow Me on Pinterest
Followed by people.
?

Pinterest Badge by Skipser

Here’s What We’ve Been Up To!

Save water and money by Turf Training - train your lawn to grow deep roots
work at western gardens utah garden center
Senior gardening woman Edu Carvalho from Pexels
A Utah Guide to Vertical Gardening in square shape

Copyright © 2026. Western Gardens - Privacy Policy