
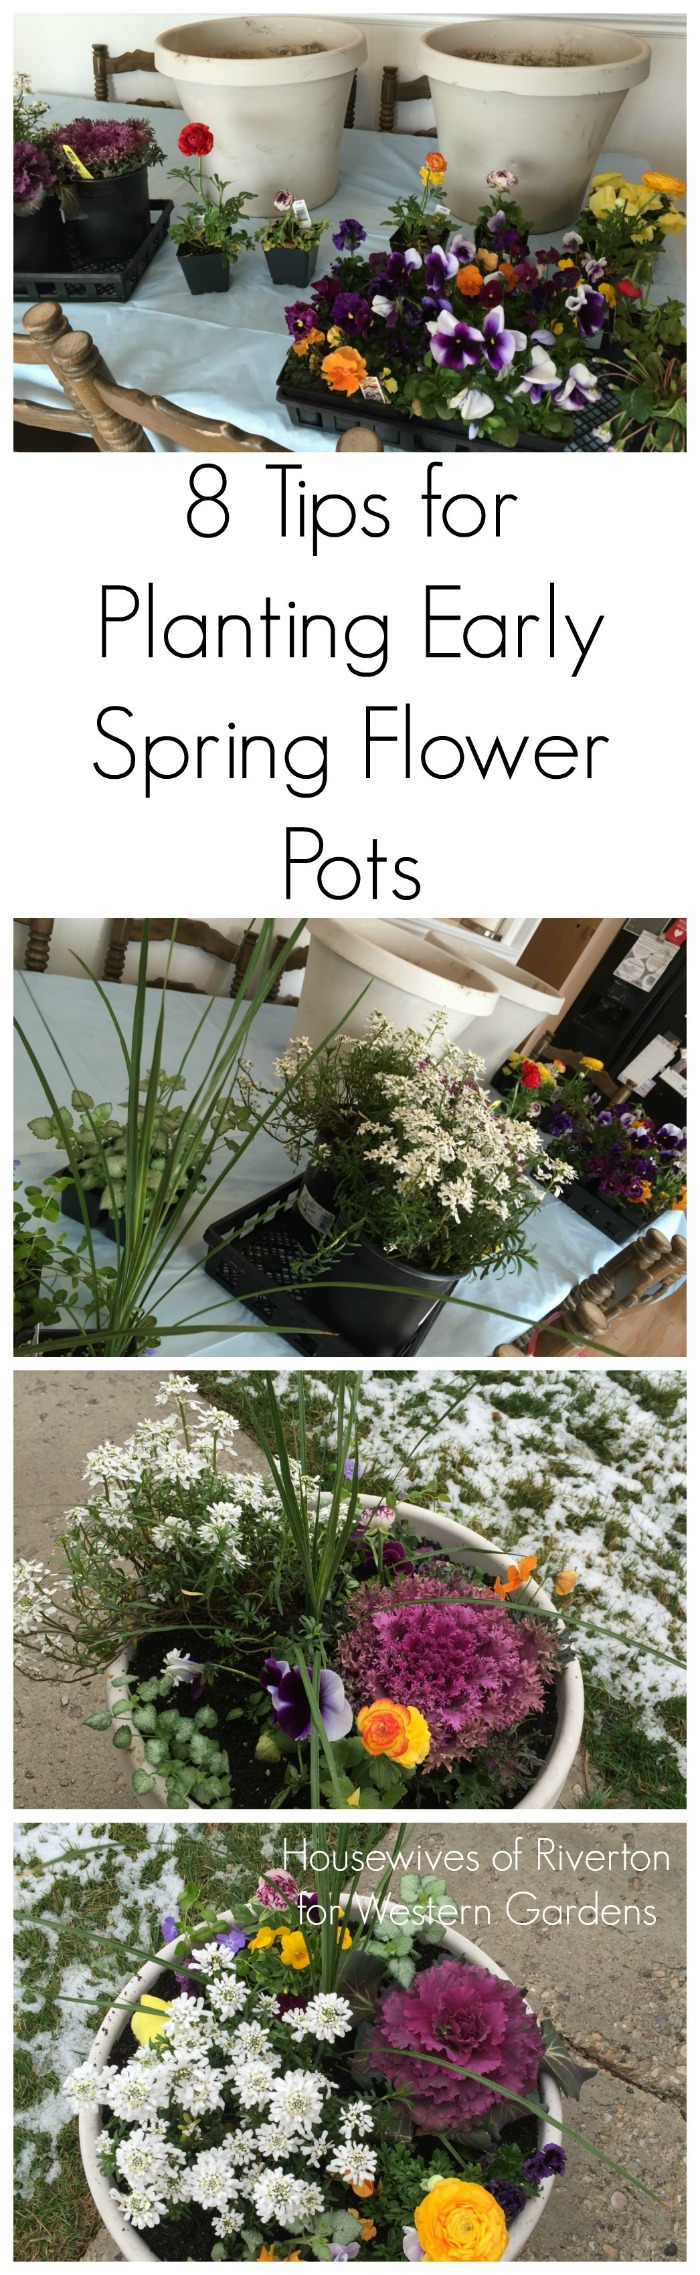
Welcome! I’m so happy you’re here!
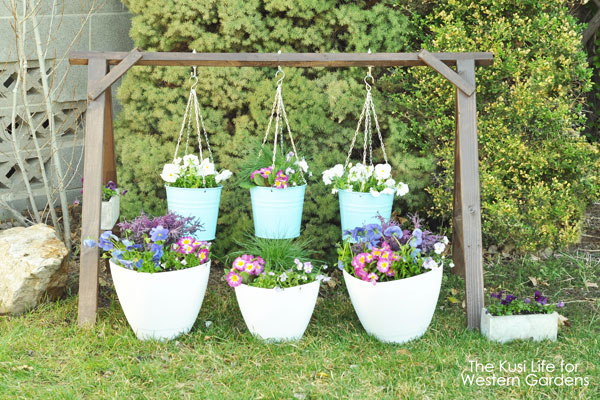
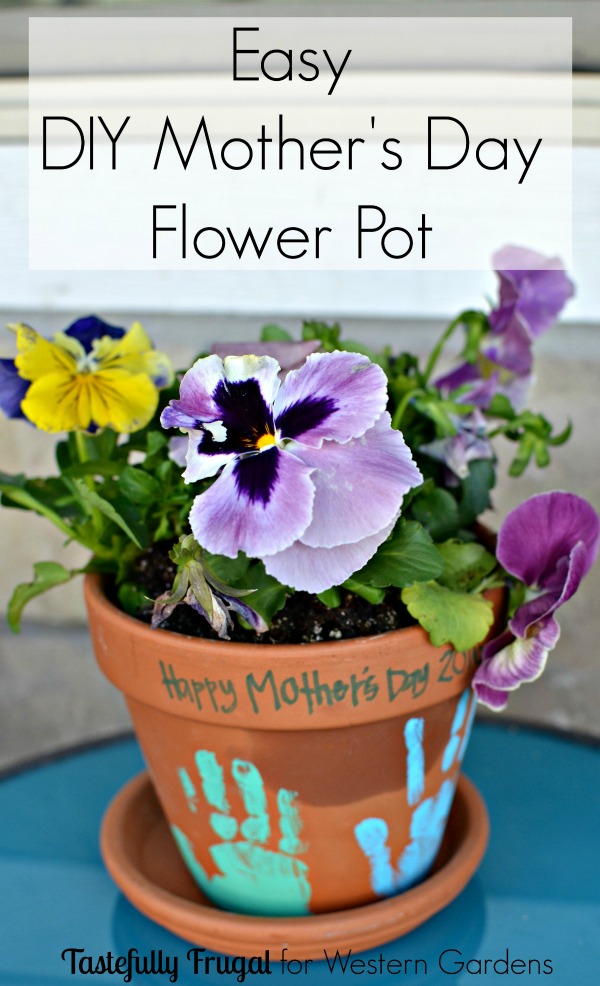
Are you looking for a beautiful, unique gift for your favorite gardening mom? With Mother’s Day just around the corner, I’ve come up with a gift idea for all the moms out there who have a hard time gardening because they can no longer kneel down for long periods of time. Whether it’s because of knee problems or advancing age, this DIY Hanging Basket Frame is perfect for any sitting gardening enthusiast!
This frame is about 3 feet tall, can accommodate 3 hanging baskets, and has 2 “shelves” for boxes on each side. I love this frame because all the planting can be done at a table, and once its set up, watering can easily be done with a watering can. It has been a fun addition to our own yard, and one I wish we had for our patio all those years we were renting apartments!
I drew up my idea, and my husband made it a reality. He was in fabrication/welding for several years and told me this would not only be visually appealing, but also strong enough to handle a lot of weight…and I think we accomplished both of those things! The other awesome thing about it is that we were able to make it for less than $15!
DIY Hanging Basket Frame – A Mother’s Day Gift
Supplies for your Hanging Basket Frame:
- Miter Saw (you need to be able to make 22.5° angled cuts)
- Power Drill with #2 Phillips bit and ⅛ inch drill bit (for pilot holes)
- 2 – 8 ft pieces of wood 2.5 x 1.5 inches
- 1 – 8 ft piece of wood 1.5 x 1.5 inches
- 1 – 8 ft piece of wood 1.5 x .5 inches
- 3 J-Screws (4 inch)
- 3 nuts (¼ of an inch)
- 24 – 2 inch wood screws
- Sand paper
- Exterior Stain (I used Olympic Maximum)
- Paint brush
You will begin by measuring and marking each cut.
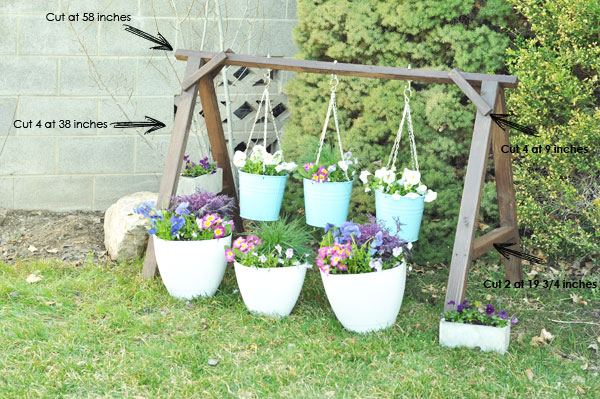
Measure and mark the 1.5 x 1.5 piece at 58 inches. **If you would like to add another 10 inches, you would be able to hang two additional hanging baskets, one on each side. This is up to you.
Measure and mark the 2.5 x 1.5 at 38 inches (x4)
Measure and mark the 2.5 x 1.5 at 19 ¾ inches (x2)
Measure and mark the 1.5 x .5 at 9 inches (x4)
Once you have measured them all go ahead and cut each piece.
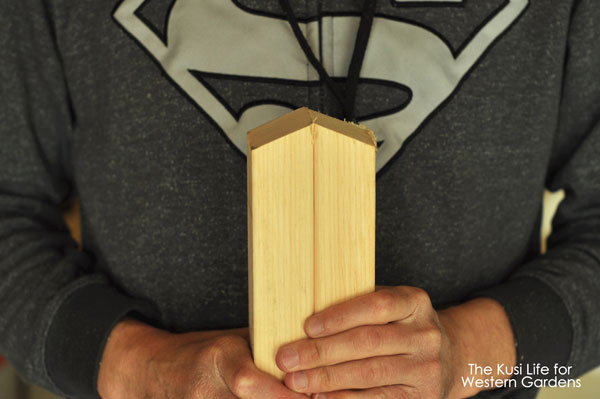
Pull the 38 inchers aside. You will cut each end with a 22.5° angle, opposite direction on each end – this will help the two A-frames to sit right on the ground.
Now take the two 19 ¾ inchers and cut each end at a 22.5° angle – same direction on each end.
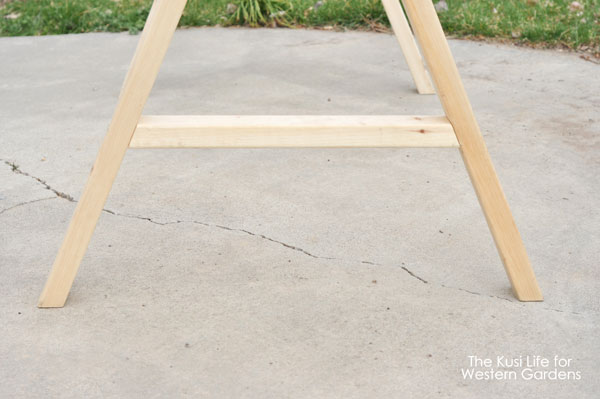
These 4 pieces will make your two “A” frames.
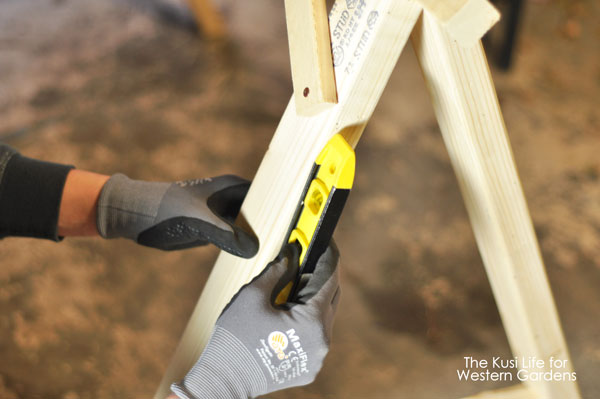
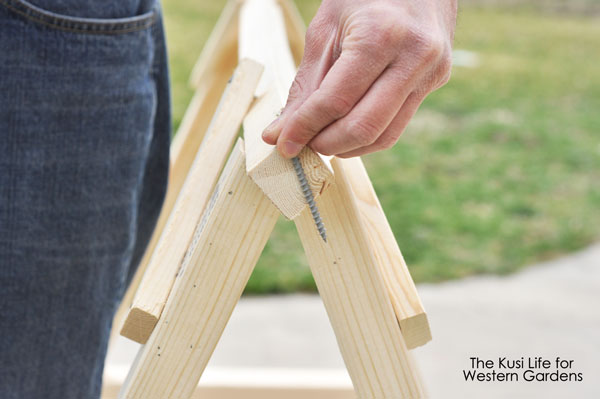
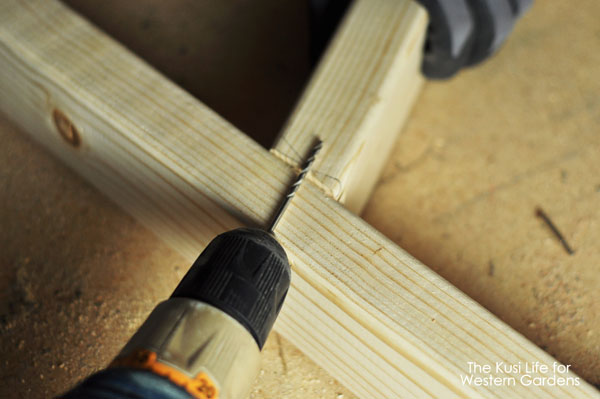 Lay the two 38 inchers on the ground with the 19 ¾ incher in the middle to form the “A.” Using your drill, you will drill a pilot hole in the direction shown here.
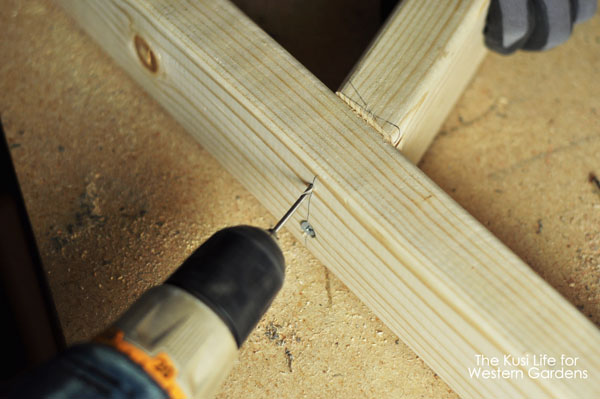
With the #2 Philips bit, insert the screw. Make another pilot hole about ¾ of an inch apart from the other screw, as shown in the picture above. Repeat this step on all 4 sides of the frame. Now you should have the two “A” pieces done.
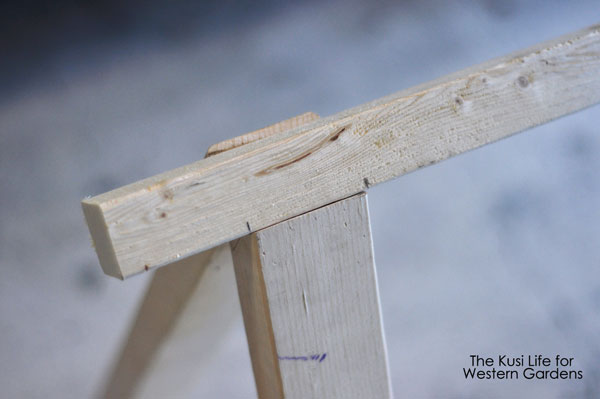
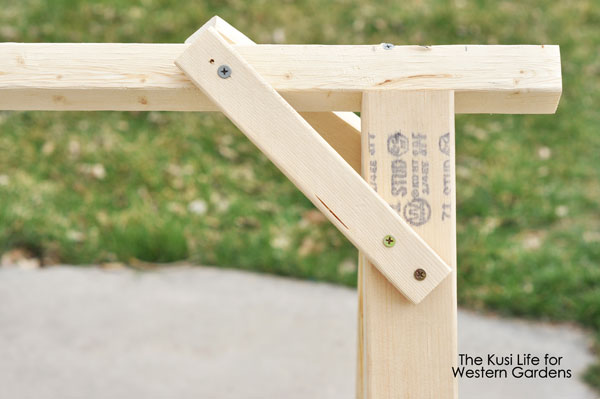
For this step you will need someone to help hold the two “A” frames up. Lay the 58 incher on top of the two frames and measure 5 inches from the end. This is where it will lay. **If you decided to add the 10 inches, measure 10 inches from the end.
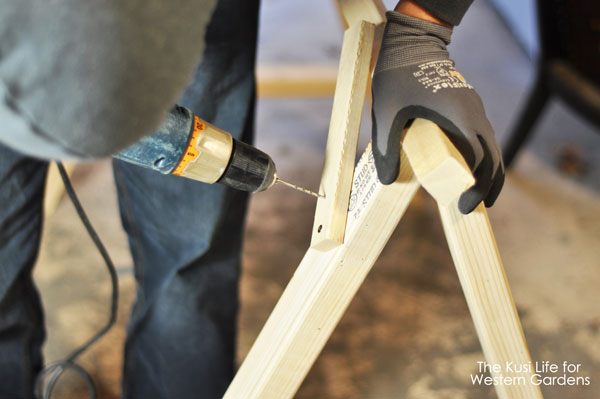
Now take the 9 inchers and drill a pilot hole, then screw it in. You will add another screw about ¾ of an inch just above that. Do the same on the other side.
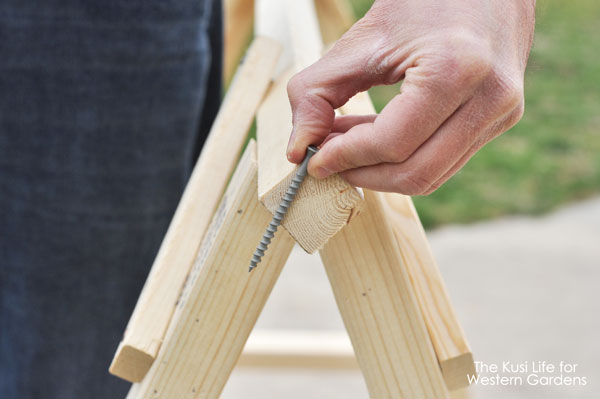
Before you drill the pilot hole from the 9 incher into the 58 incher, use a level and make sure it is level and sitting evenly. Repeat it on the back side of the frame now.
Now drill the pilot from the 9 incher into the 58 incher, then screw them together.
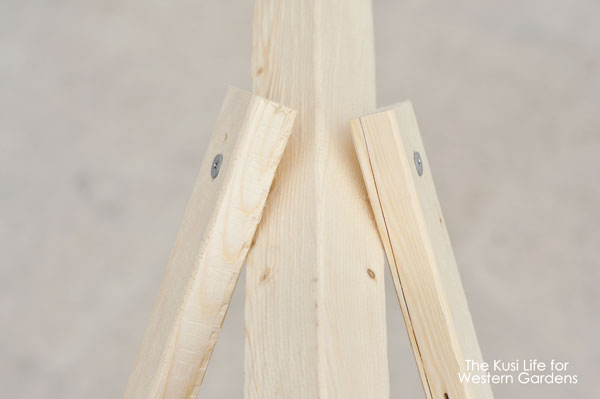
It should look like this.
Now, to secure the 58 incher, you will drill two pilot holes in opposite directions as pictured above, on each side.
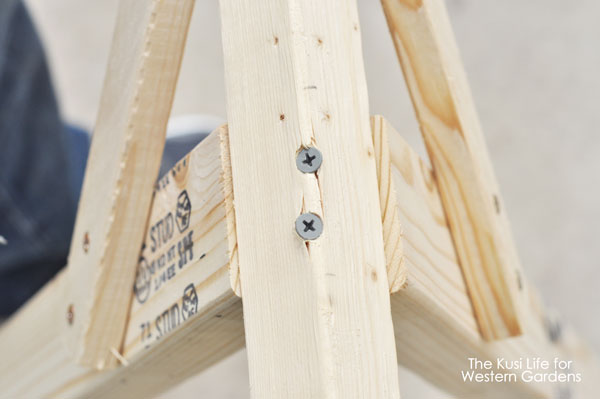
It should look like this.
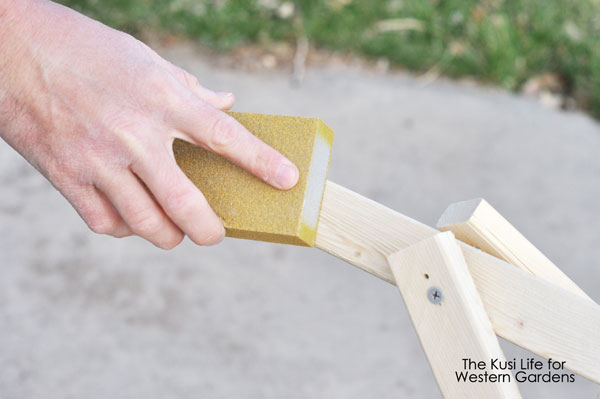
I did a quick sand job so it would be smooth and easy to stain.
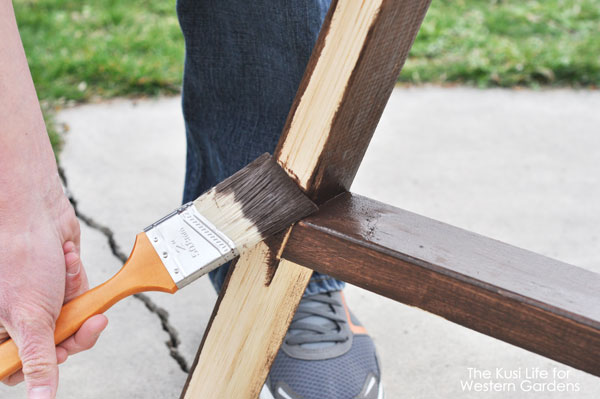
I used Olympic Maximum Sealant and Stain in one. We used it for our deck and it has held up really well.

After allowing it to dry over night, we then drilled the 3 pilot holes 12 inches apart for the hanging baskets.
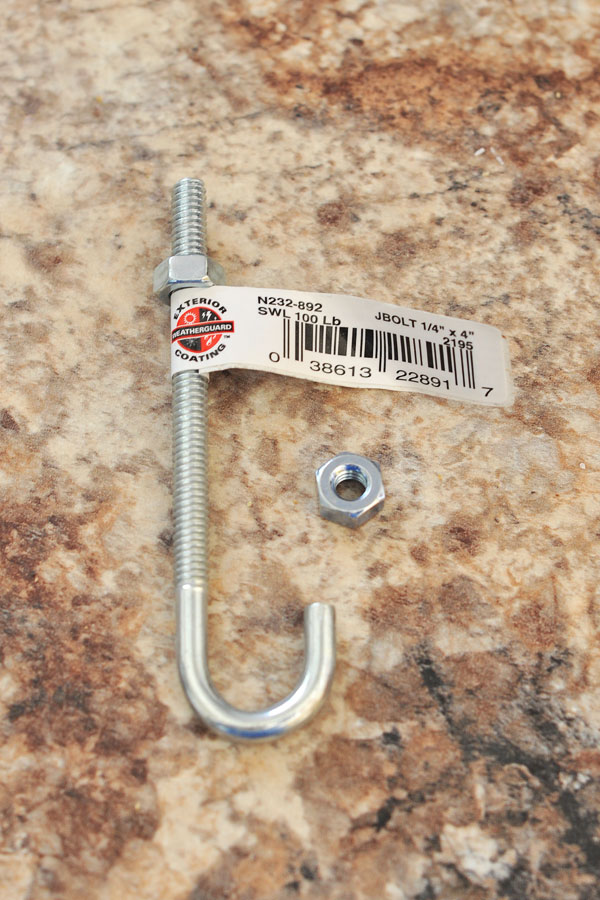
Here is what the “J” screws look like. They come with only one nut so you have to buy 3 extra nuts to have one nut on the bottom of the the “J” and another on the top, so it will be secure. Screw those in and you are ready to hang your baskets!
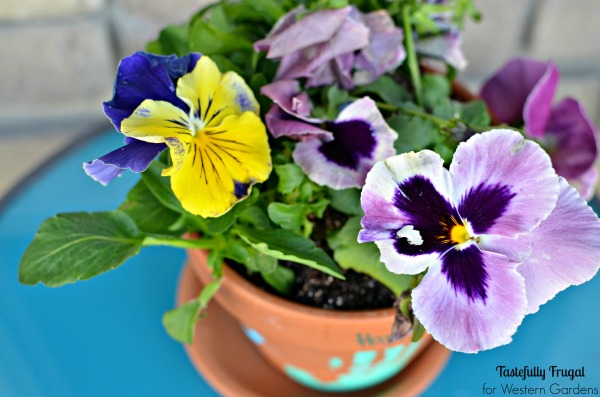
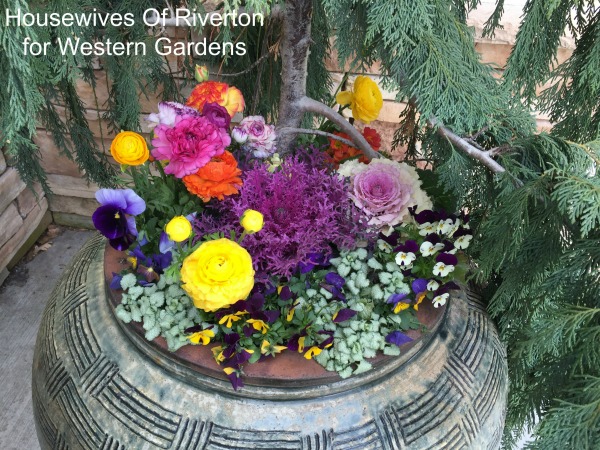
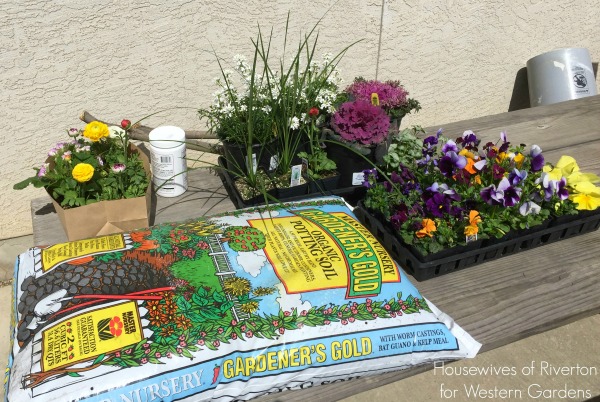
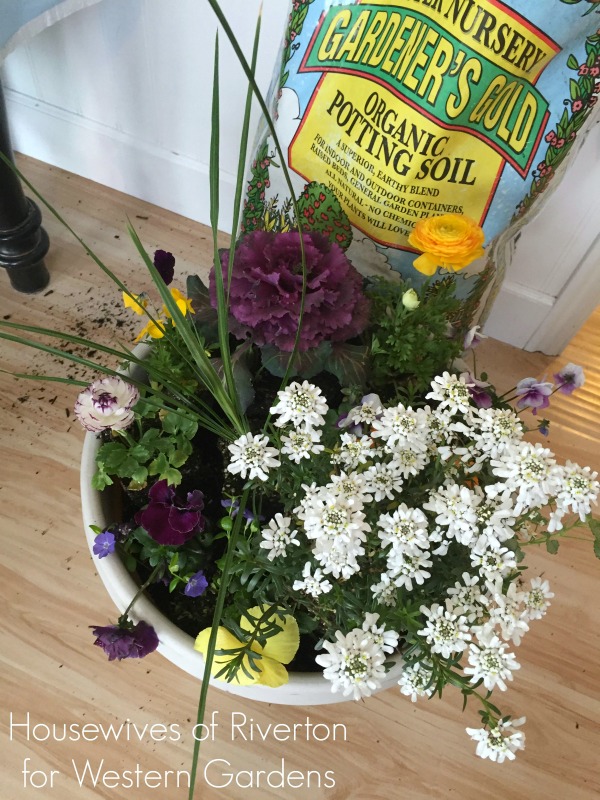
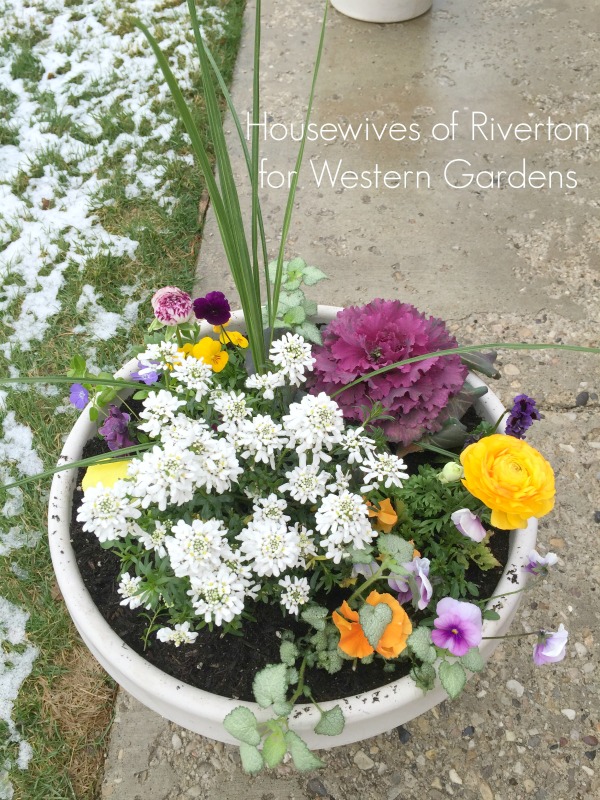
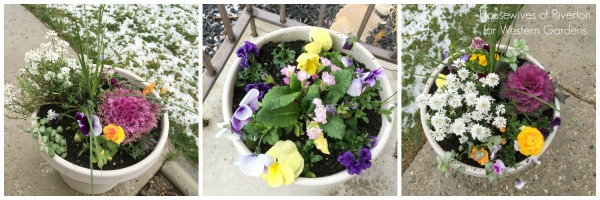
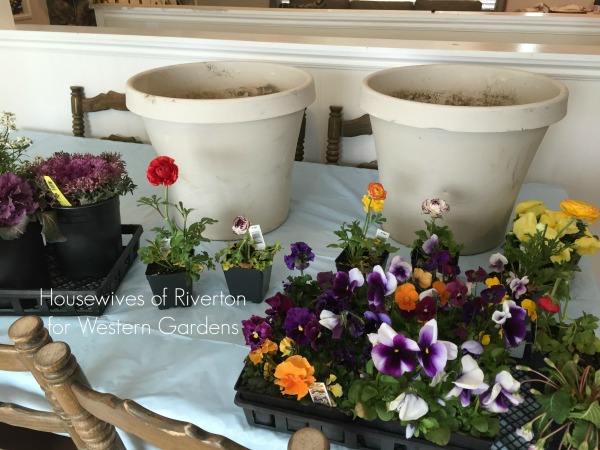
I had a blast going to Western Gardens to purchase all my flowers. The staff there are awesome and helped me make my vision become a reality! If you think Mom will want to choose her own flowers for her Hanging Baskets, a gift certificate to Western Gardens is the perfect idea so she can add her own special touch to this gorgeous display.
I have had lots of compliments on how much this adds to our yard, and my husband has had people ask him to make them one too! It really is an easy project that I think anyone would love to receive as a gift for Mother’s Day! How will you celebrate the women in your life this year?
See the Happy!


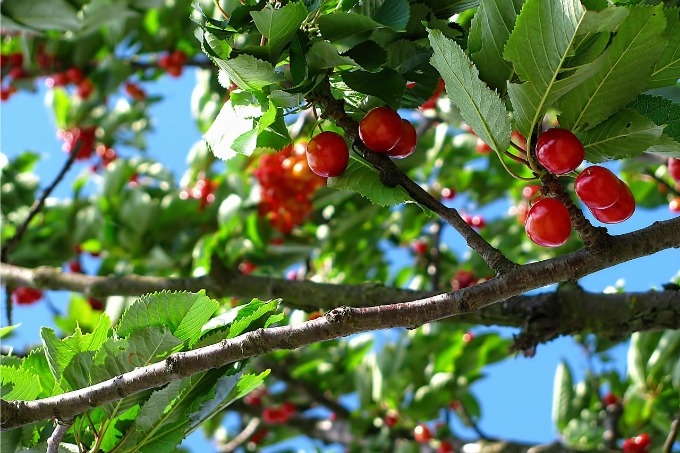 You may not need to do everything on this list. For example, if you don’t have fruit trees to fertilize or a sprinkler system to check, skip over those items on the list. Just pick what applies to your home and yard and plan out when you will do it all throughout the month!
 March Gardening To-Do List
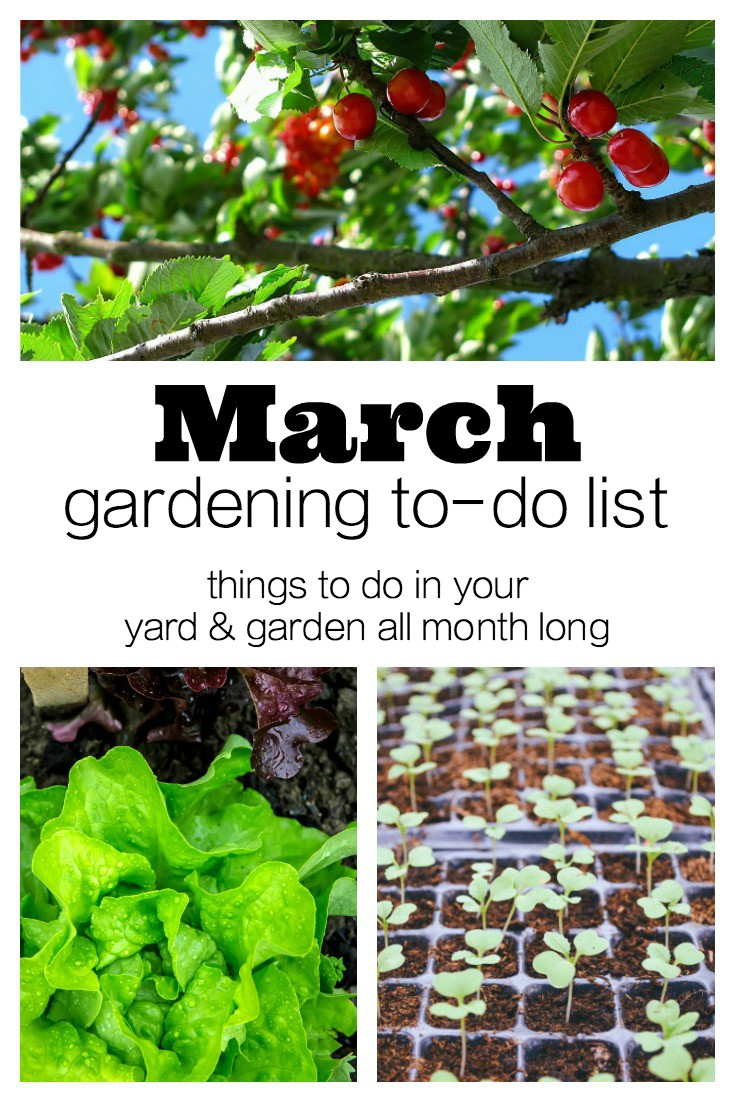


