Hi there! I’m so glad you stopped by today!
Are you looking for an easy (and nearly free!) way to mark your veggies in the garden? I have a simple idea for you! Because if you’re like me, you probably won’t remember what you planted and where it went…but these DIY garden stakes will keep you organized and excited to see what veggies you’ve got coming.
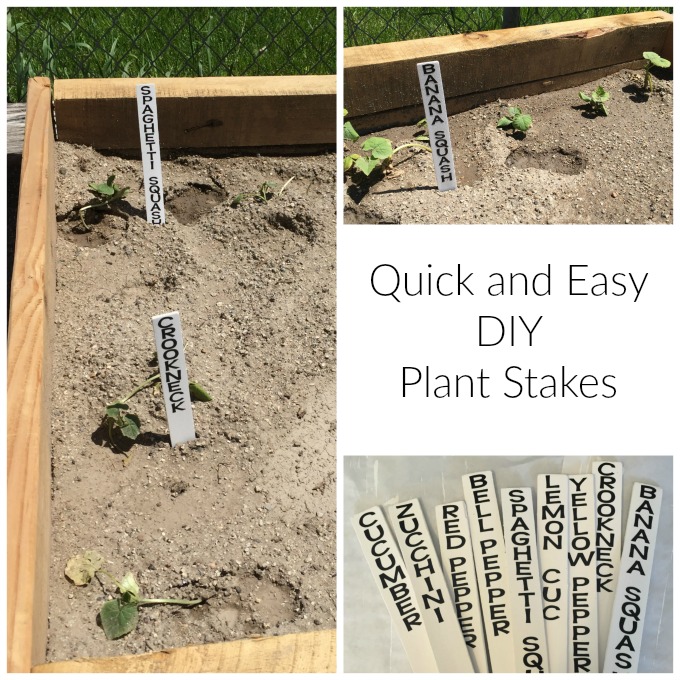
This year we built some raised garden boxes to grow our veggies, and I can’t wait to see them overflowing with produce! And I’ll know exactly what I have since these DIY garden stakes are so easy to see and read.
 I was working on another project recently, and I mentioned it to the employee at my local paint counter. She passed me a handful of stir sticks and said, “I think these might work for your project!” And she was right! Since then, when I’ve got a project to create, I consider what free items I can use. For my DIY Garden Stakes, I headed back to the paint counter and requested some paint stir sticks. I love how obvious it is that I’m not the only person who asks for stir sticks but no paint…without batting an eye, they just pass them over!
DIY Garden Markers
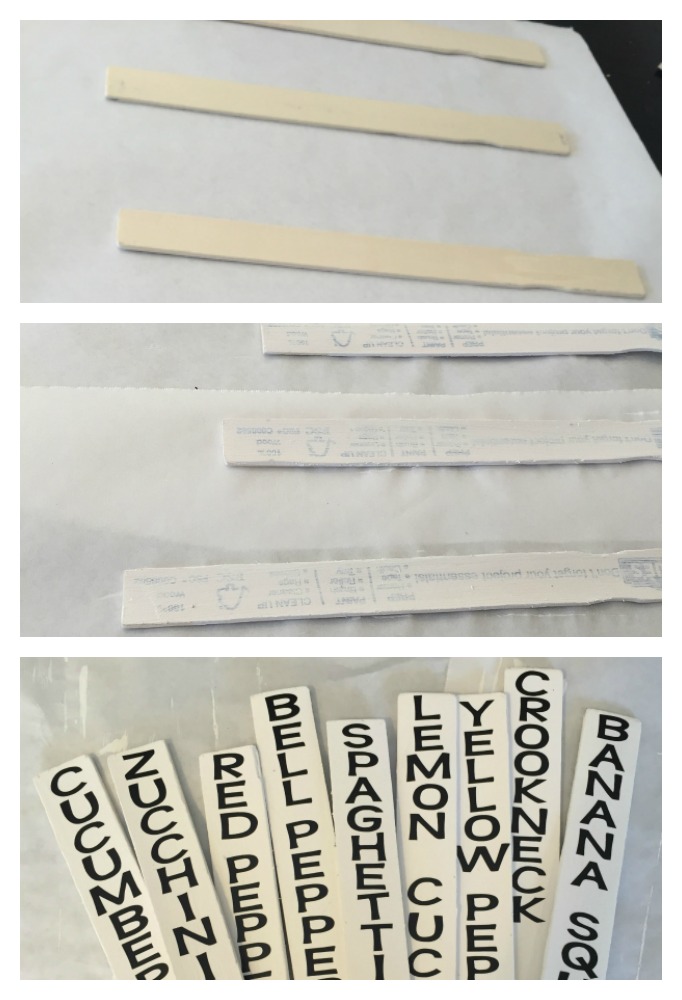
- Lay paint sticks out on wax paper (the paint doesn’t stick to the wax paper, making it easier to flip the sticks over).
- Paint with an exterior paint, for added durability (it’ll take a few thin coats to cover the stamped print on sticks, but if you don’t care about the back side being painted, you can get away with one coat).
- When the paint is dry, use outdoor vinyl and a vinyl cutter (like a Cricut machine) to cut out the names of each of your plants, and attach them to one end of the stir stick.
- If you don’t have a vinyl cutter, use a Sharpie to write the veggie names.
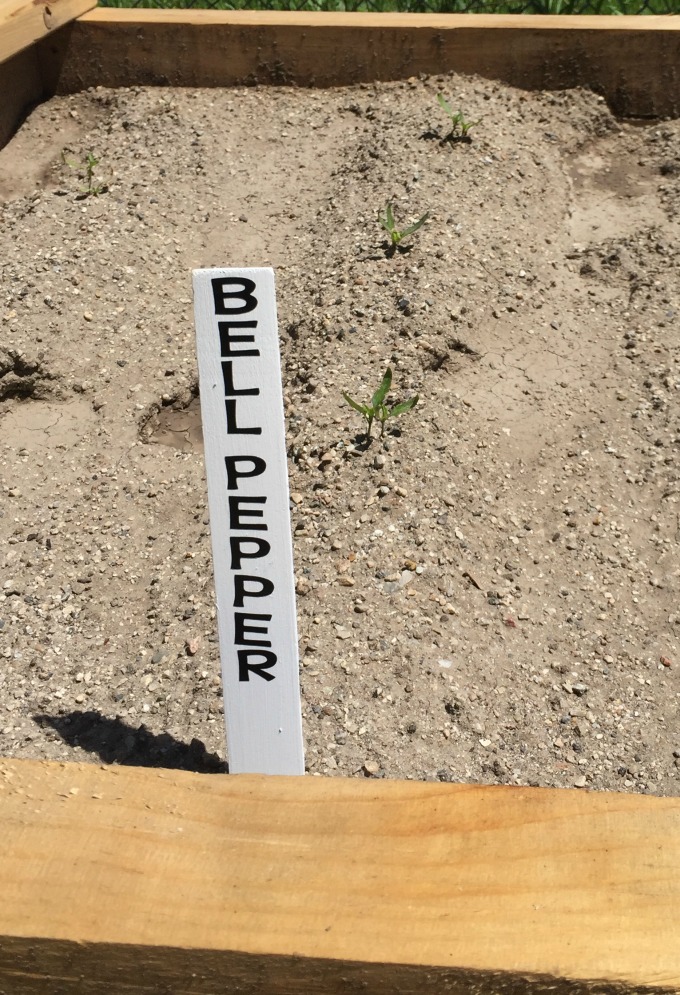
- Use as is, or cut the ends of your paint stir sticks to a point, to look more like a stake. I didn’t need to do this since my soil was soft enough to push my markers in without a point.
I love how they look in the garden! The bright white with the easy-to-read black print makes me smile each time I walk out to the garden.
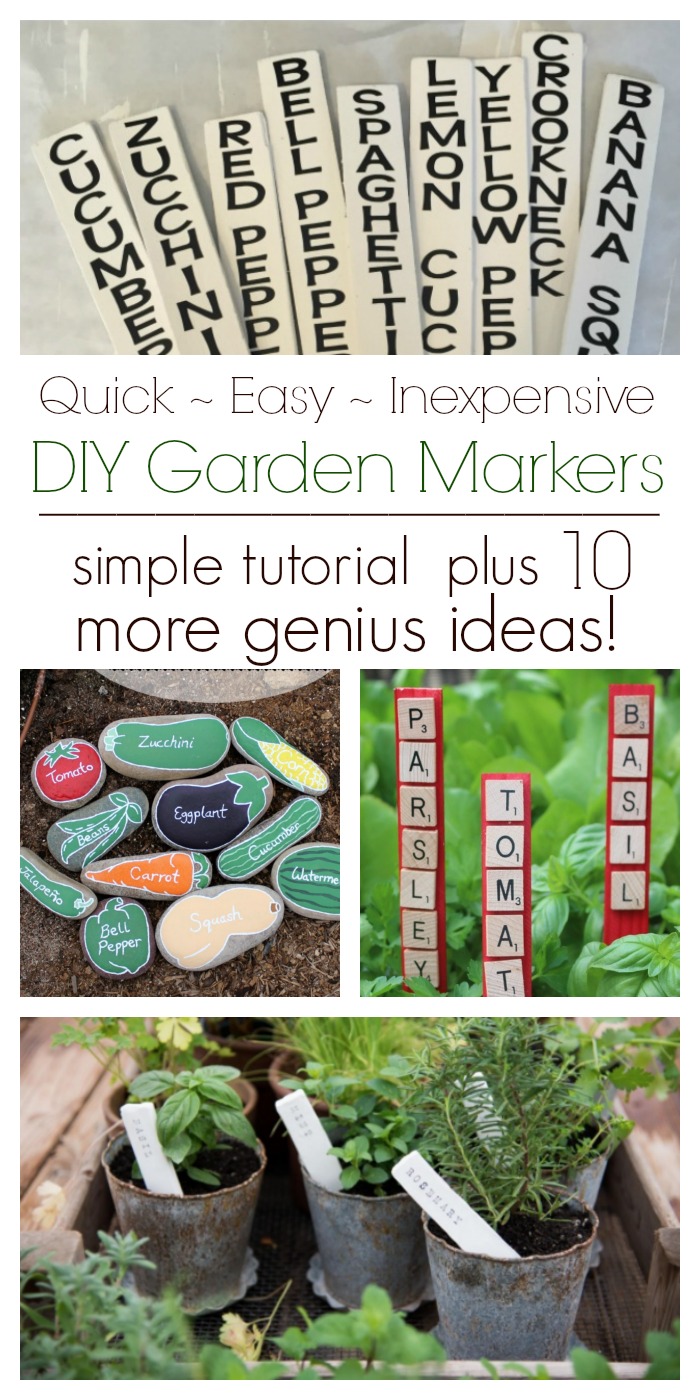
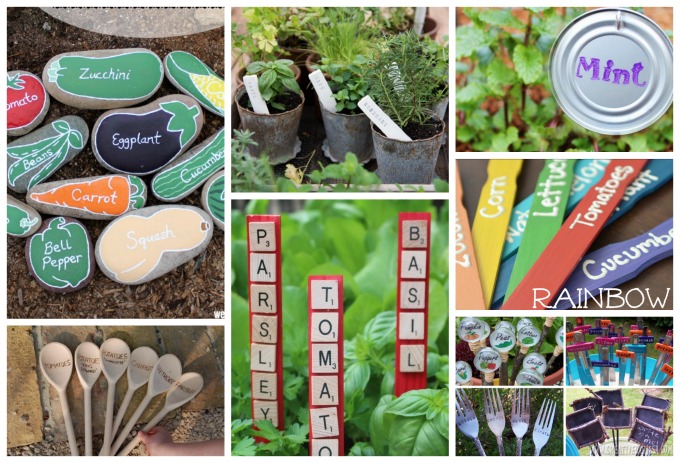
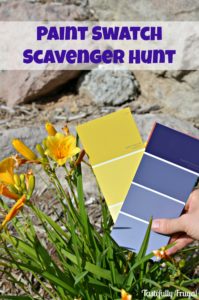
Looking for even more garden marker inspiration? Click the image below to see 10 cute, easy and inexpensive ideas!
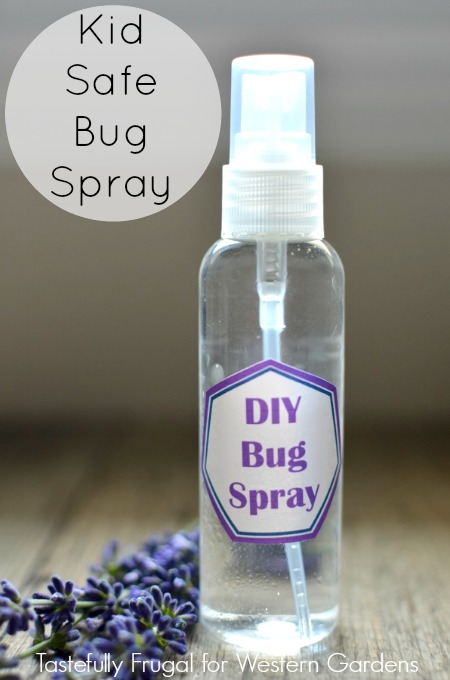
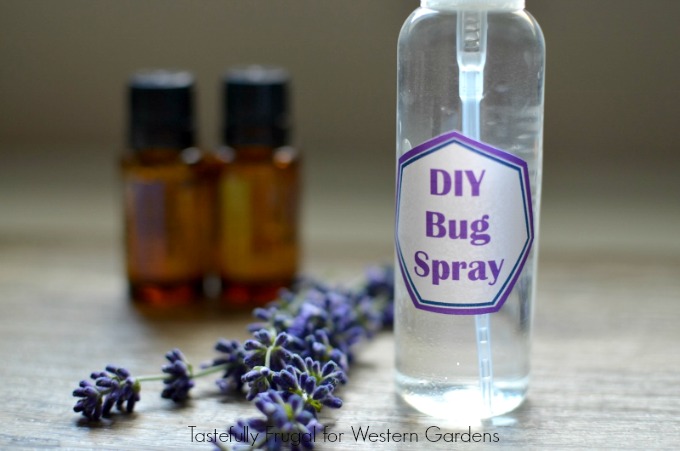 There are lots of different recipes for making your own bug spray because they are so easy to customize to the bugs you want to avoid. Different bugs dislike different scents, so add what you need in order to avoid those bites! Here are a few essential oils that are good to keep these bugs away:
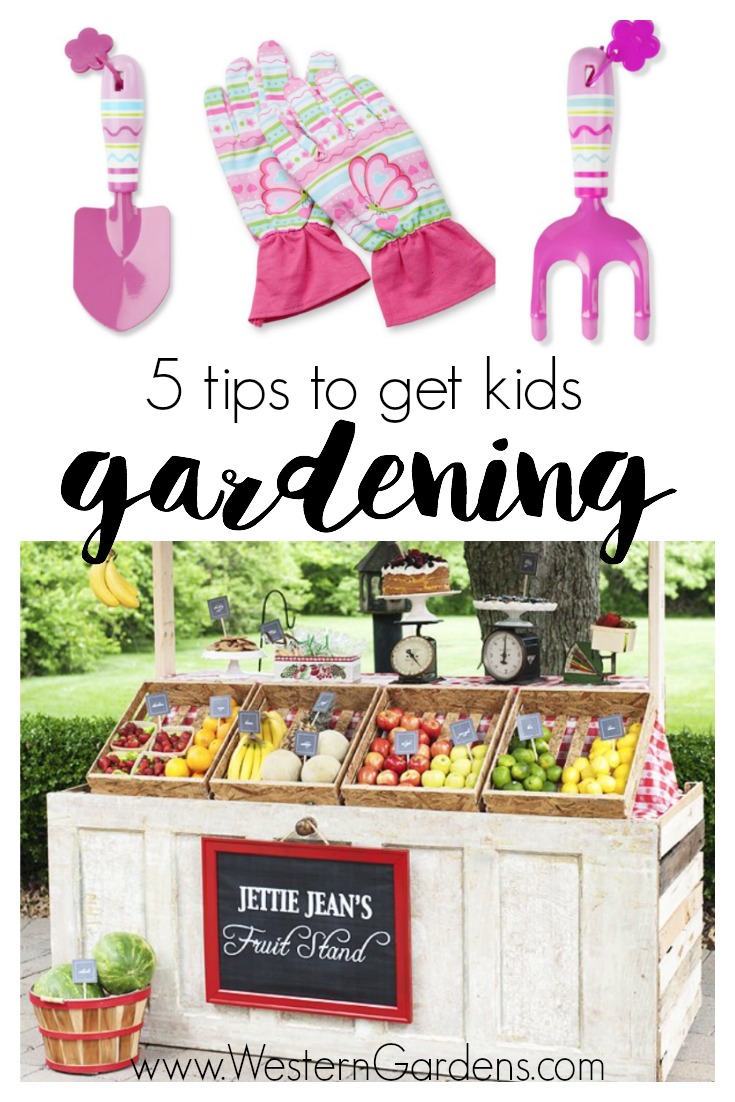

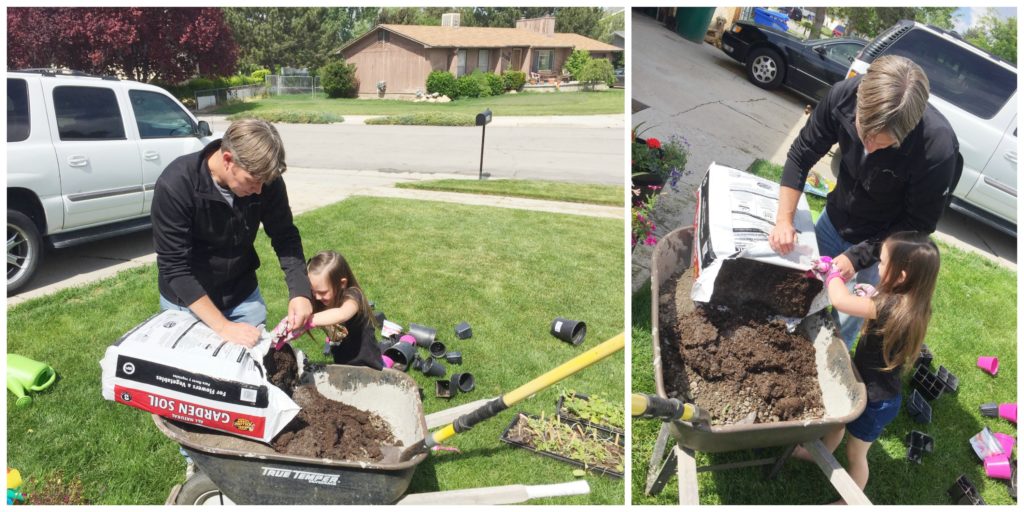 What tips do you have for getting kids to help you in the garden? Let me know in a comment below!
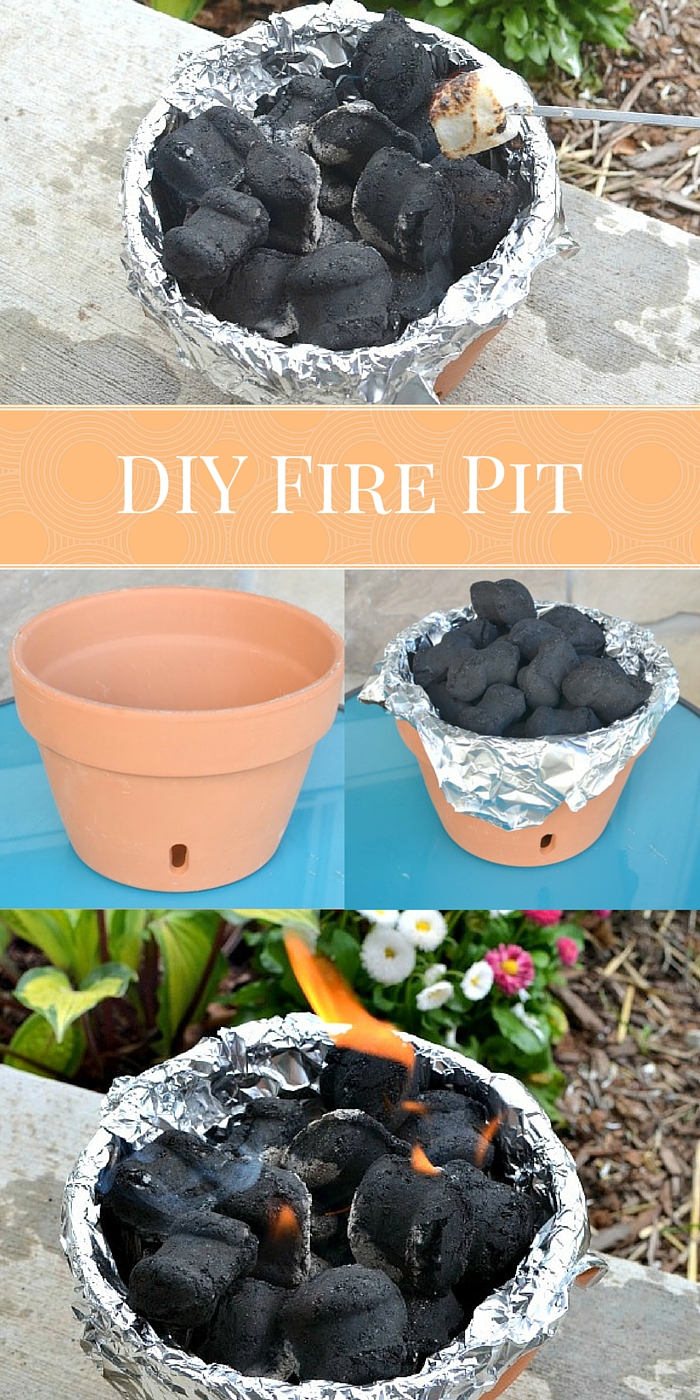

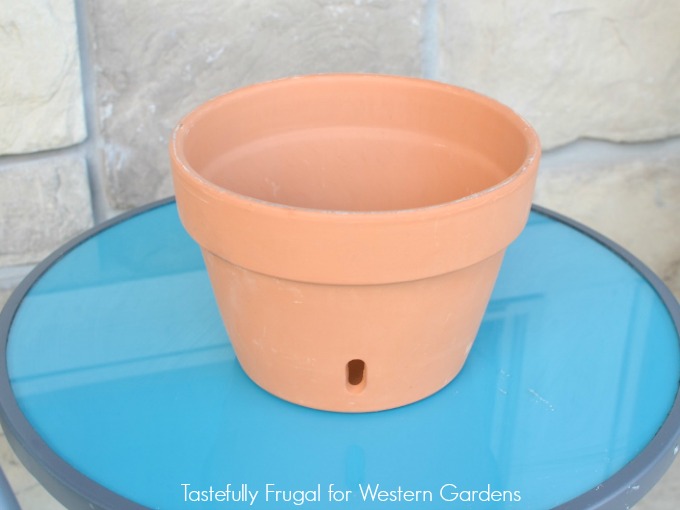 I took matters into my own hands and made a mini fire pit out of a terra cotta pot for our front porch! I took my husband, who is definitely the brains of our family, into
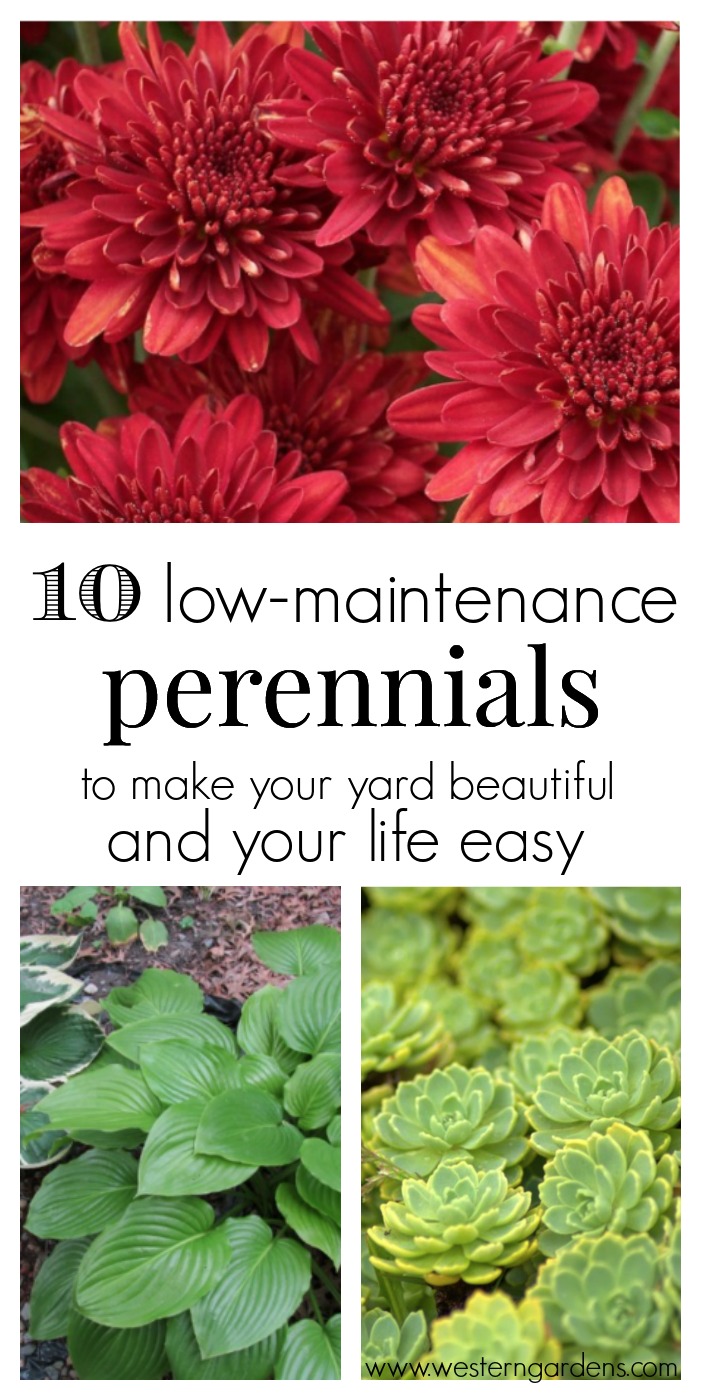
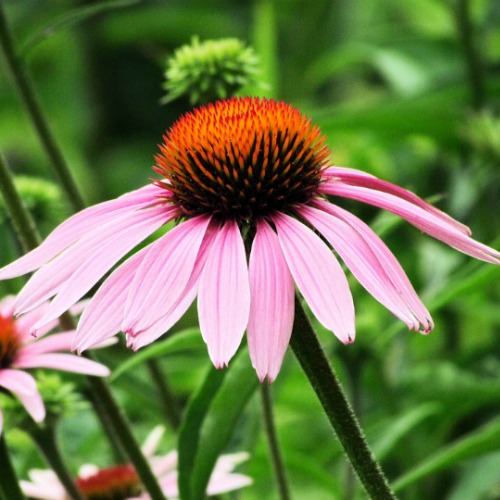 1. Coneflower –
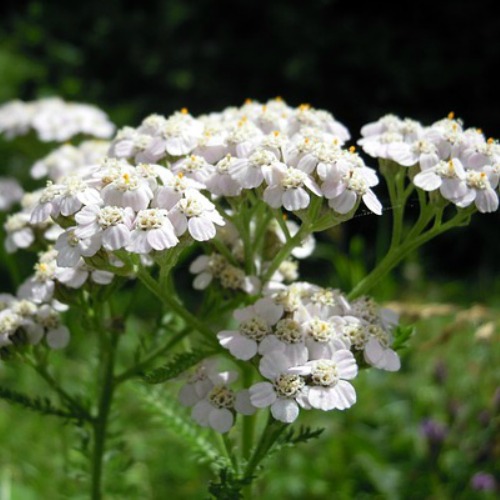 5. Yarrow –


 Strawberry French Toast Cannolis
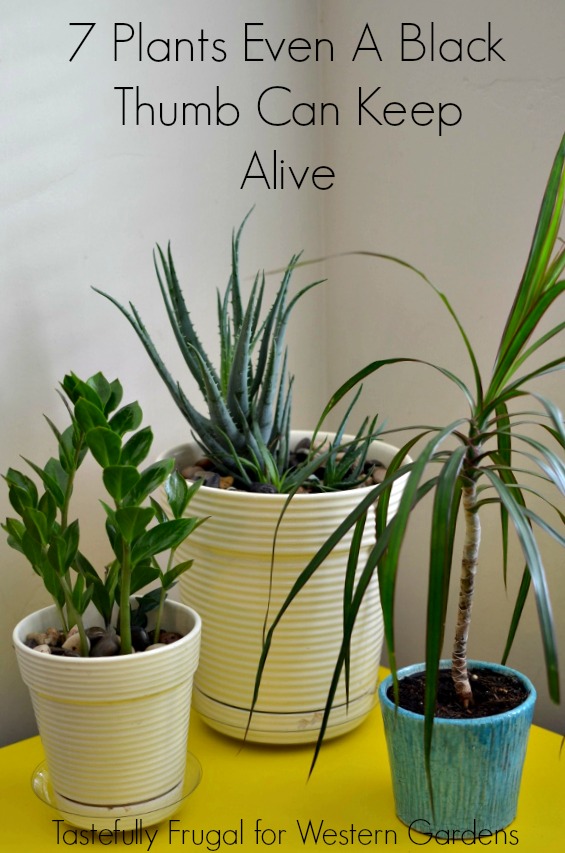
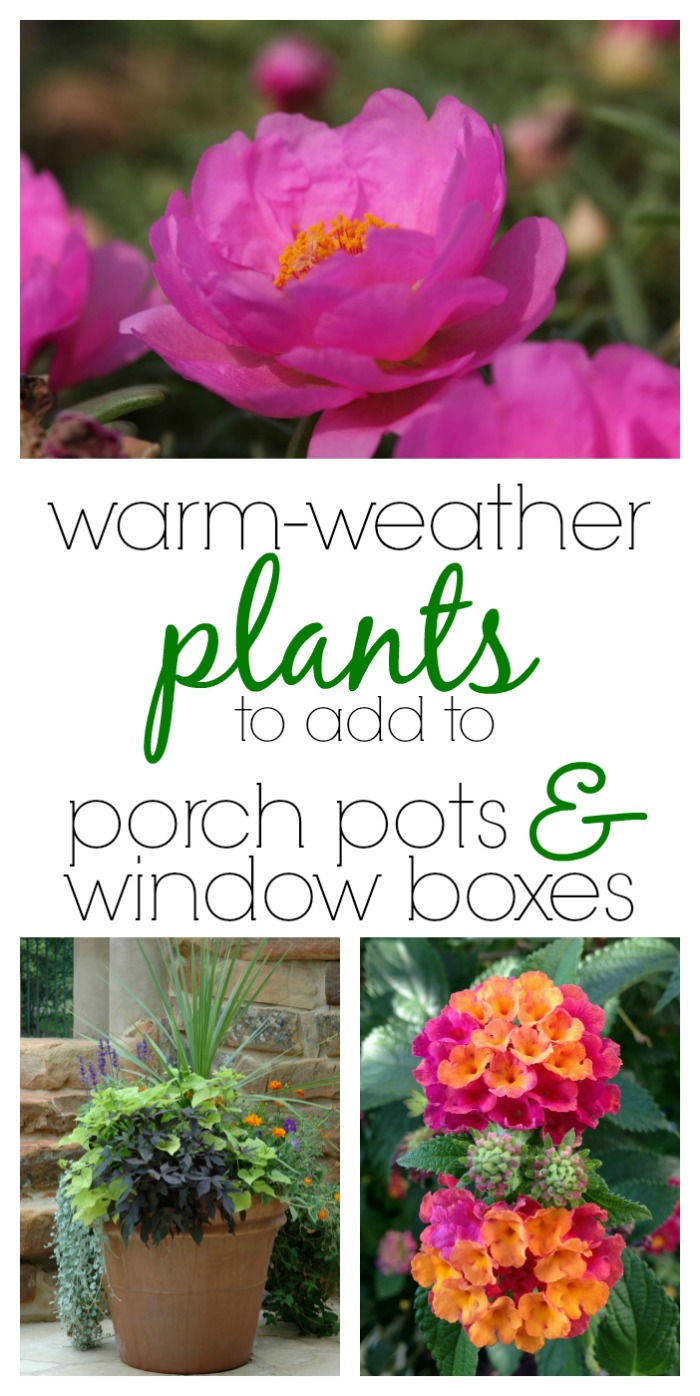
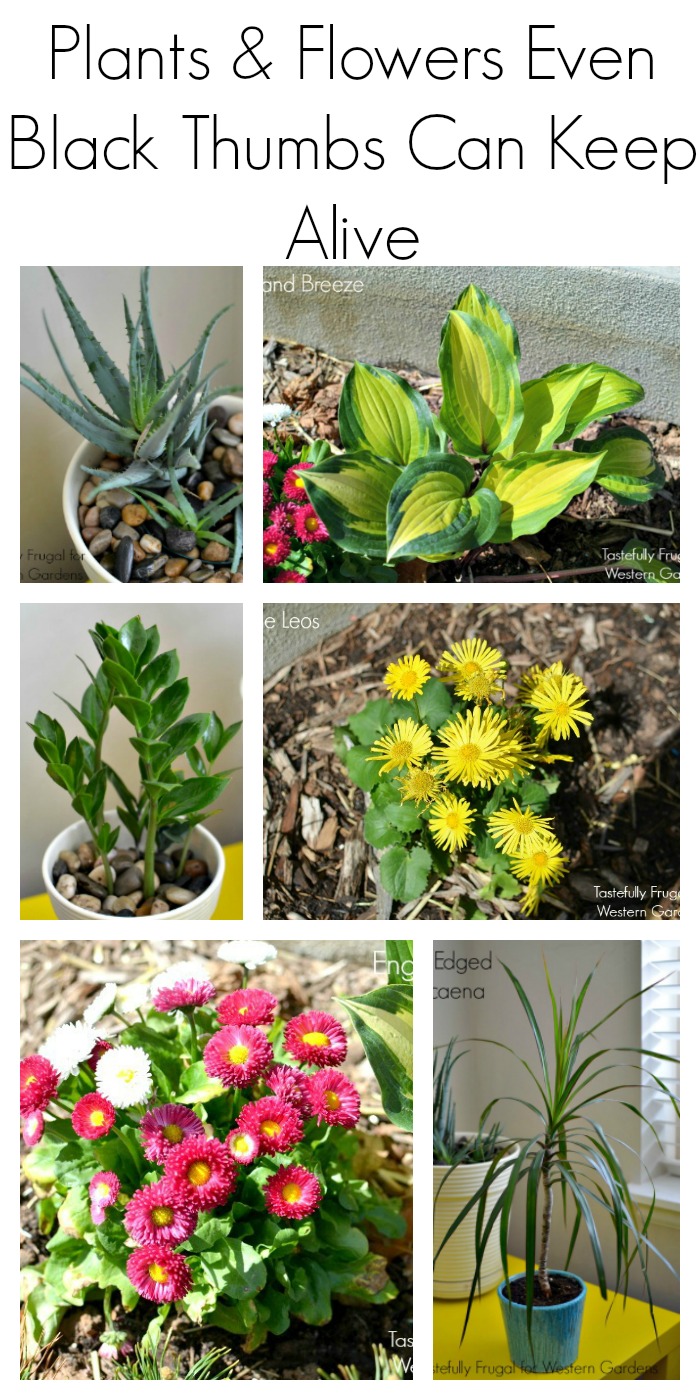 alt=”If you have trouble keeping plants alive, have no fear…. Stick with these 7 varieties and you’ll be able to keep thriving all year long!” width=”700″ height=”1400″ />