Hello, thanks for stopping by!
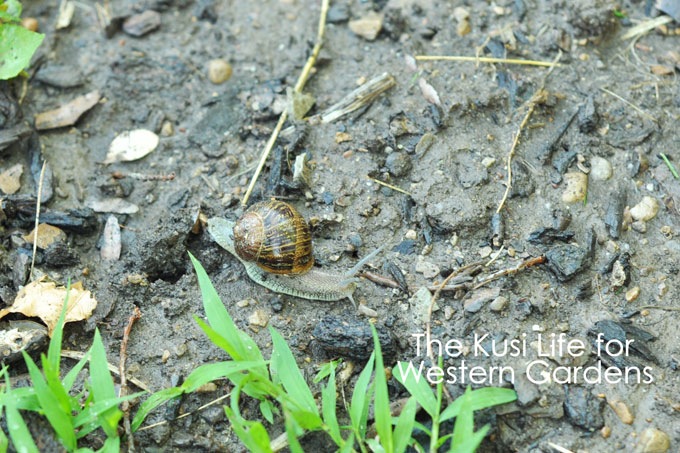
Have you ever had issues with snails or slugs eating your garden? I sure have! They’ve devoured some of my favorite plants, which motivated me to find some safe, natural ways to get rid of them!
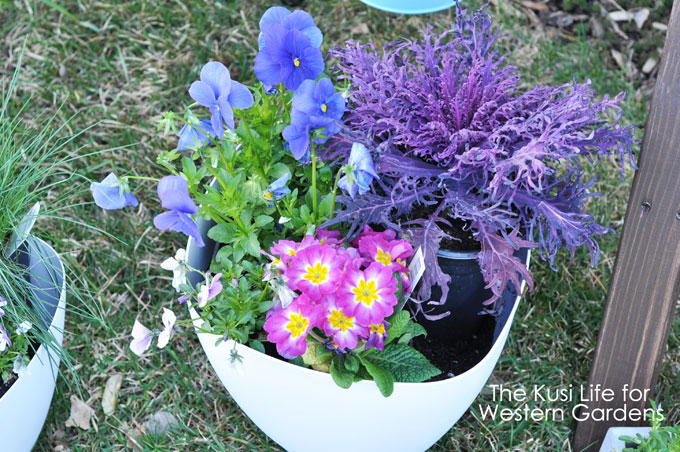
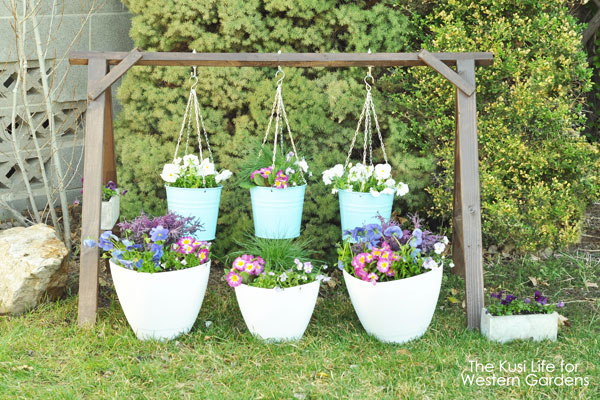
This is a pot I was prepping to plant in early Spring. I especially love the bright colors, they look so happy!
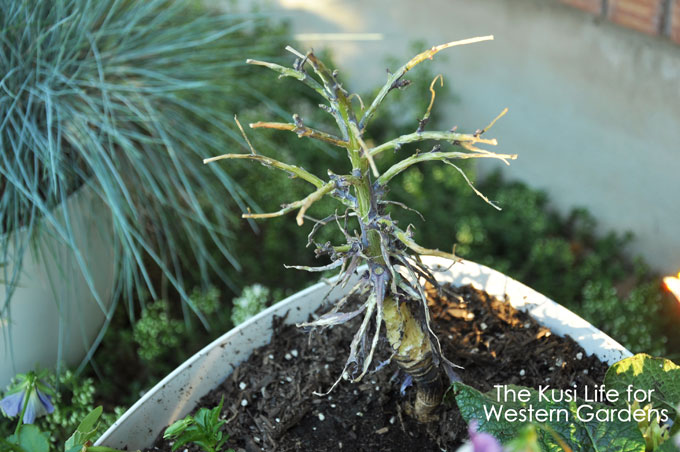
But this is what was left of my purple decorative kale after a gang of snails enjoyed it for a week or two. I actually found 5 or 6 snails sleeping contently in my pot. I was not happy with them! If you need to protect your plants too, try one of these cheap and easy methods! Beer Traps, Egg Shells and Sluggo all have benefits, so keep reading to see which one is right for you!
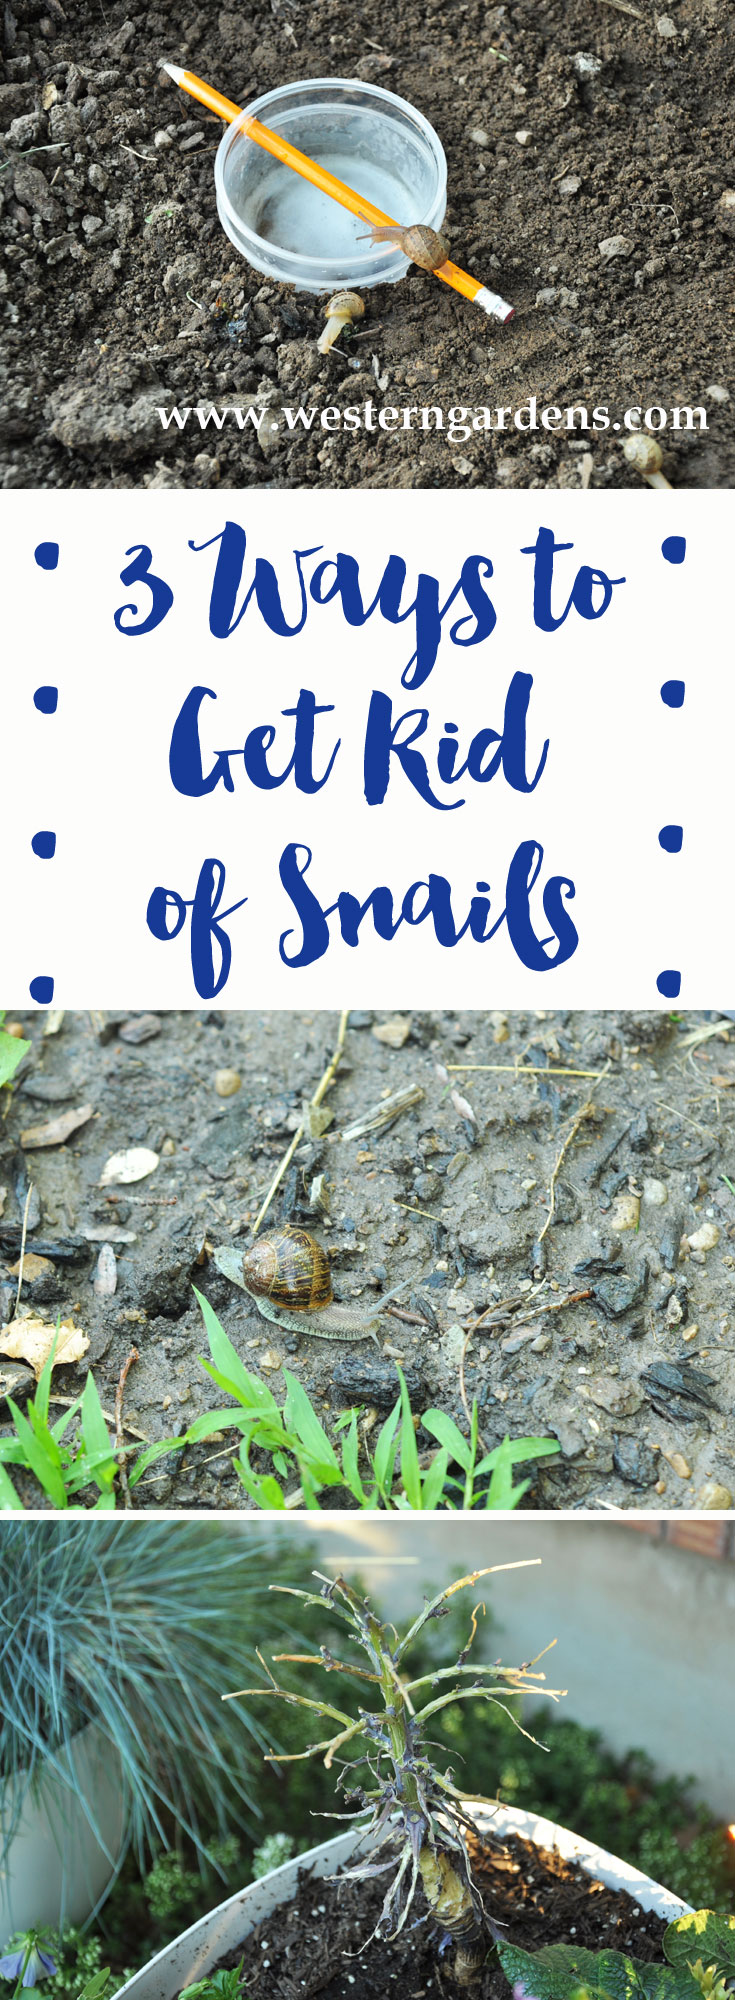
3 Ways to Get Rid of Snails
1. Beer Traps
I developed this particular trap to make it easy to get rid of the snails after they drown in beer.
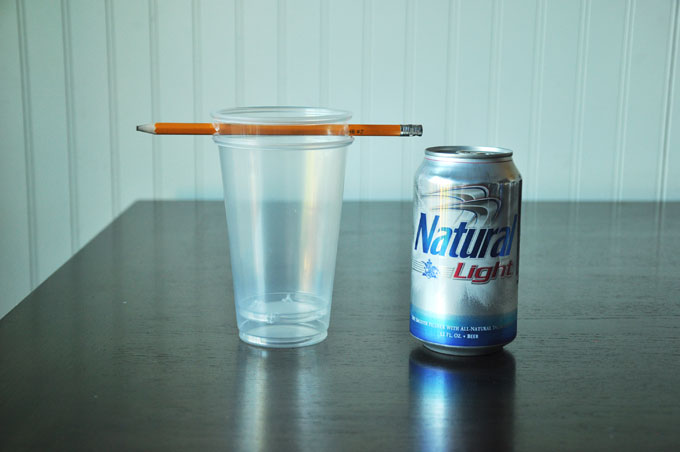
Beer Trap Supplies:
- 2 disposable plastic cups
- an old pencil
- a can of beer
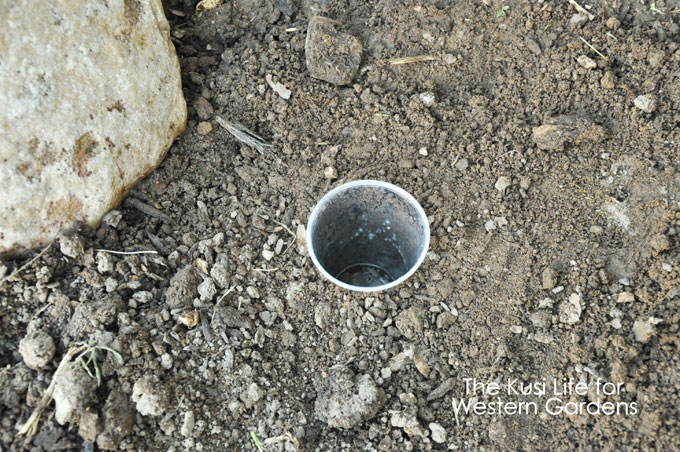
In the evening, dig a hole outside in your vegetable or flower garden, near your plants. Place the cup inside the hole. Make it level with the ground so the snails don’t have to climb far.
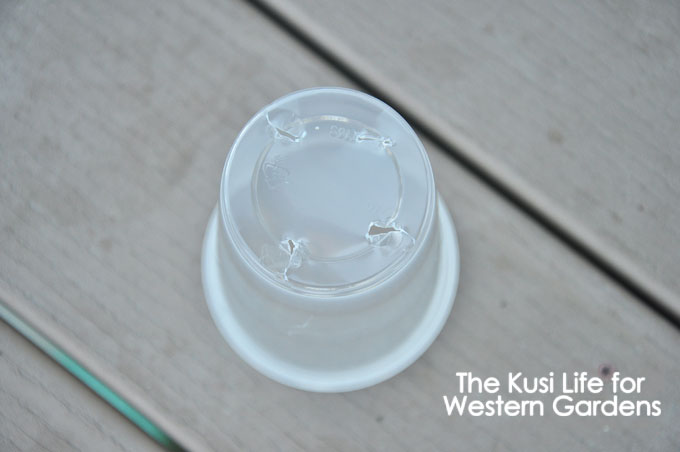
Using scissors, carefully poke 4 drainage holes in the bottom of the remaining cup. Poke two more holes near the top, just under the lip, for the pencil to go through. This will ensure a gap between the cups so you can easily remove the top one to dispose of the snails the next morning.
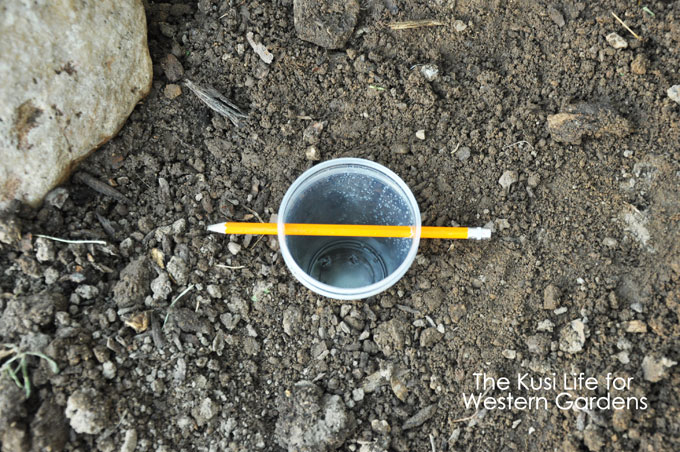
Place the cup with the holes and pencil inside the cup buried in the ground. Pour the whole can of beer inside the cup, leaving about an inch of headspace. This forces the snails to climb down into the cup, where they will drown in the beer.
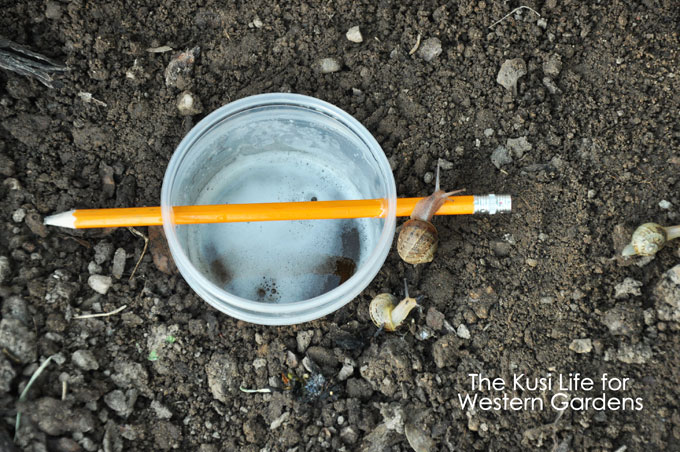
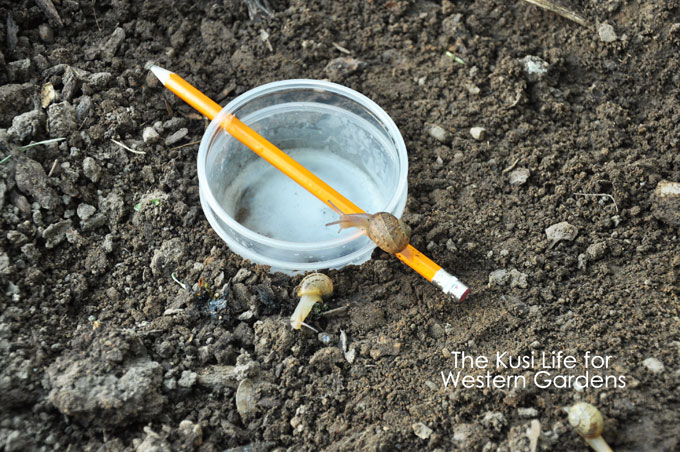
We put a few of our snails near the cup, and they were immediately drawn to the beer!
He started in on his own.
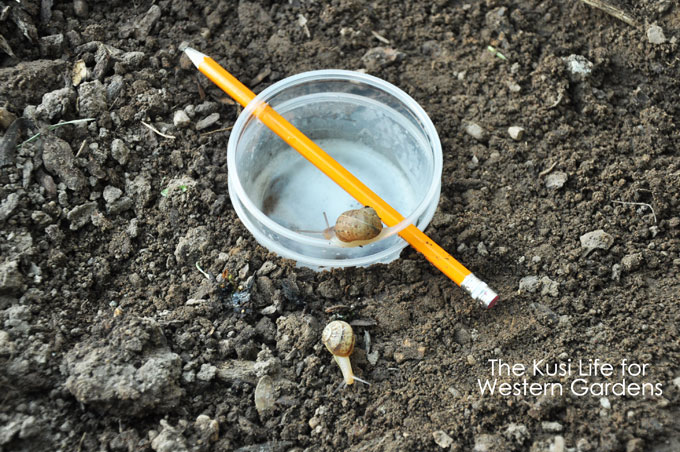
And down he went for a drink.
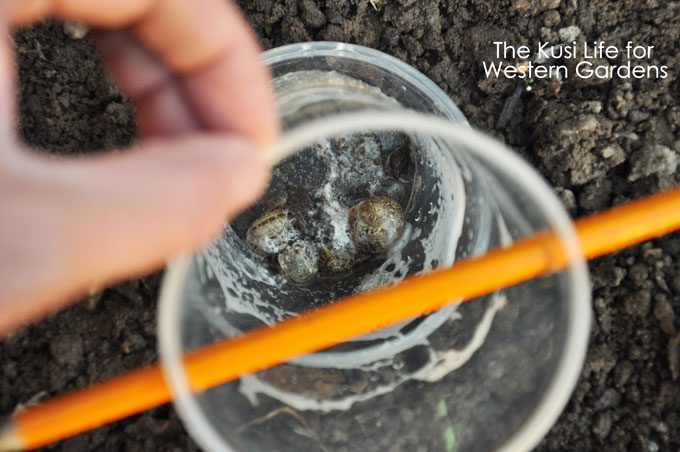
We caught 5 snails the first night! To empty the dead snails, just pull the inner cup out and the beer will drain out the holes. Dispose of the snails and gently push the pencil cup back into the inner cup, and the beer will fill back into that inner cup.
This method is easy, it uses only a few items, and I saw results literally overnight. The beer will last up to a week, but after being in the heat all day, I prefer to change it every other night.
Don’t Want to Buy Beer?
The yeast is what lures the snails to the cup to take a drink. If you don’t want to buy beer because you don’t drink or you just want to save some money, you can make your own yeast mixture with a few pantry staples!
DIY Yeast Snail Bait
- 1 Tbsp of flour
- 1 tsp of sugar
- 1 tsp of yeast
- 2 cups of water
2. Egg Shells
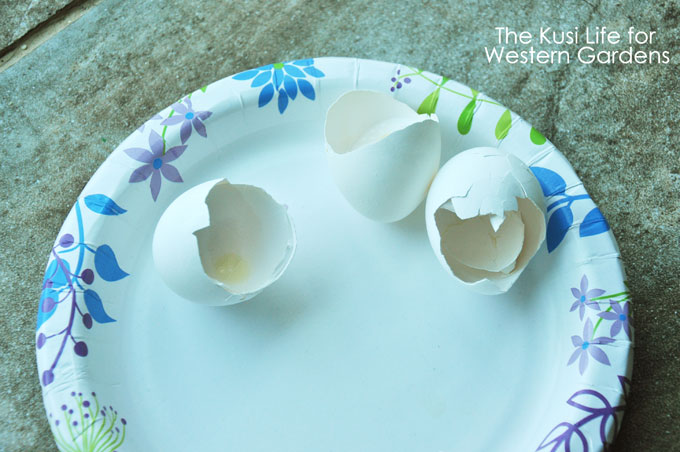
If you eat a lot of eggs, this is a free way to deter snails from your plants—and I stress the word deter, as this will not kill them. Simply save the shells from your eggs and allow them to dry out for a day or two. Then, using the bottom of a cup, crush the egg shells into small, sharp pieces. Sprinkle the egg shells all the way around your plants, making a border. Make a fairly wide berth around the plant, or the snails will not be deterred.
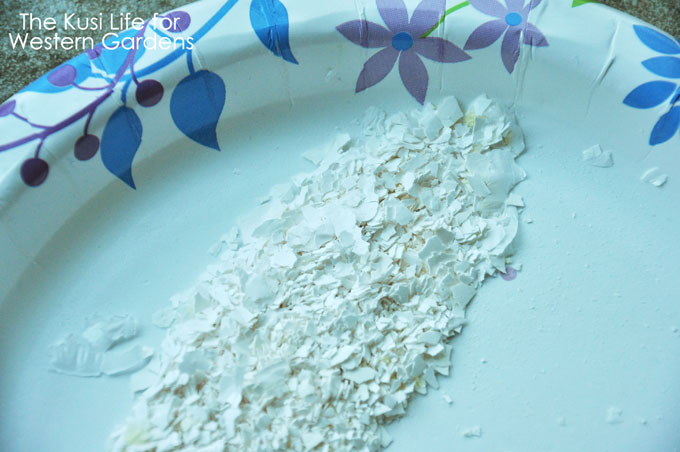
Snails hate the sharp pieces and will turn around and look for another place to eat…but they will not die, which is honestly what I want…to get rid of them entirely! If it rains or if you water, you will probably need to sprinkle more egg shells around your plants again, otherwise they will be feeding on your plants the moment they get the chance! This isn’t all bad though…egg shells are great for the garden because they add a lot of nutrients to the soil.
3. Sluggo
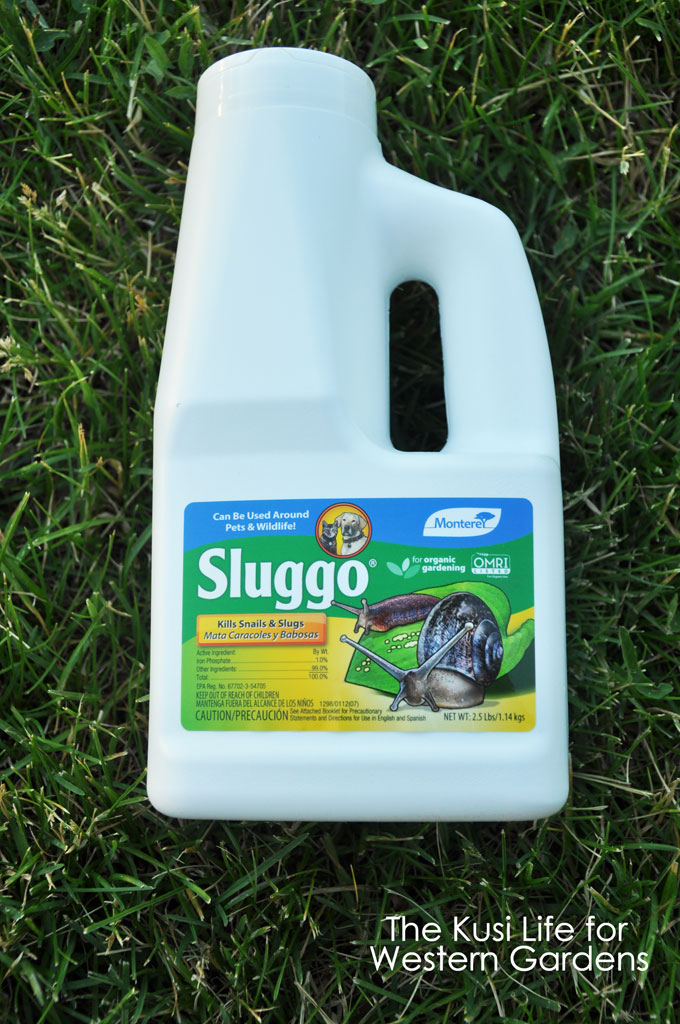
Sluggo is a great option when it comes to purchasing a natural snail-killing bait. It is completely safe to use around wild animals and pets as it has iron phosphate—a natural mineral found in the soil. The snails eat the bait, lose their appetites, head to their hiding place and die within a few days. And it still works if it rains or if you water your garden! Sprinkle it around your plants about every two weeks. I purchased mine as a recommendation from one of the associates at Western Gardens and I love it!
Which One is Best?
There are other methods that claim to get rid of (or deter) snails. After trying just these 3 methods though, I have to say I loved seeing the dead snails in the beer. It’s so satisfying to see a difference that quickly. However, the Sluggo is the easiest method of the 3. Sprinkle the tiny pellets every two weeks and walk away. This gives me more time to enjoy other things! Like weeding. 😉 Both of these methods will rid you of snails, and hopefully prevent them from laying eggs before they die.
Have you had success in deterring/killing snails or slugs? I would love to hear what has or hasn’t worked for you!
See the Happy!


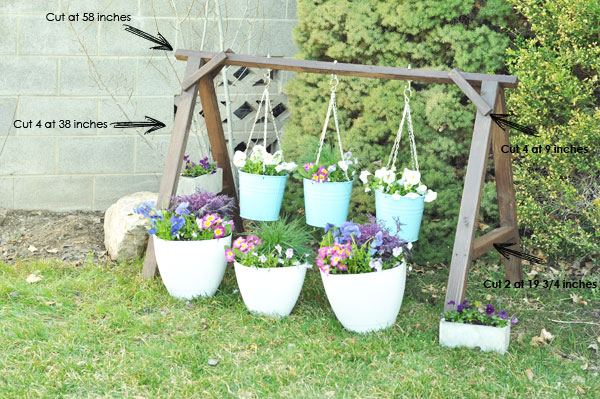
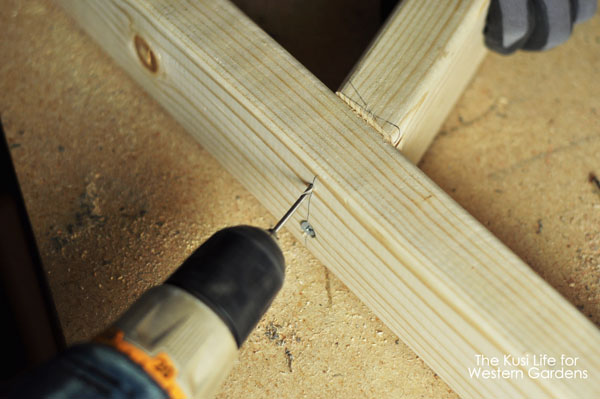
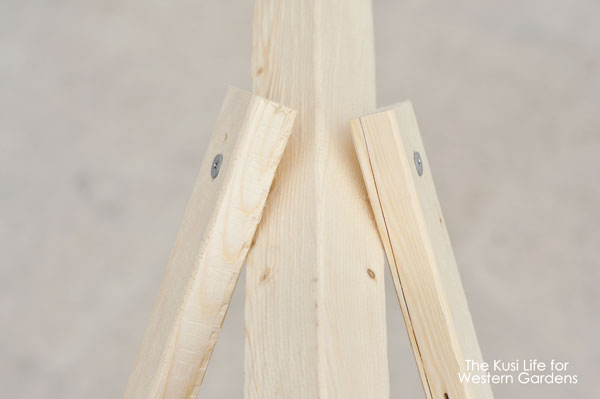
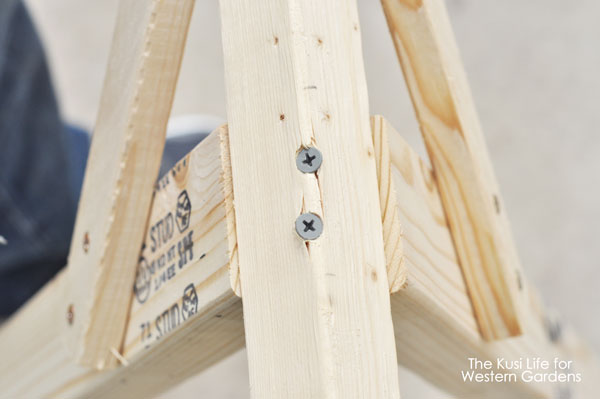
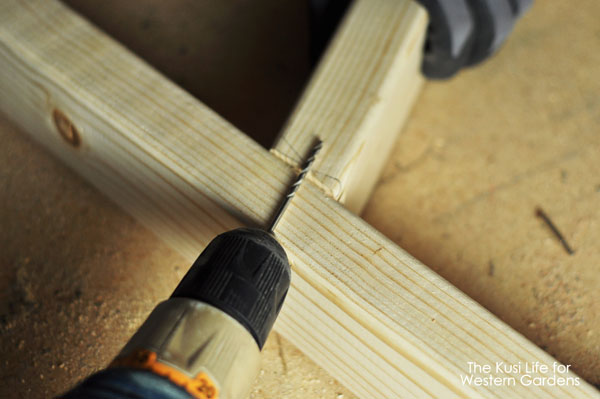 Lay the two 38 inchers on the ground with the 19 ¾ incher in the middle to form the “A.” Using your drill, you will drill a pilot hole in the direction shown here.