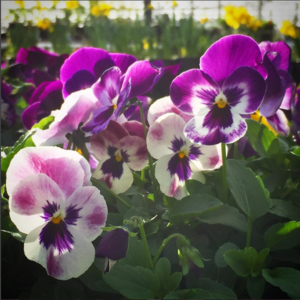
Welcome gardening friends! So glad you stopped by!
Do you love to work in your yard, but aren’t sure of all the things you should be doing? Then you’re in luck! We’ve put together a list of things to do in June!
You may not need to do everything on this list. For example, if you don’t have a cherry tree, you won’t need to worry about treating for Cherry Fruit Flies. Just pick what applies to your yard and plan out when you will do it all throughout the month!
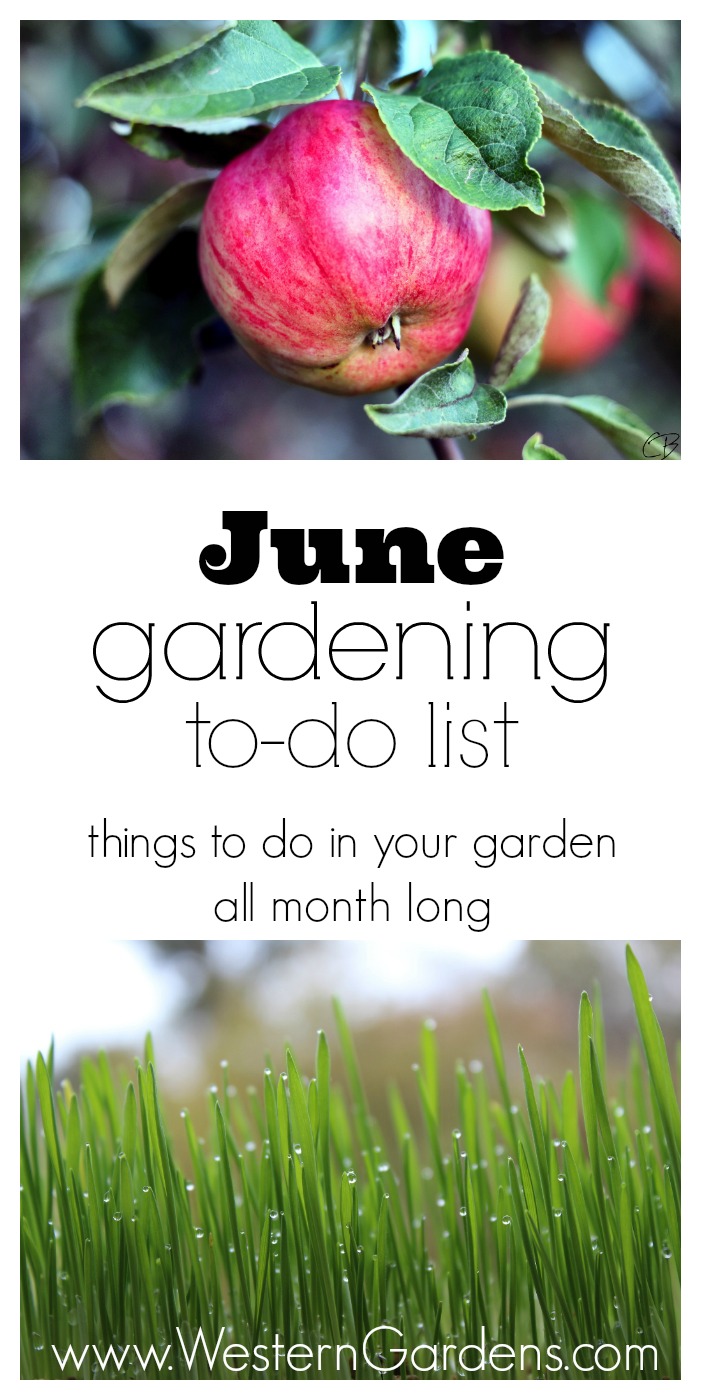
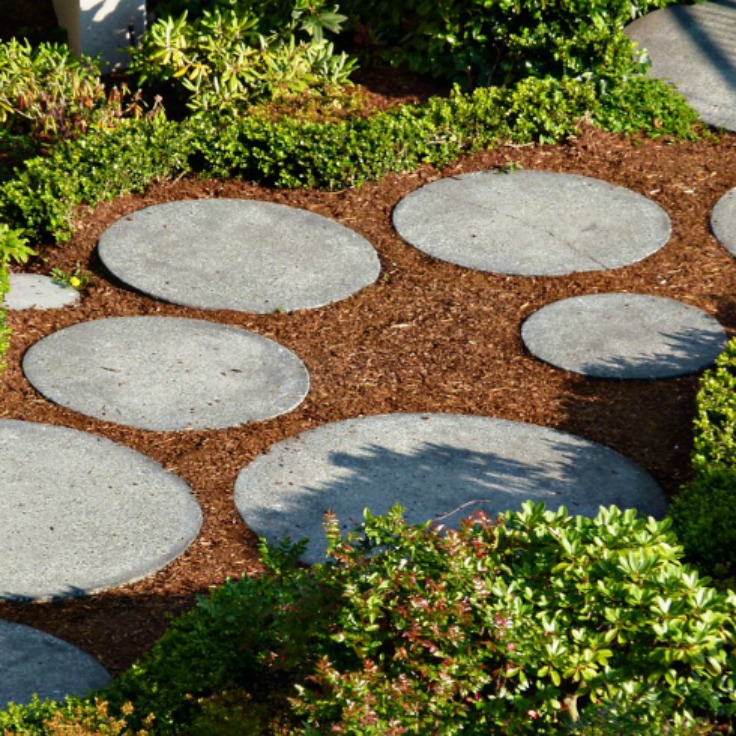
June Gardening To-Do List
➺Plant shrubs, trees and evergreens
➺Fertilize vegetables every 4 weeks with a slow-release fertilizer, and
fertilize roses
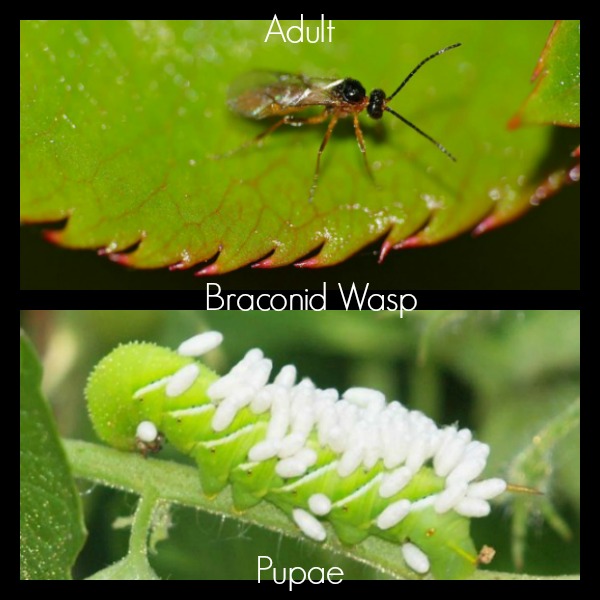
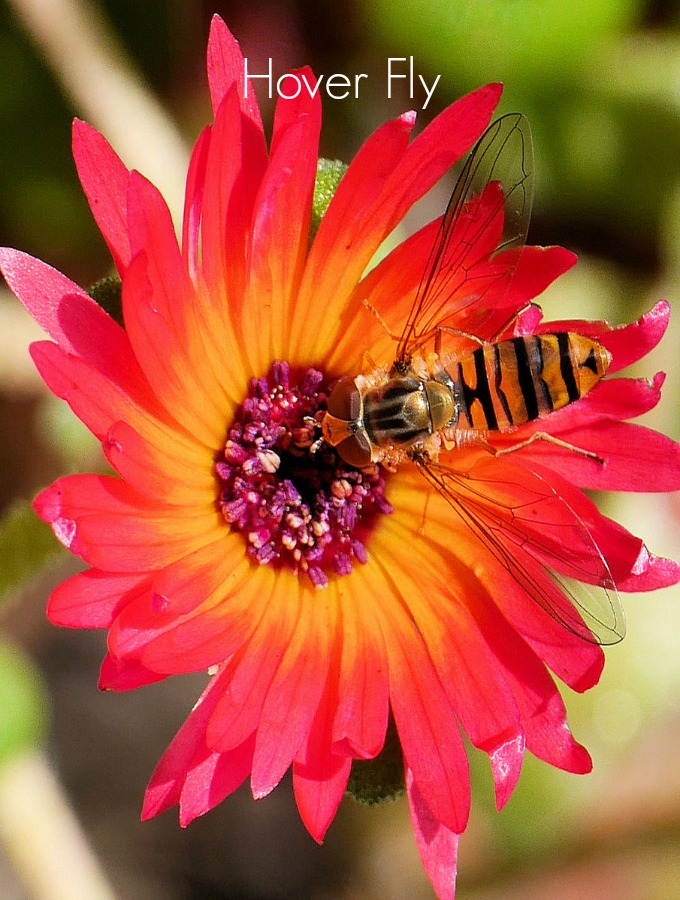
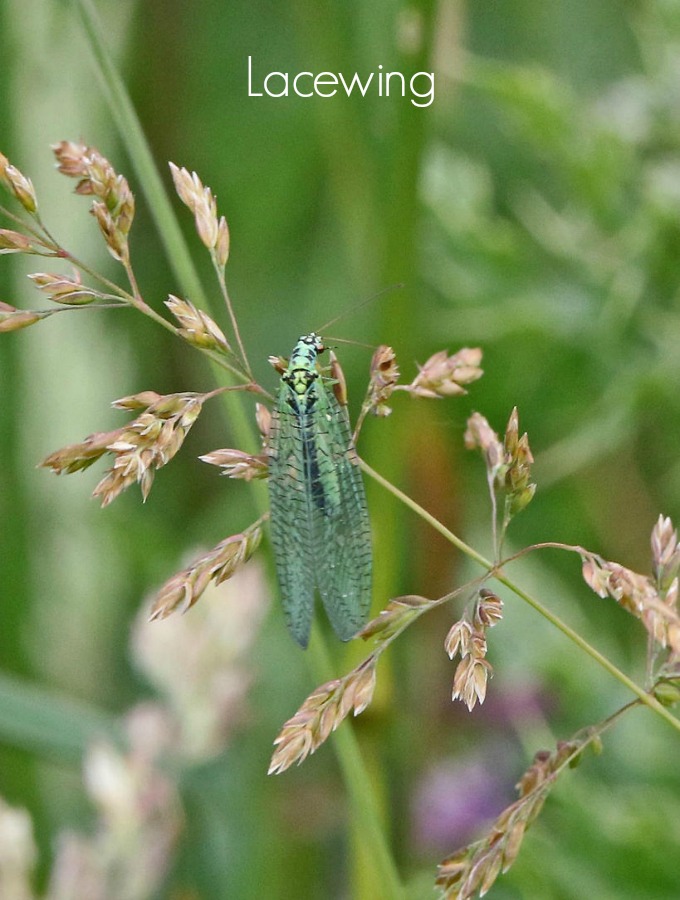
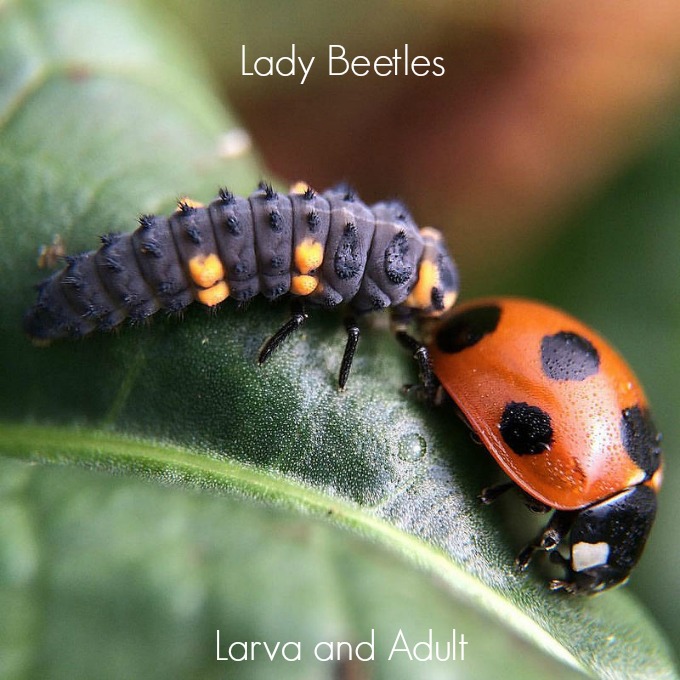
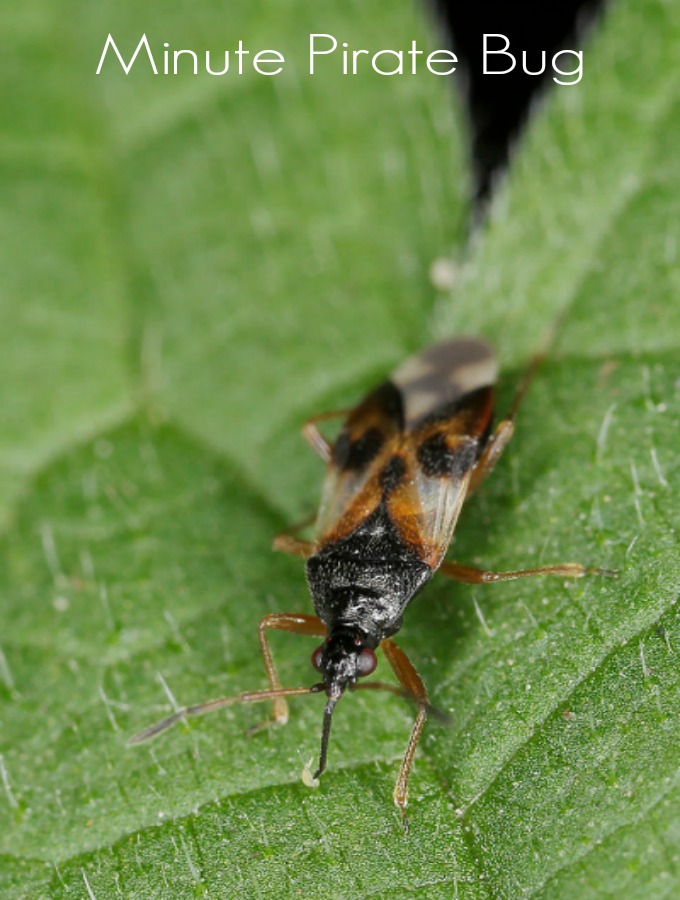
➺Watch For Insects show a sample in a clear plastic bag to a garden expert if you suspect a problem
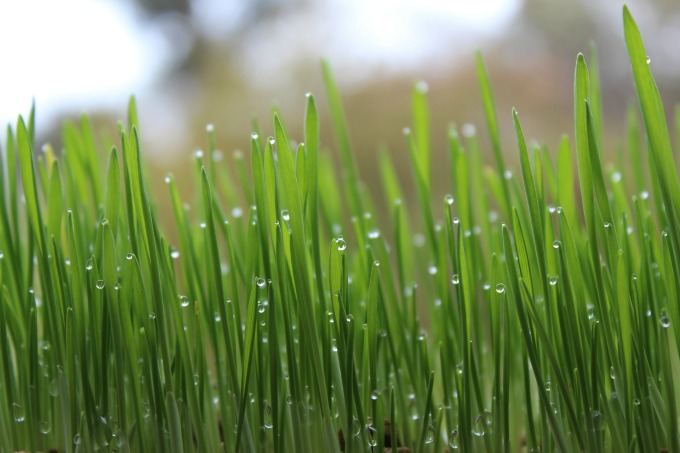
➺Fertilize Lawns and apply iron sulfate if needed (to green up your grass)
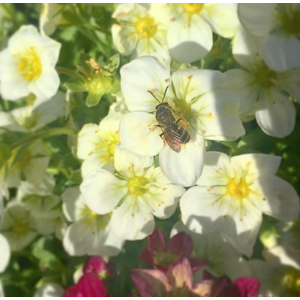
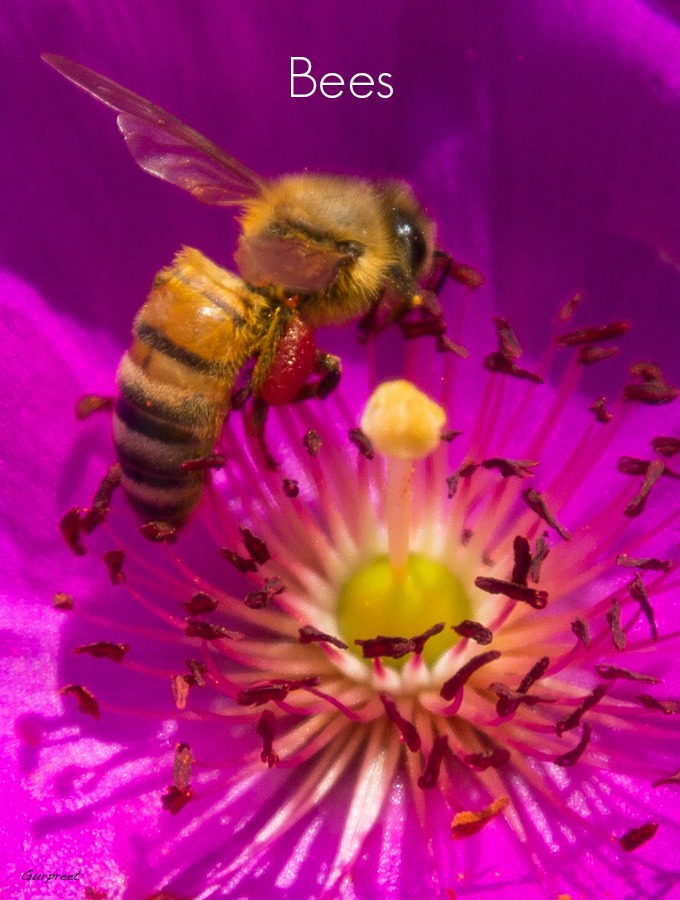
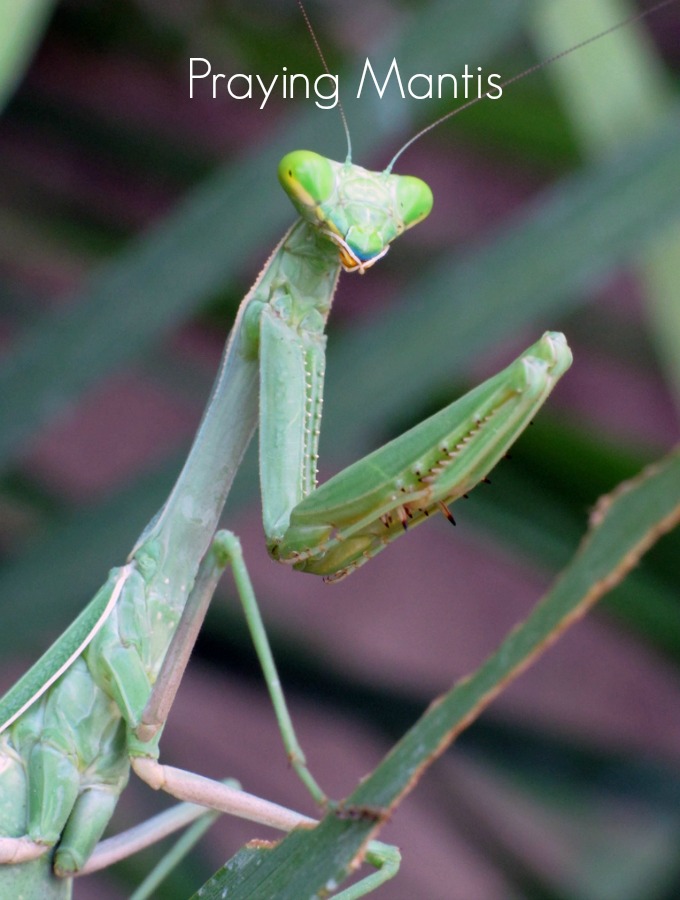
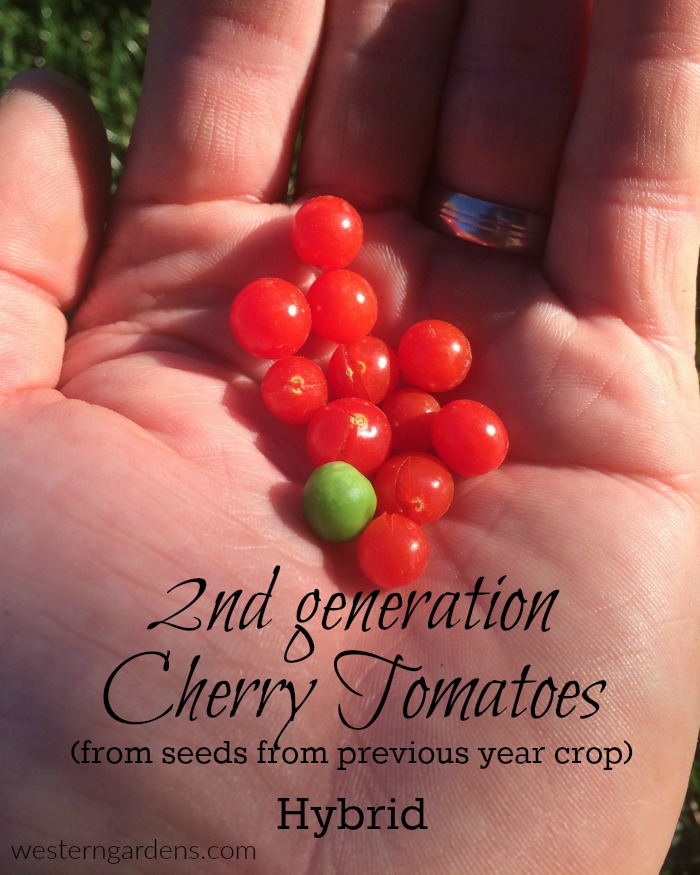
➺Watch For Insects like grasshoppers, potato bettle, squash bug & spider mites. If you suspect a problem, take a sample in a clear plastic bag to a garden expert.
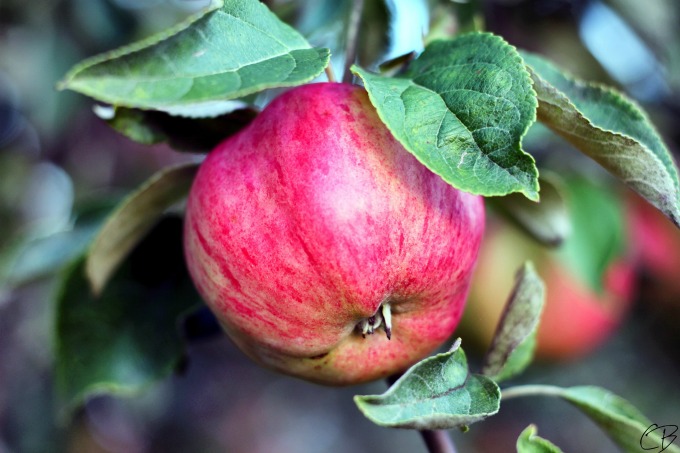
➺Thin Out fruit trees for a better yield
➺Control Powdery Mildew on apples, apricots, cherries, peaches, nectarines,
grapes, peas, roses & euonymous
➺Treat For Cherry Fruit Fly when cherries begin to turn pink, unless already
using fruit tree spray
➺Control Peach Twig Borer once a month with spinosad
➺Watch For Slugs & Snails control with bait or other techniques
➺Adjust Sprinklers if needed, for increasing heat
➺Move And Replant Bulbs if the foliage has died down
➺Watch For Lawn Insects and treat as necessary
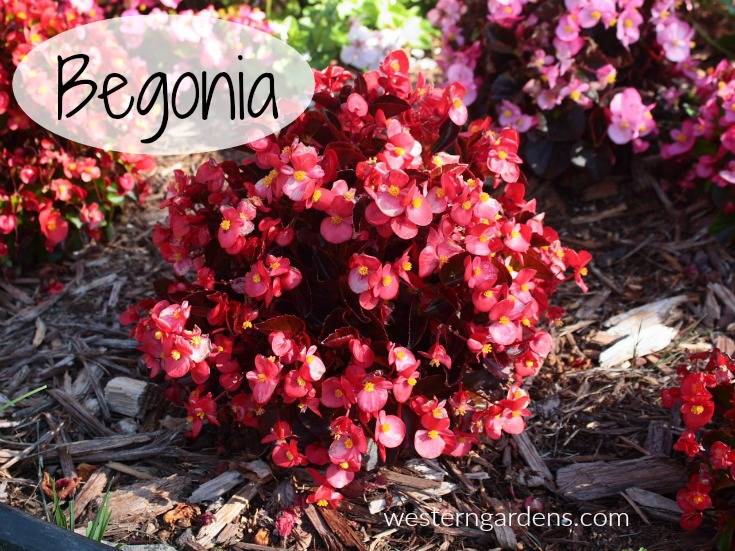
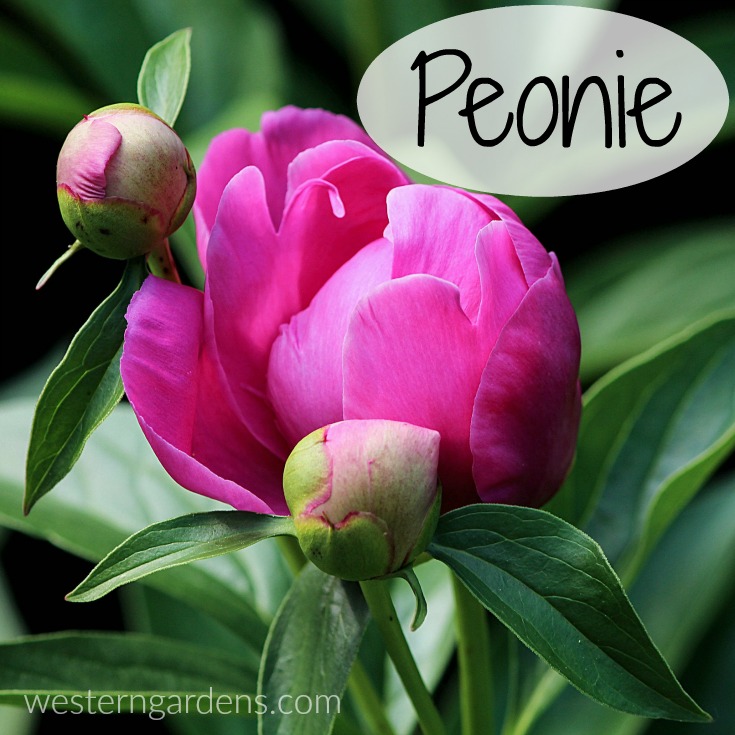
➺Prune & Fertilize flowering shrubs
➺Watch For Signs Of Lawn Disease take a sample to a garden expert if you
suspect a problem
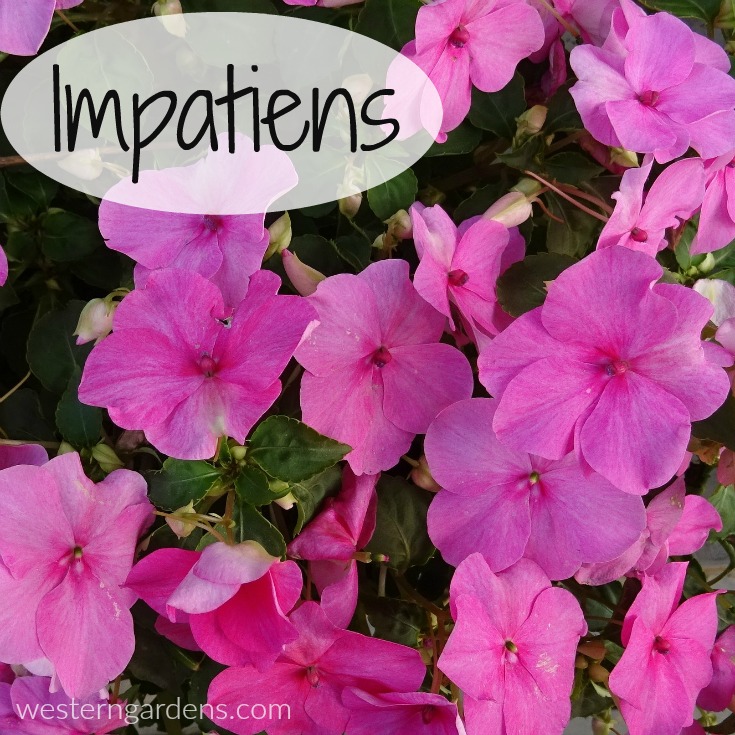
➺Control tobacco budworm on geraniums & petunias
➺Control Weeds before they set & disperse seed
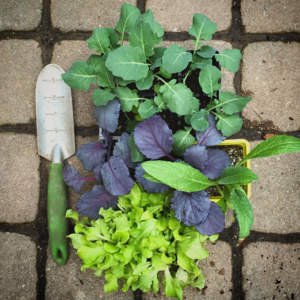
➺Plant Outside
Until June 15th: carrots & endive
Until July 1st: cauliflower, parsley, swiss chard, rutabaga
Until July 15th: beets & broccoli
Until Sept 1st: radishes
*This is not an exhaustive list. If we’ve overlooked something important, feel free to leave a comment and we will add it to the list!
If you’re local to the Salt Lake area, come in to any of our locations with questions or samples!


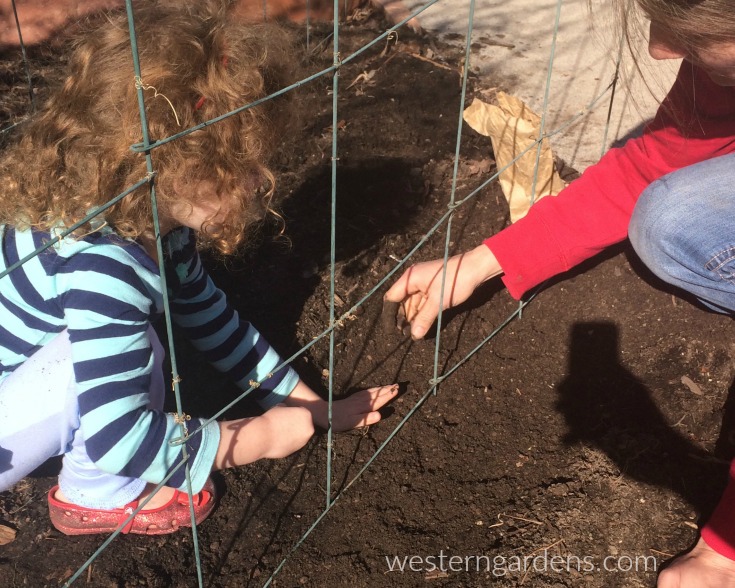
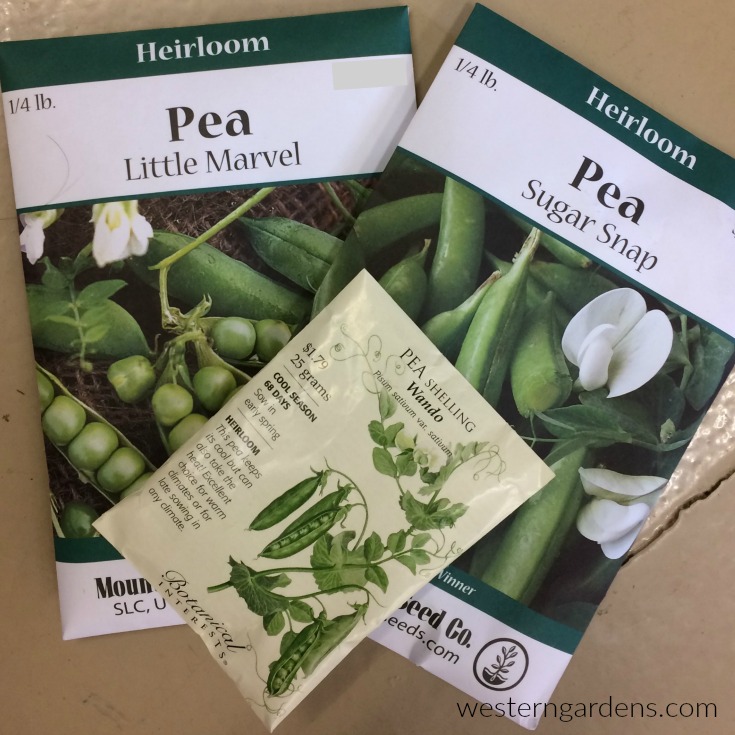
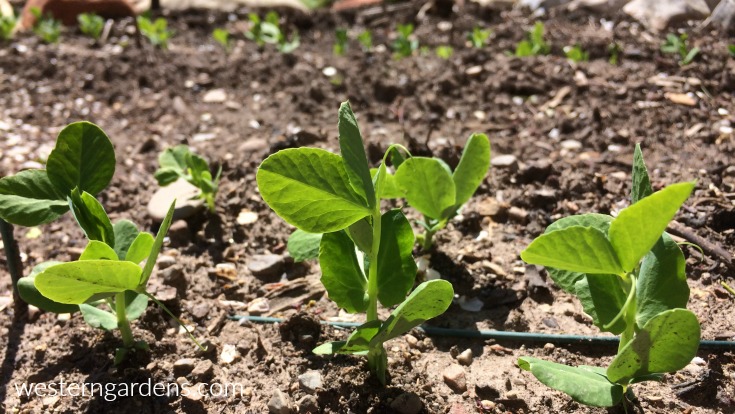
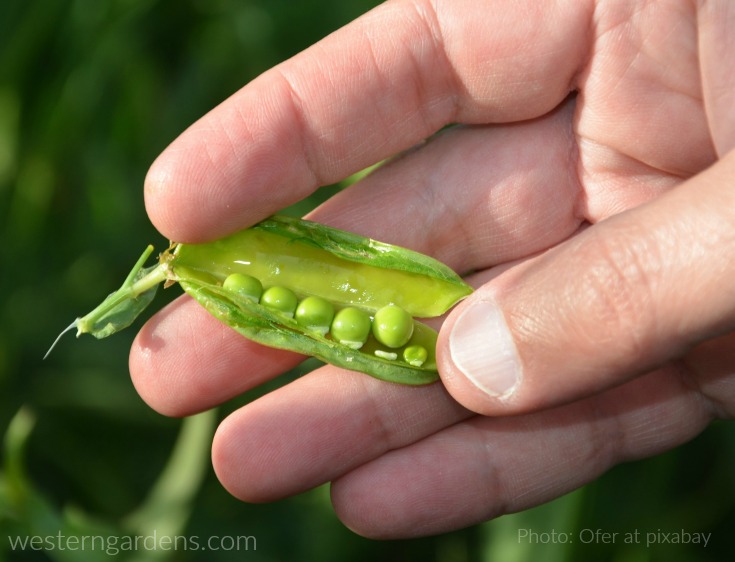
 Each year as we get to the last few weeks of winter, my husband and I watch for the first day when it is warm enough for us to work outside in our garden for a few hours so we can plant peas. We can’t wait to get them in the ground! Though along the Wasatch front, we typically don’t plant until March, we’ve planted them as early as mid-February (straight in the ground; no greenhouse) and still had great success. Peas are a cool weather plant that needs little attention beyond watering and harvesting. They tolerate snow and light frost so don’t be afraid to plant peas early.
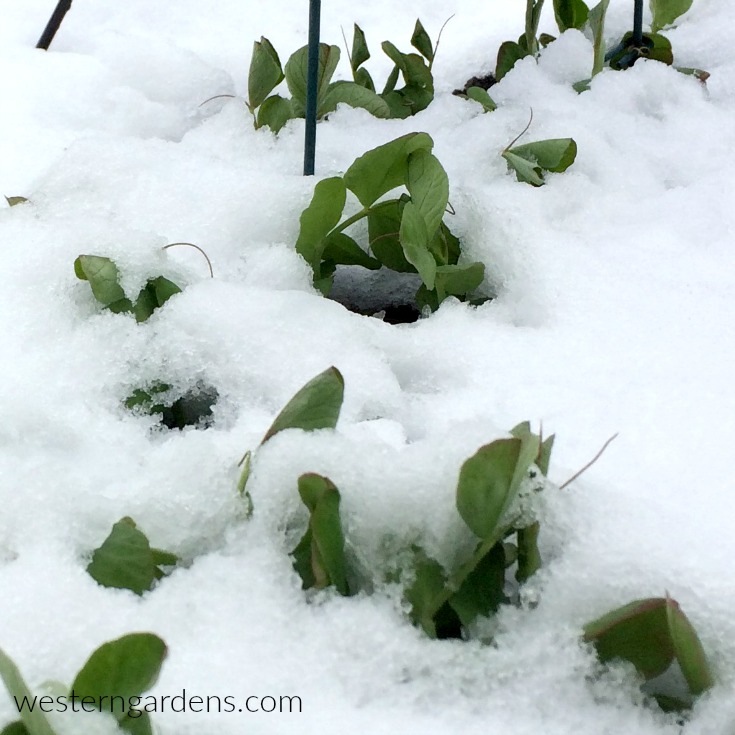


 Feeling overwhelmed with so much to do in your yard? Wondering where to start? lawn? vegetable garden? flower beds? Check out our helpful