WELCOME FRIENDS, Come learn with us!

image: Pixabay
As a novice gardener, I need to know what is the difference between perennials and annuals? Whenever I went to the nursery, I was confused by the terms “annuals” and “perennials.” When choosing plants for your garden it’s important to know the difference, so I thought I would share some of what has made it easier for me to remember.
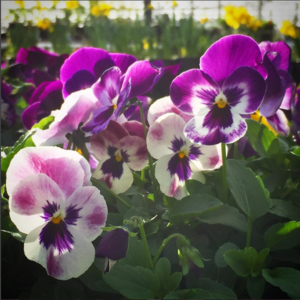
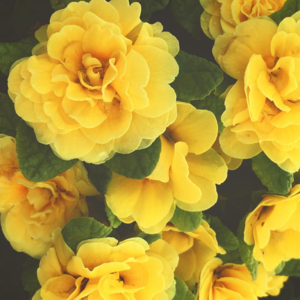
Annuals
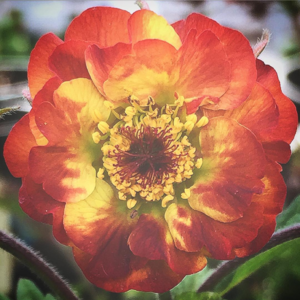
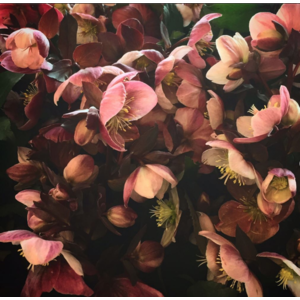
Annuals are plants that came from seeds earlier this spring. You can plant them as seeds or you can purchase them as seedlings or starts in flats and pots. Annuals usually bloom the entire summer until frost kills them. They don’t survive the winter. I remember the plants that are annuals because I have to buy them “annually.”
However there are exceptions, some tropical plants are perennial in a tropical climate, but in Utah’s colder climate, they are annuals. They die every winter and need to be replanted as a new plant. Geranium, Impatiens, and Bougainvillea are good examples of annuals.
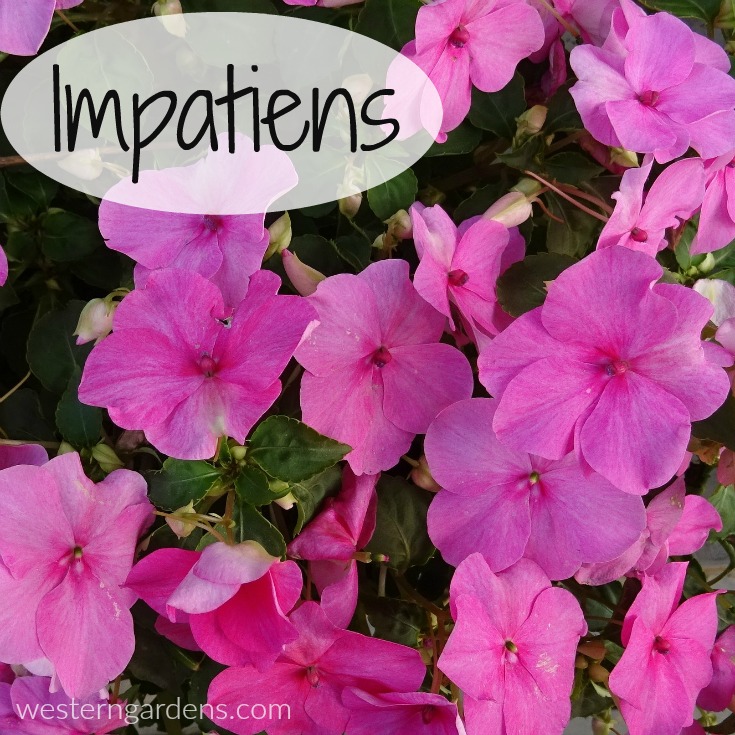
Image: Pixabay
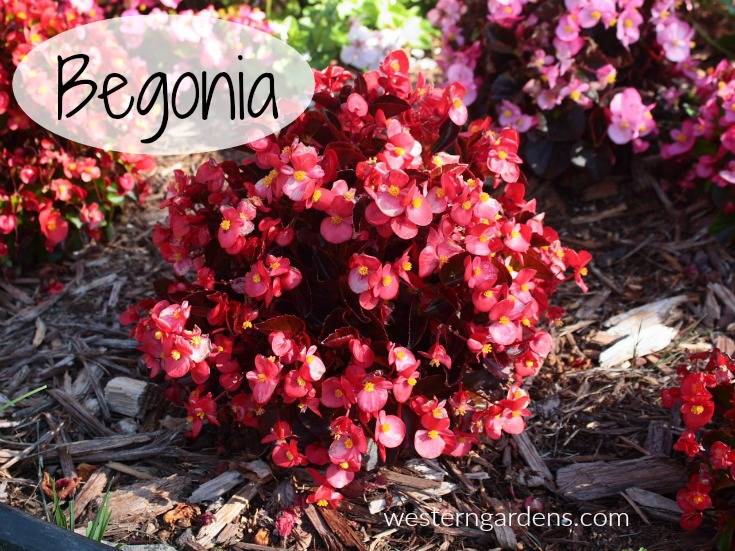
Image: Pixabay
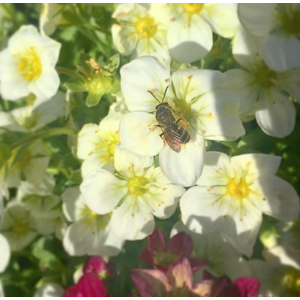
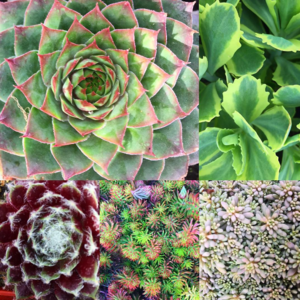
Perennials
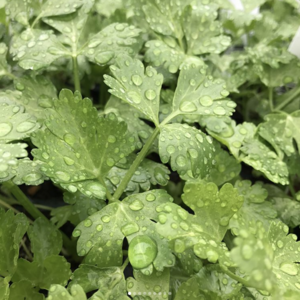
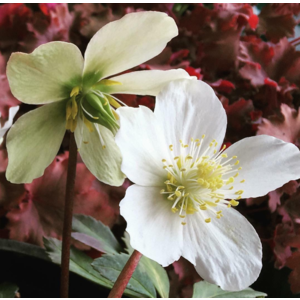
Perennials that do well in our climate are a different story. Perennials survive our Utah winters in the growing zone 5. They bloom again year after year. The tradeoff is that perennials have a definite blooming season and don’t bloom all summer long. Usually they bloom from a couple of weeks to a couple of months. There are many varieties from evergreen, to shade tolerant, or even drought tolerant. Most die to the ground in fall or winter and spend most of winter dormant. Most perennials like well-drained soil with plenty of organic material in it.
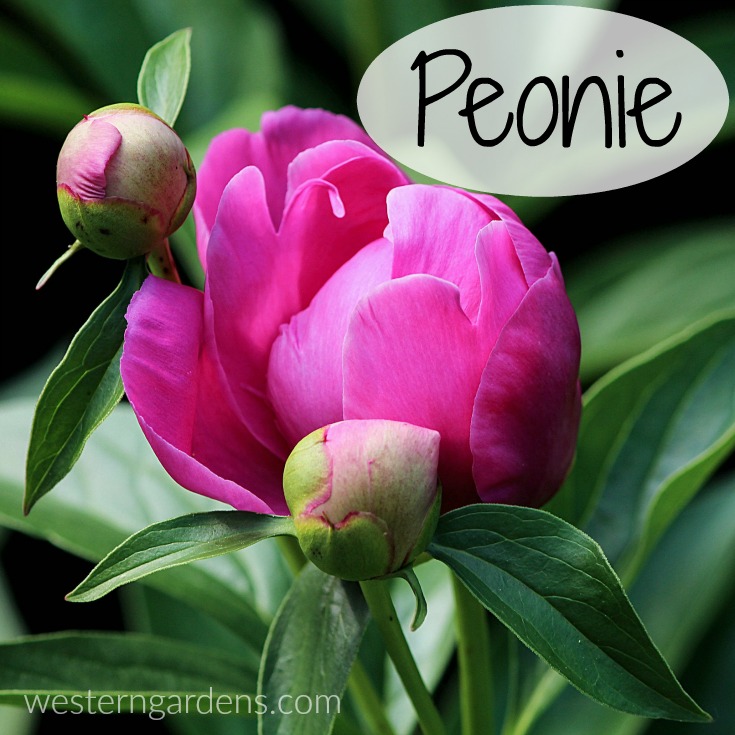
Image: Pixabay
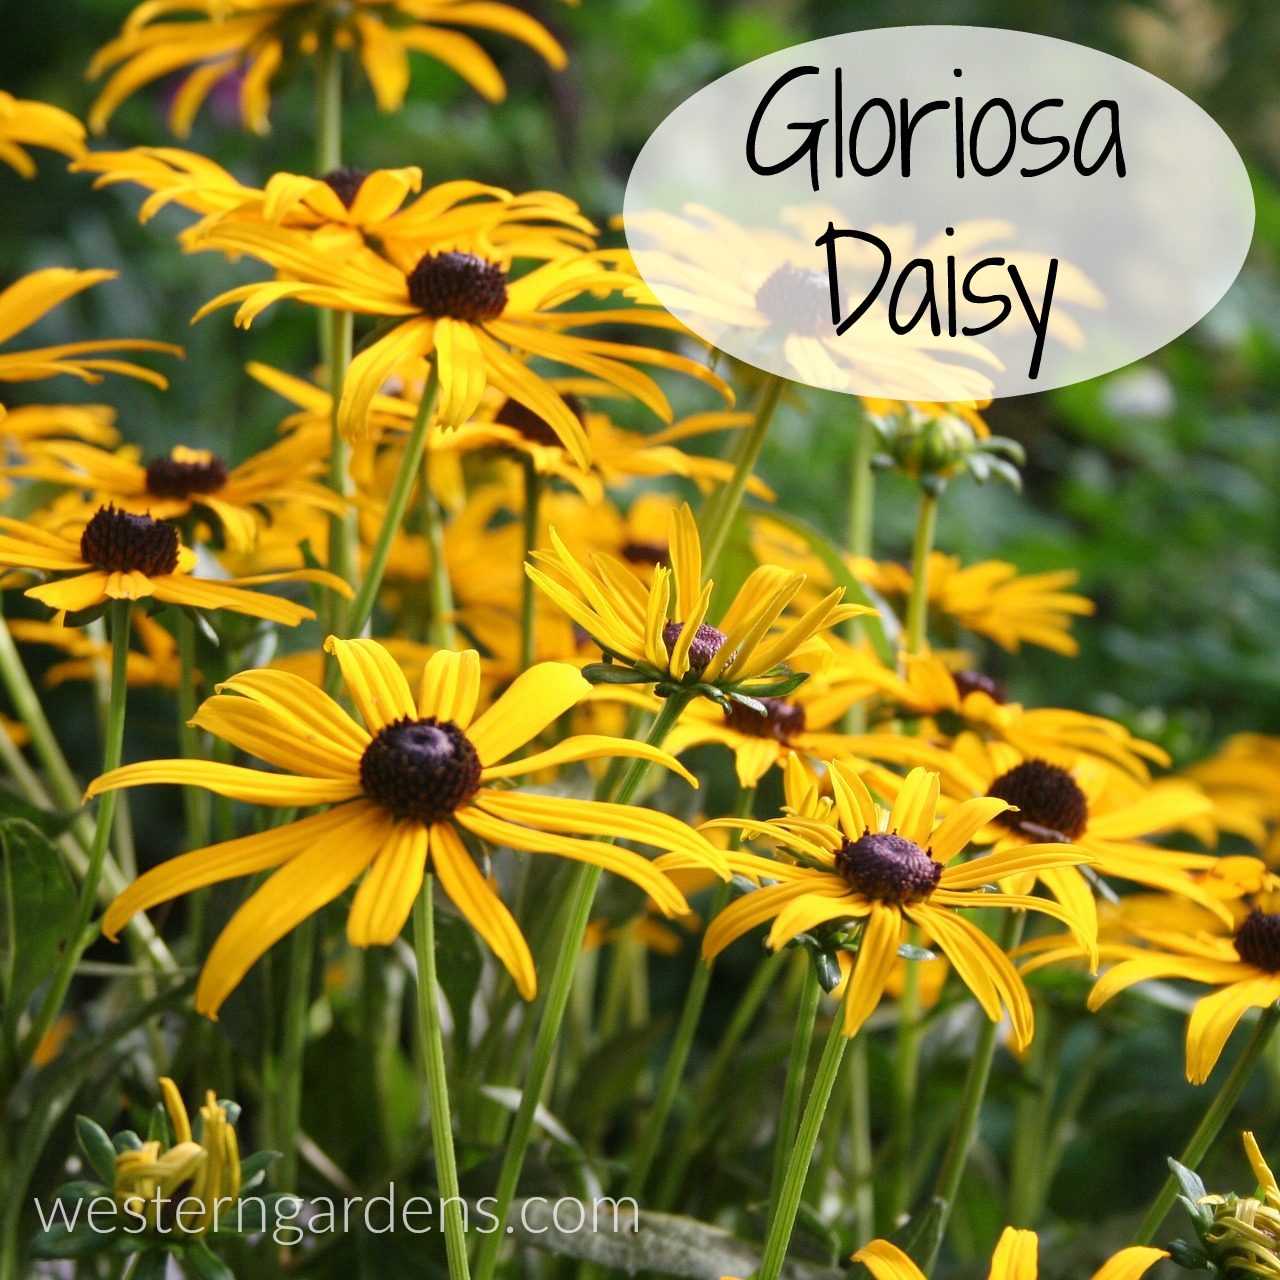
Image: Pixabay
So basically, that’s the difference between perennials and annuals. How long they survive in the climate zone you live in. In the Salt Lake Valley, we are usually a zone 5, and sometimes can be a zone 6, so be sure and talk to one of our expert gardeners to make sure you get the perfect plants for your soil and landscape.
A Word about Placement
Placing a plant in a good site, in a place it will thrive, is one of the most important differences that will make your flower garden successful. In my yard I have hot, sunny sites, cool shady sites, and everything in between. I am always careful not to place a plant that prefers shade, like a Hosta, Fern, or Begonia in a hot sunny spot because it will do poorly. A hosta in the sun will show it’s displeasure with burned, scorched leaves. However, planting a peony, Petunia, or Sunflower in the shade will not produce good results either. Any of our gardeners can help you identify which plants do best in sun, shade, etc.
A Word about Soils
Most soils in Utah are either clay or sand based (like my garden) and will do very well with some organic amendments. For perennials create a 50/50 mix with existing soil. For annuals simply spread a 2-3″ layer of organic amendment evenly on top of the existing soil, then dig or till it in. The hole for perennials should be about twice as wide as the container and an inch or so less in depth. Place the plant in the hole after popping it out of the container. If it’s root bound (lots of white roots wrapping around the soil ball), use a short blade utility knife to make a few shallow, vertical cuts around the root ball to stimulate new root growth. Press the root mass into the hole to make sure there are no voids under the roots and water well using a root starter (we can help you with that at Western Gardens too).
Come see us!
Our garden experts at Western Gardens have a lot of great suggestions to help you get your flower garden blooming all summer long. From root starter to organic compost, we have everything you need. Be sure to visit us on Facebook for specials and daily tips.
What do some of you expert gardeners do to keep your flowers strong and healthy. Feel free to share your experiences here too.
Post revised by Wendy P 5/2017
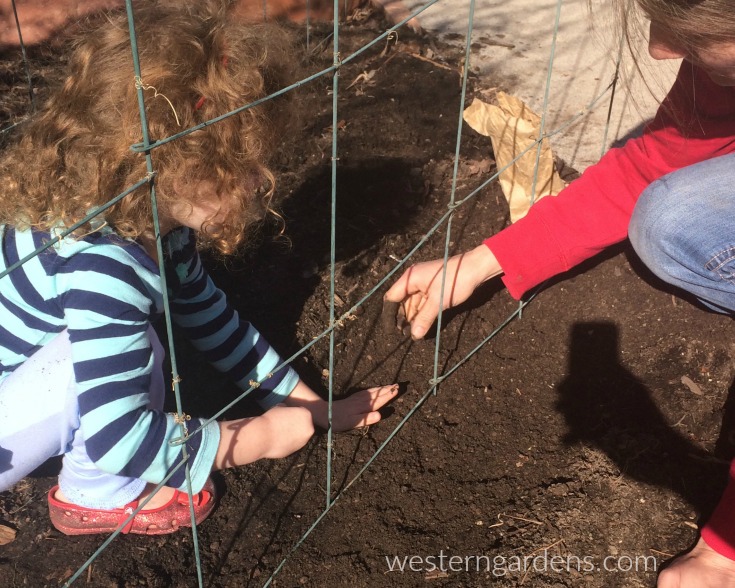
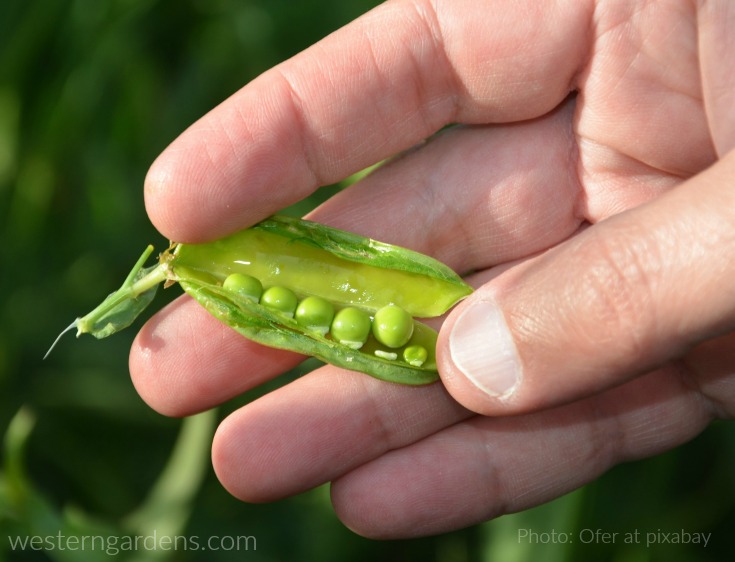
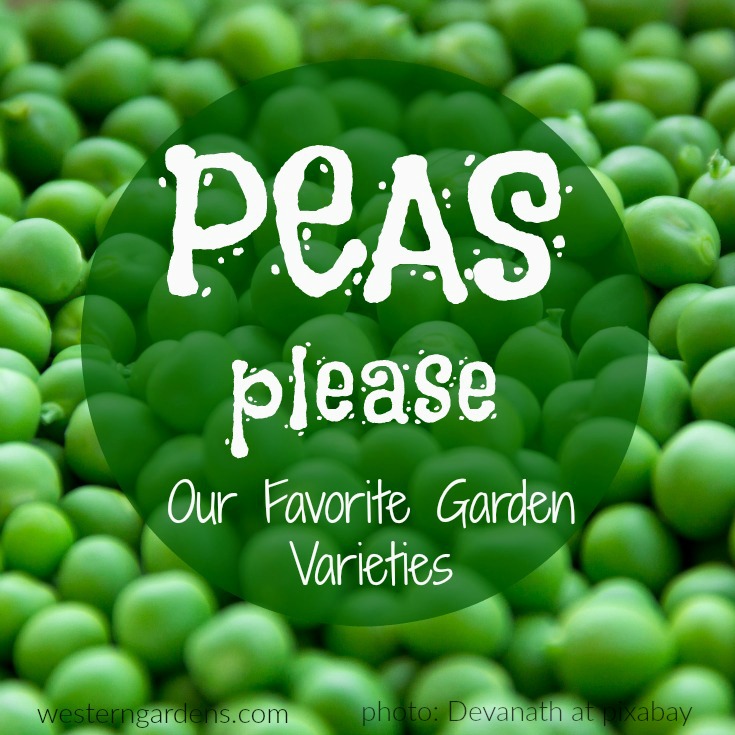 Each year as we get to the last few weeks of winter, my husband and I watch for the first day when it is warm enough for us to work outside in our garden for a few hours so we can plant peas. We can’t wait to get them in the ground! Though along the Wasatch front, we typically don’t plant until March, we’ve planted them as early as mid-February (straight in the ground; no greenhouse) and still had great success. Peas are a cool weather plant that needs little attention beyond watering and harvesting. They tolerate snow and light frost so don’t be afraid to plant peas early.
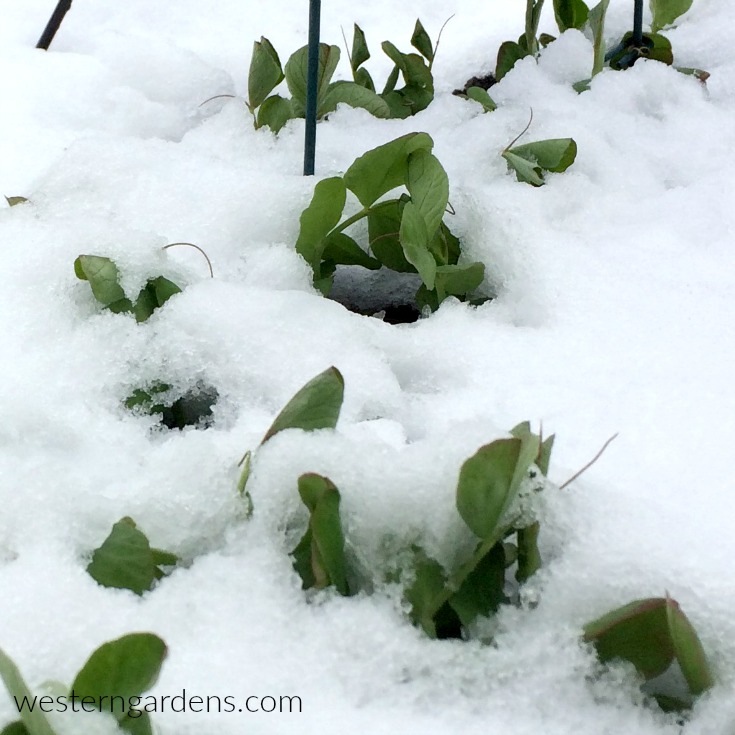


 Feeling overwhelmed with so much to do in your yard? Wondering where to start? lawn? vegetable garden? flower beds? Check out our helpful