Welcome Apple Lovers! Glad you dropped in.
I love apples! There is such a wide variety of apple trees to plant and they are all delicious in their own right. As a mother, I now used different apple varieties for different occasions. I have several favorite apple varieties, but let me first share where my first love of apples began. Maybe you had similar experiences.
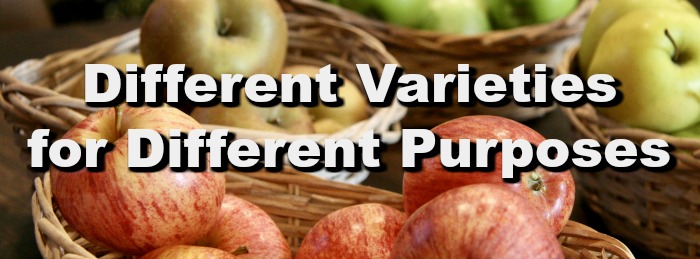
Photo by Sladkovskaivka at Pixabay
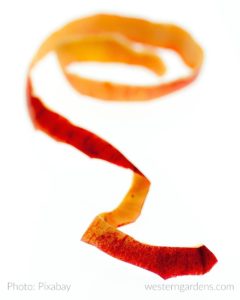
Photo by ChrisWoehri at Pixabay
My memories are vivid of sitting at my mom’s feet as she sat on the porch and peeled apples for apple pie. I loved to pick out and eat the longest pieces of apple peel from her scrap bowl.
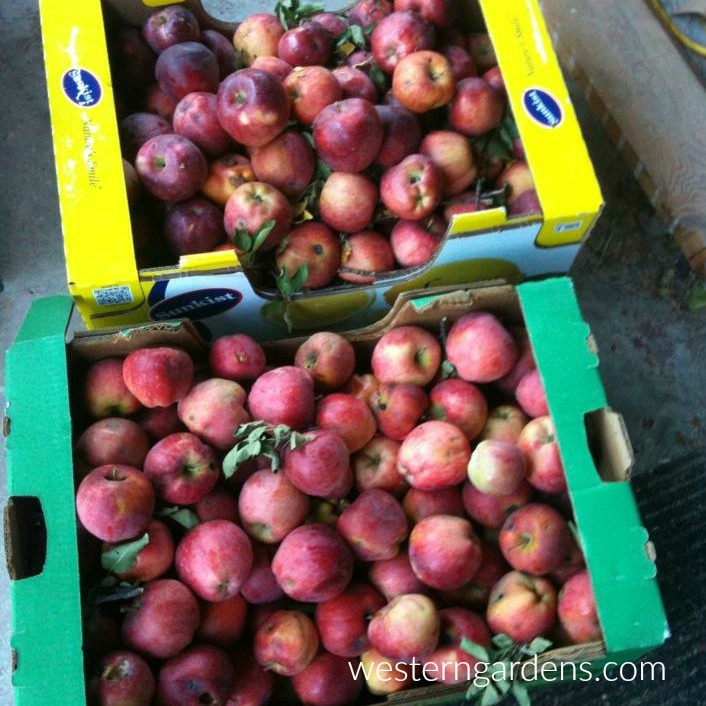
We moved to Virginia when I was in 4th grade and we would go apple picking as a family in the crisp fall weather. We’d then have boxes and boxes of apples sitting in the garage and I loved picking out the biggest apple from each variety and eating it plain or with peanut butter.
One time I ate so many apples in one sitting that I made myself sick. In fact, I did this more than once. For some people, that would result in an aversion to the food that made them sick, but I love apples so much that this was not a deterrent for me.
The mature fruit trees, including Golden Delicious Apples and a Jonagold type of apple, were one of the reasons we purchased the home.
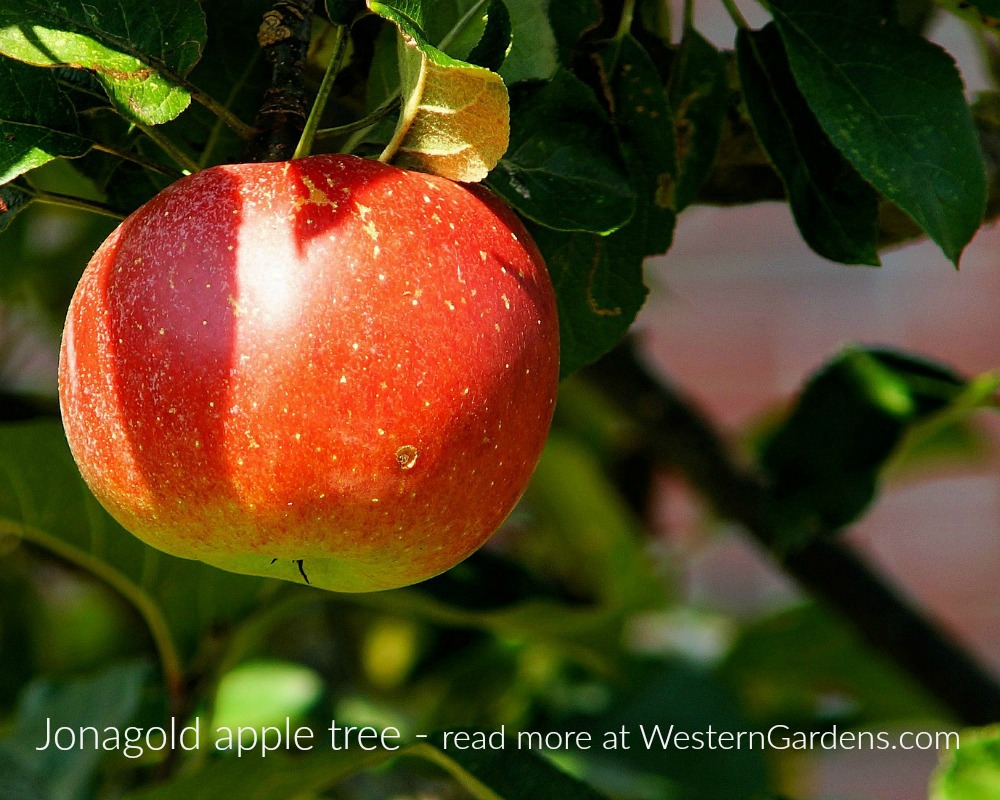
Photo by Kapa65 at Pixabay
The first year there, both trees produced around a bazillion apples each. We basically made apple sauce and pie filling from so many apples. We not only used the fresh picked apples, but also the still usable windfall apples. In the years since, we’ve managed to expand the variety of things we do with our apples.
Our favorite preserving methods are: apple sauce, apple butter, dried apple rings (apple chips), and apple pie filling.
Some useful tools for different apple recipes:
- hand powered food strainer/sauce maker
- food processor with slicing blade
- food dehydrator
- crock pot
- stick blender.
Of course, if all you have is a knife and a large pot, you can make it work!
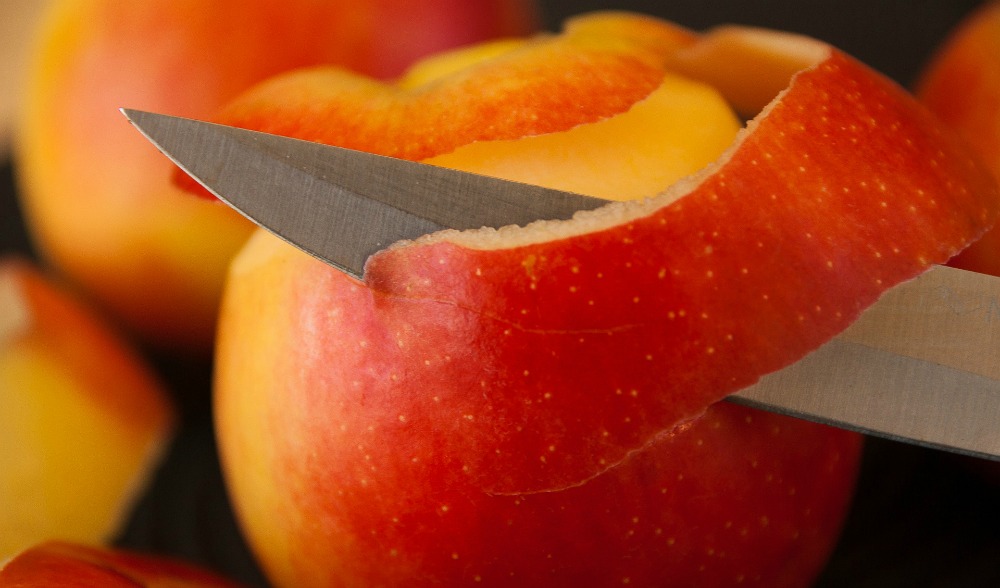
Photo by JackMac34 at Pixabay
Read further for a few tips for success and a couple of the recipes we use for enjoying this amazing fruit well after the last one has been plucked from the tree. I include the tools we use for making them.
Click NEXT for my favorite apples and methods for
APPLESAUCE and APPLE BUTTER and APPLE CHIPS and APPLE PIE FILLING
![]()

 Batter:


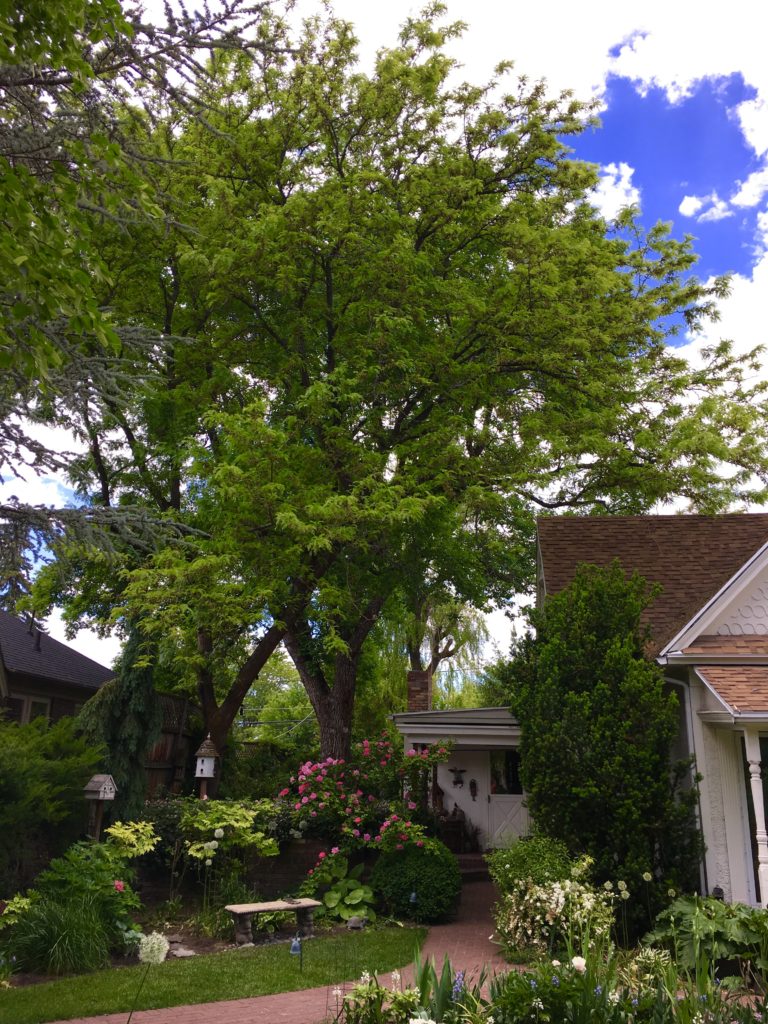

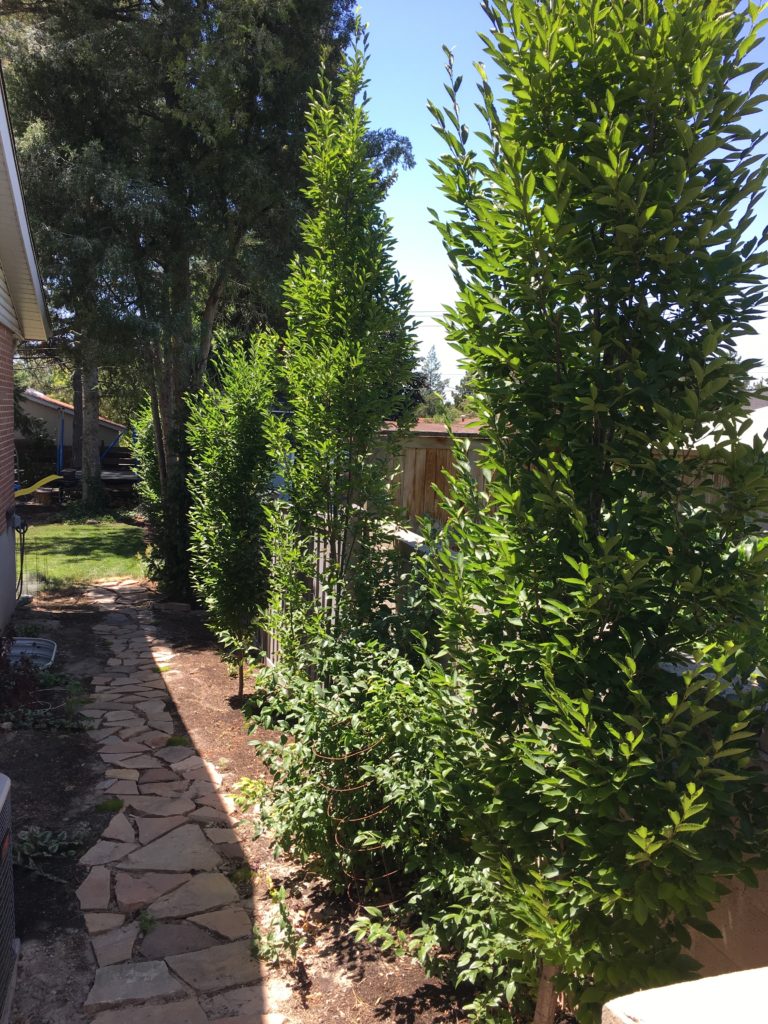
 These are one of my favorite trees, with dark green needles and a columnar shape. Mature height at 10 years is 20 feet with widths of 5-6 feet. Can grow to 30 feet tall. These are fast growing, and require full sun. Plant 5-6 feet apart for more of a hedge look. If you’d like the branching to stay tight, look for a “wellspire” variety of the Columnar Norway Spruce.
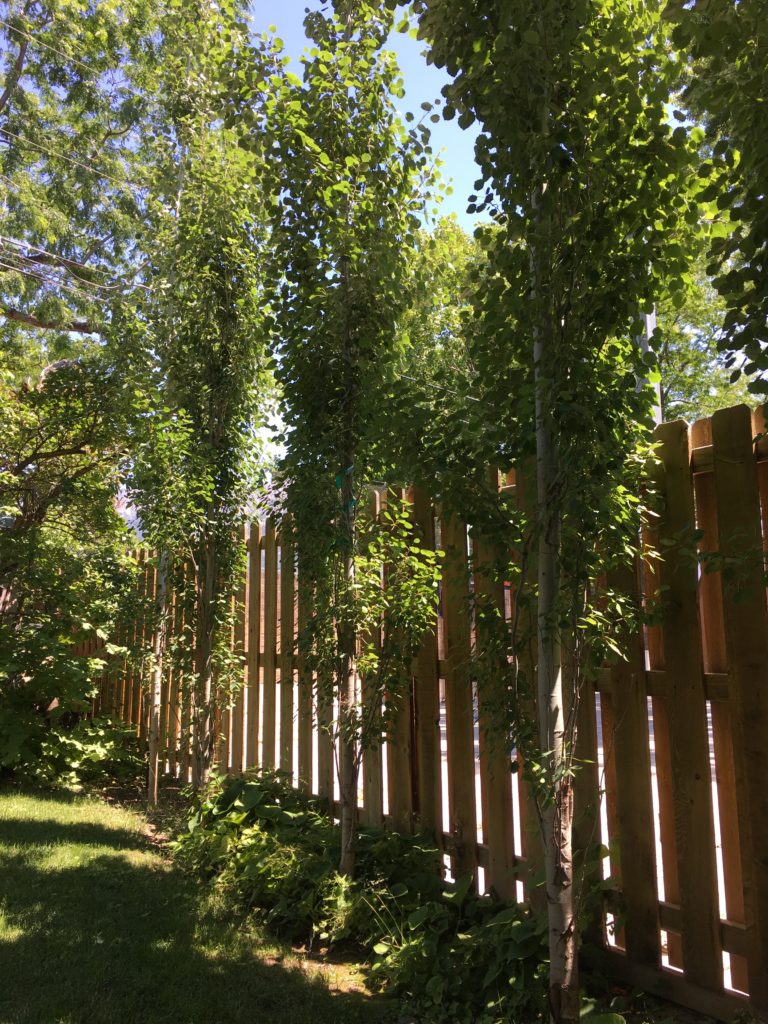
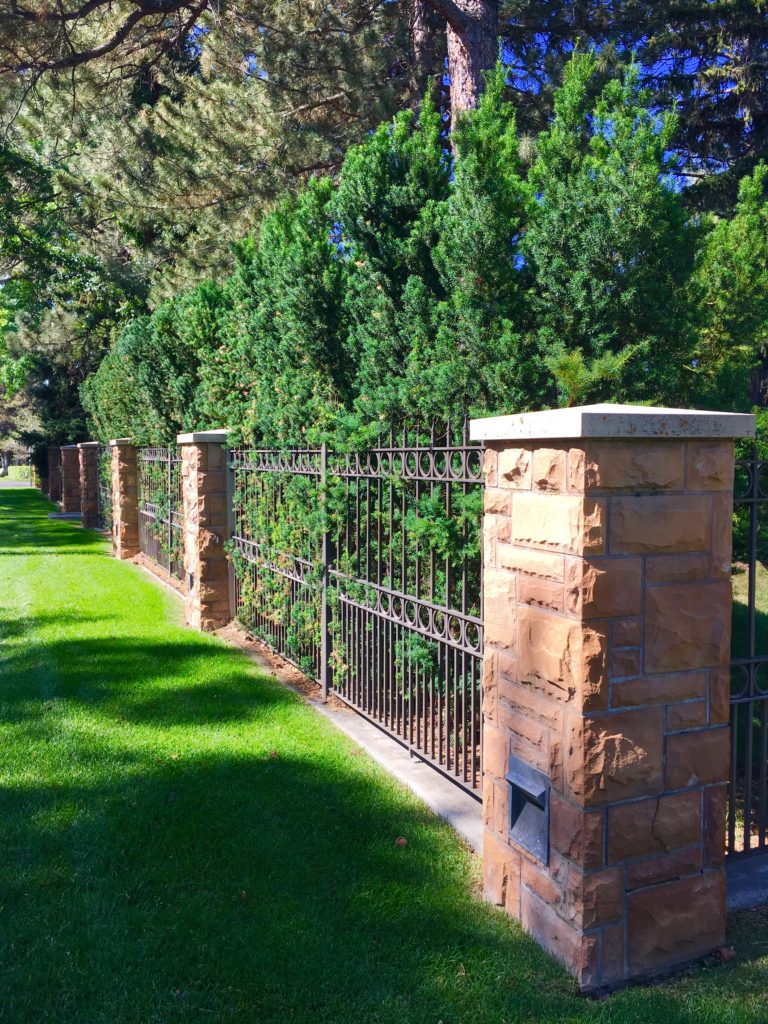 These are an evergreen shrub with a slow growth rate. Mature height is 10-12 feet tall and 3-4 feet wide. These also do well as foundation plantings and require partial to full sun. They have delicate dark green foliage. In the above photo, the hicks yew add height and privacy to a 6′ iron and stone fence. Beautiful!
 This is a fast growing shrub or tree, that does well in sun, part shade, or shade. It has green foliage year round, and berries that attract birds. Be warned, it has sharp thorns that are great at keeping unwanted people/animals out. Pyracantha is fast growing and if you begin trimming it, you will continue painfully doing so every 4 weeks forever. Letting to grow naturally (without trimming), will quickly give you a high green privacy screen. The variety Yukon Belle grows to 8-10 foot high privacy screen. It grows 6-8 feet wide so be wise where you plant. Some varieties grow to be 12 feet tall and wide. Ask your local expert at Western Gardens what variety is best for your yard. There are several.
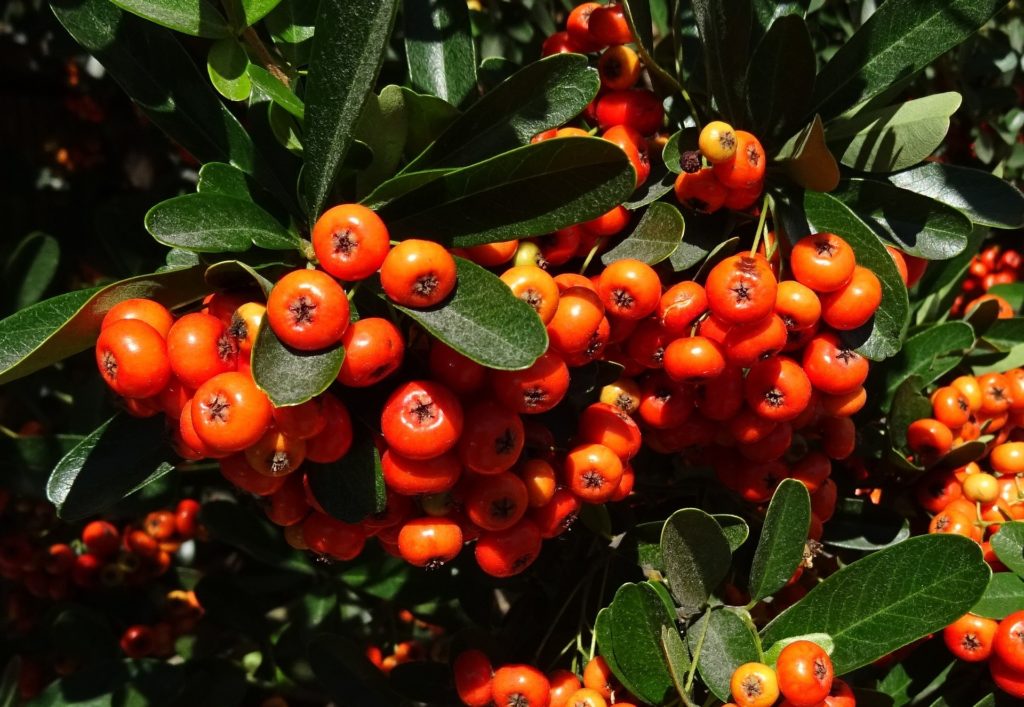
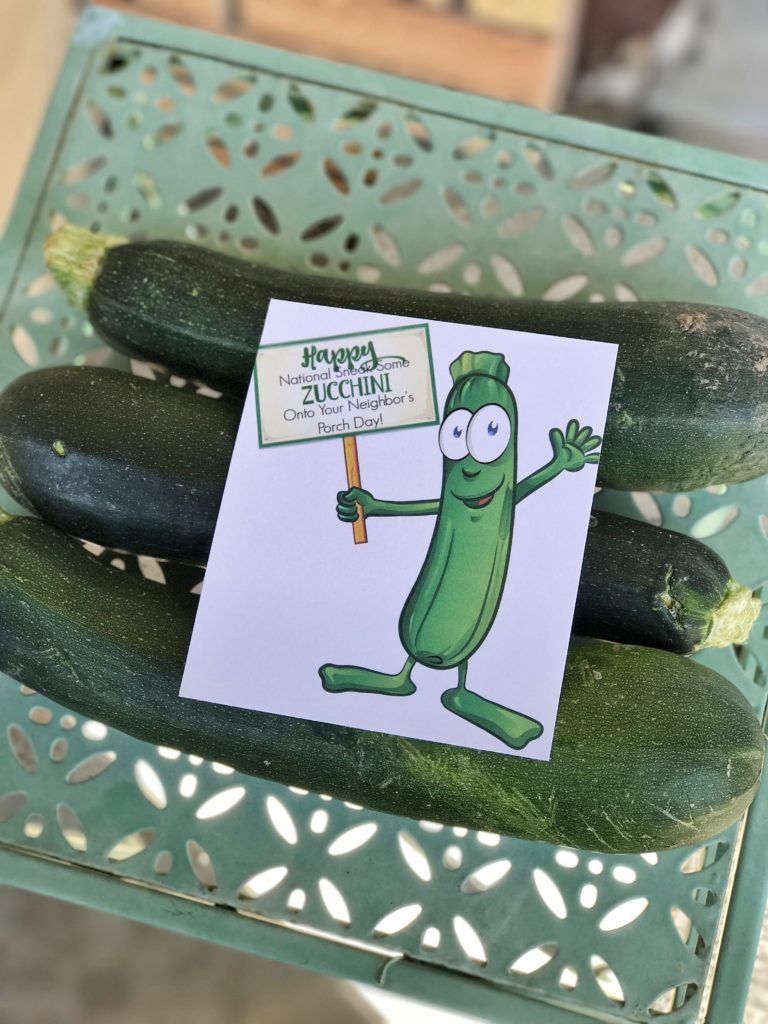
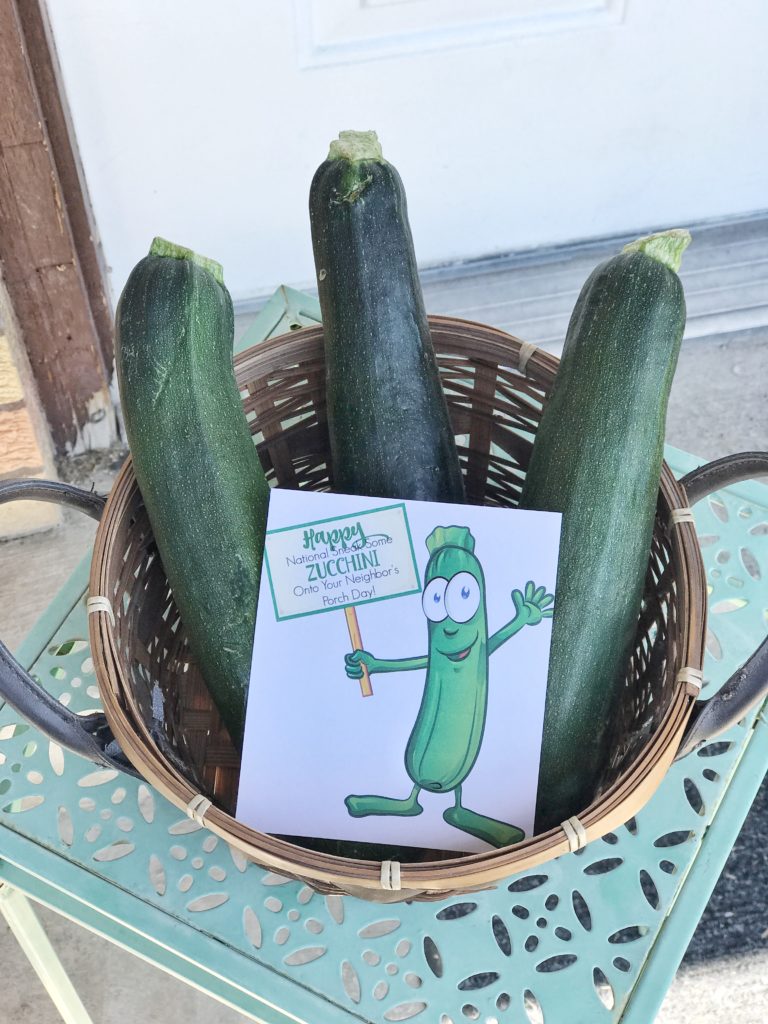 The funny thing about National Sneak Some Zucchini onto your Neighbor’s Porch Day is, what person (who has a garden) isn’t going to be over the moon excited to celebrate this day. I mean, if you were to start putting some of your zucchini abundance onto all your neighbor’s porches on just a random Tuesday people might think you were weird BUT make it a national day that you can include on a fun note and it’s perfectly acceptable to share the zucchini love!
 As I was thinking of different ways to celebrate this fun holiday I started thinking of some of my favorite zucchini recipes. I think zucchini bread has to top the list, I like to pretend it’s completely healthy because it has quite a bit of zucchini in it, perfect for those days when I’m dieting. I don’t want to make National Sneak Some Zucchini Onto Your Neighbor’s Porch Day a chore for you so I am not suggesting that you make zucchini bread for all your neighbors but you could include a recipe for zucchini bread (or cookies, cupcakes, brownies…there are so many delicious zucchini recipes) along with the needed amount (or more) of zucchini. You may just introduce them to a new favorite recipe.
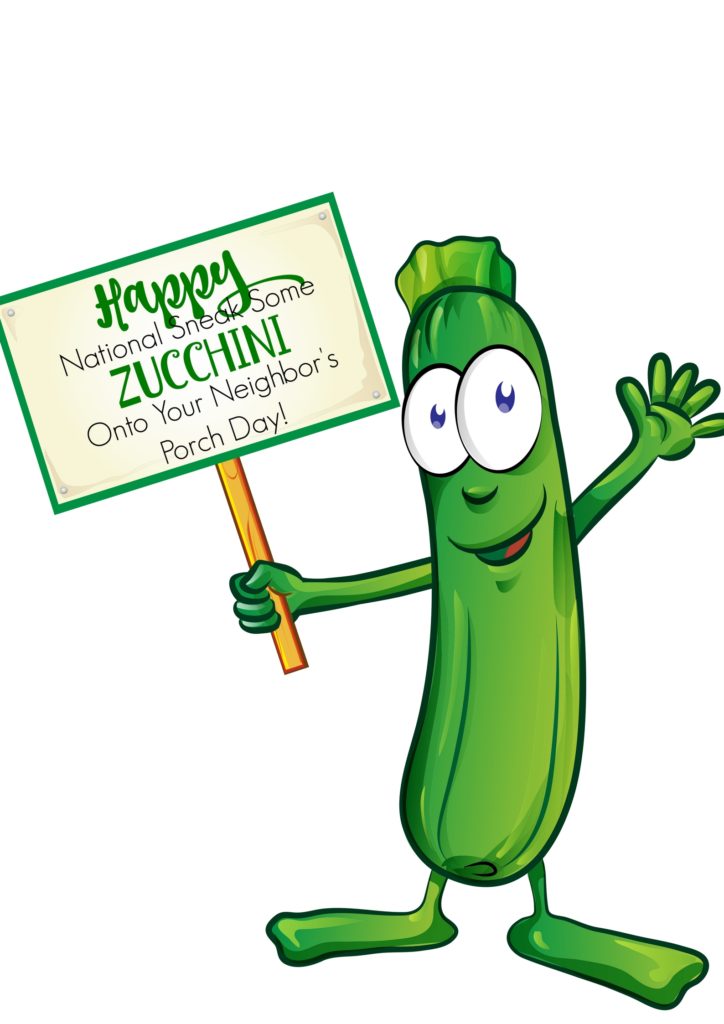


