WELCOME Gardener, Happy to see you here checking out a delicious Homemade Ketchup Recipe for all those tomatoes you are growing!
 Are you looking forward to summertime and all the amazing foods summer brings? I love picnics and bbq-ing, basically anything that allows me to eat outside and on dishes I don’t have to wash afterward. One consistent condiment is ketchup, it seems like ketchup goes with just about every summertime meal.
I love trying new recipes, especially recipes that are simple and include items I always have on hand. Every year we plant a variety of tomato plants and I enjoy using them in the summer and fall. Unfortunately half of my family are not tomato lovers so I find myself giving tomatoes away so they don’t go to waste. This year I am determined to learn how to can tomatoes so I can use them all year round and they’re perfect for this Homemade Ketchup Recipe.
Homemade Ketchup RECIPE:
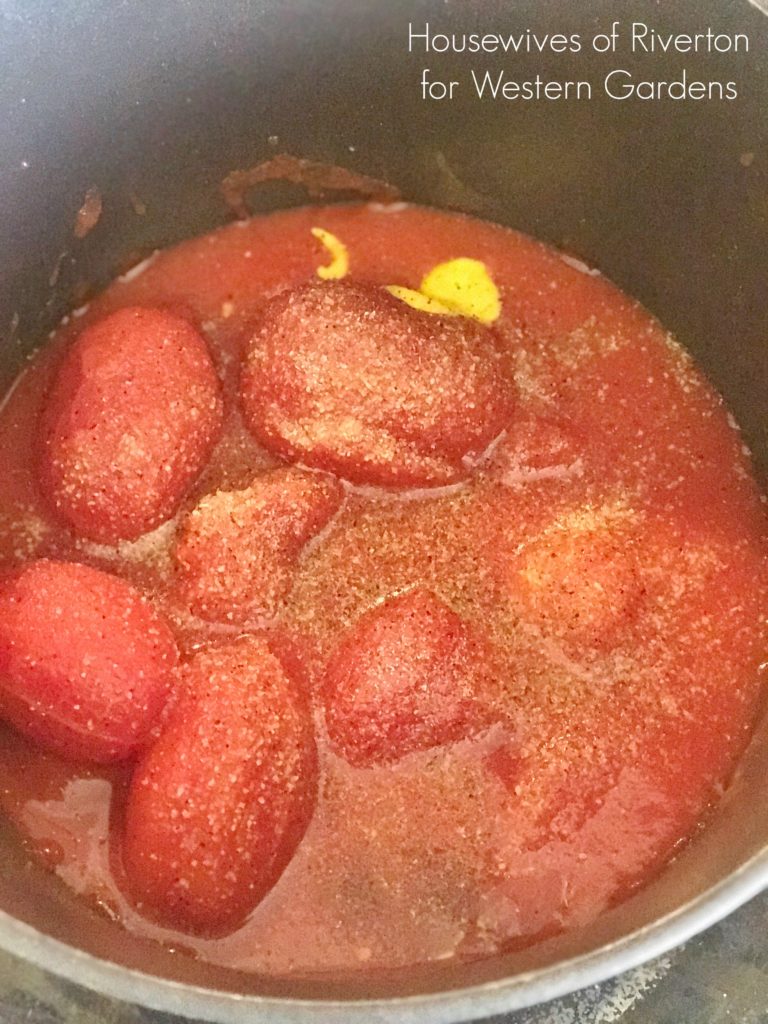
*Whole Peeled Tomatoes, I used 1 large can Whole Peeled Tomatoes (1lb 12oz can)
(I’m looking forward to canning my own tomatoes this year to use for this recipe and many others)
*1/8 cup Apple Cider Vinegar
*1/2 teaspoon Garlic Salt
*1.5 tablespoon Honey
*1-1.5 teaspoon Mustard
*1/4-1/2 teaspoon Worcestershire Sauce
*1/4 teaspoon Black Pepper
*1 teaspoon Onion Powder (can add more to taste)
Homemade Ketchup Recipe INSTRUCTIONS:
*Place all ingredients into a medium-size pot.
*Bring ingredients to a boil over medium-high heat. Once boiling turn down and simmer for 60 minutes.
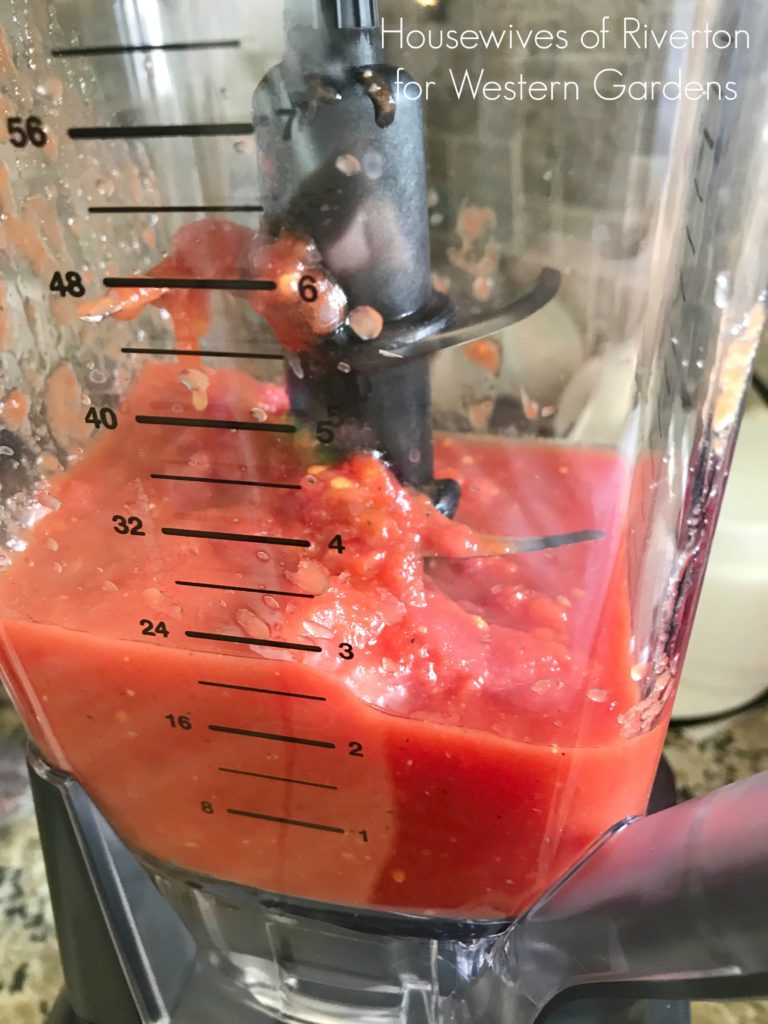
*After 60 minutes remove from heat and let cool to room temperature.
*Once cool pour into blender and blend until smooth.
*Pour into air-tight container and place in refrigerator for up to 14 days.
While this recipe isn’t the quickest it is quite possibly the simplest recipe you’ll find out there and it is delicious. I highly recommend making it a couple of days ahead of time, if you can, the more time the flavors have to blend the better it will taste. I love the rich flavor, I personally love that you can taste more of the tomato flavor and my family all loved it, even the tomato haters, so you don’t have to worry that the flavor is too strong.

I’m excited to bring this delicious ketchup to all our summer gatherings, I can’t wait to try it in homemade fry sauce too!
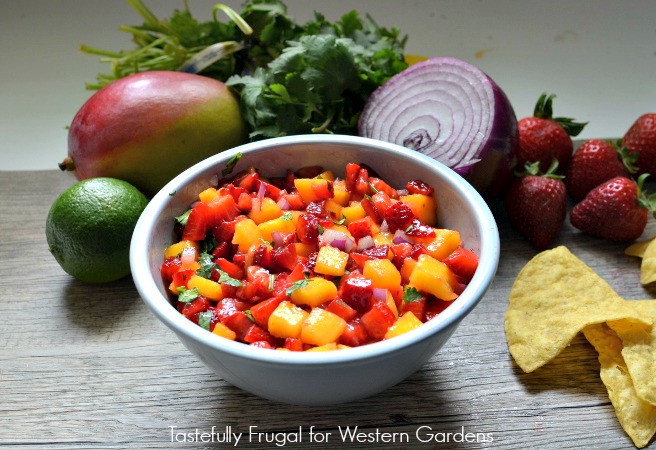
If you’re planning a bbq this summer or attending one, you need to try one of these amazing salads that are serious crowd pleasers!

Mom’s Potato Salad

Chicken Pasta Caesar Salad

Spinach Salad with Poppy Seed Dressing


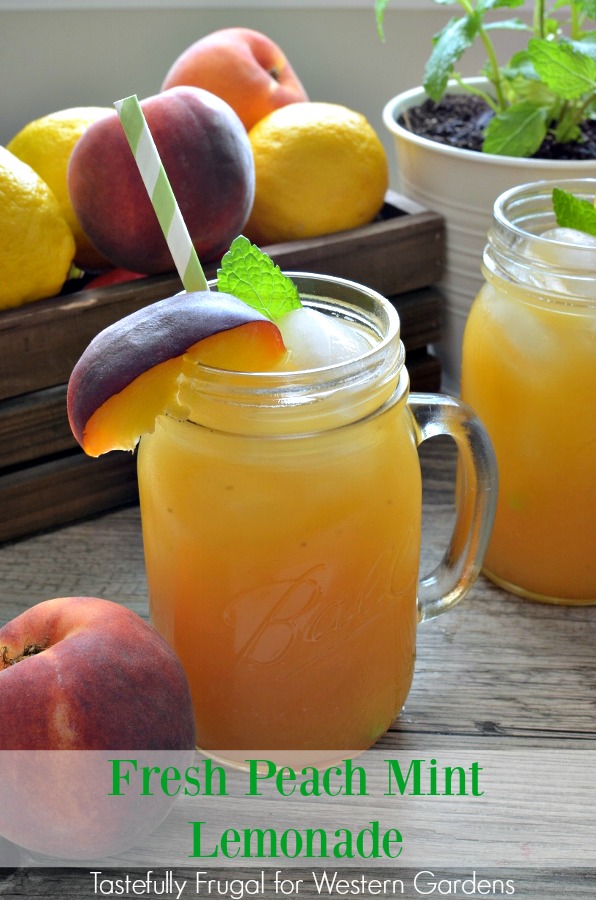

 As I was slicing peaches for this lemonade, I saw my blooming mint plant on the counter and decided to throw some mint leaves into the mix too. And I’m so glad I did! The mint added a cool, refreshing hint to the sweetness and made every sip a wonderful mix of tart, tangy, sweet and refreshing. I’ve made three batches so far and I’ve found that the longer you let the lemonade cool in the fridge, the better it tastes. I recommend letting it cool in the fridge for at least 3 hours.
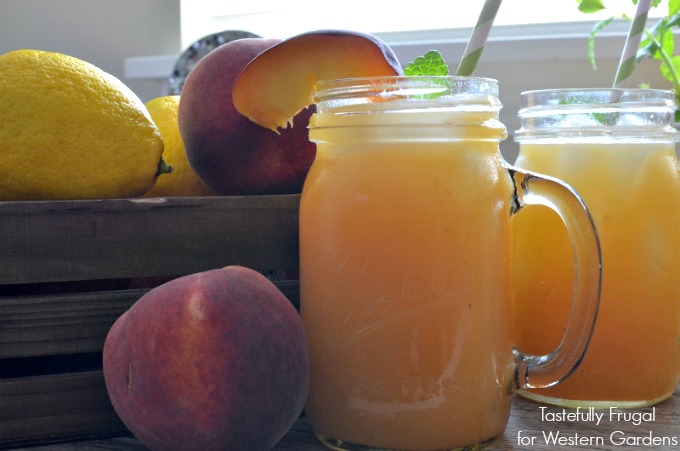


 Strawberry French Toast Cannolis