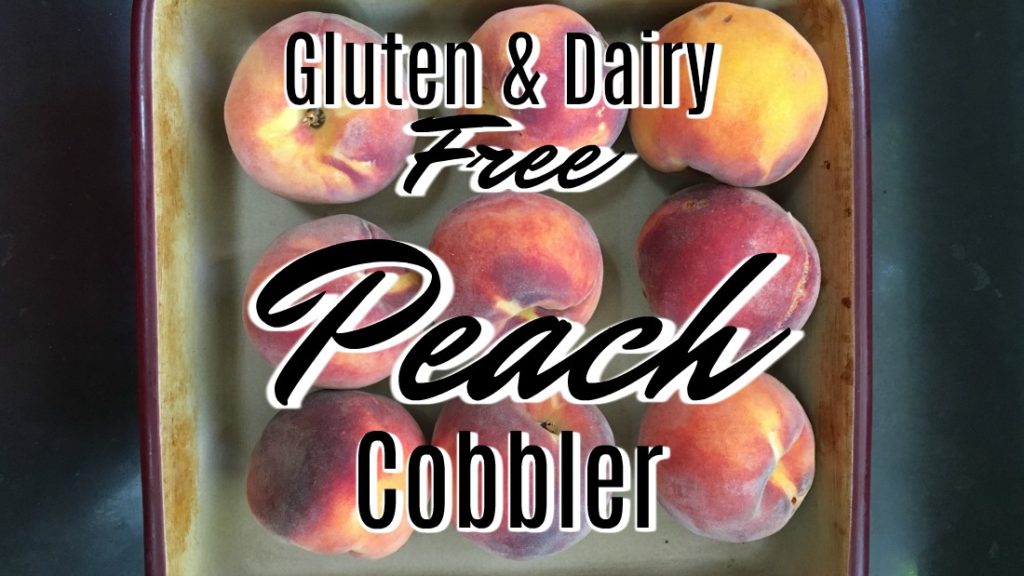
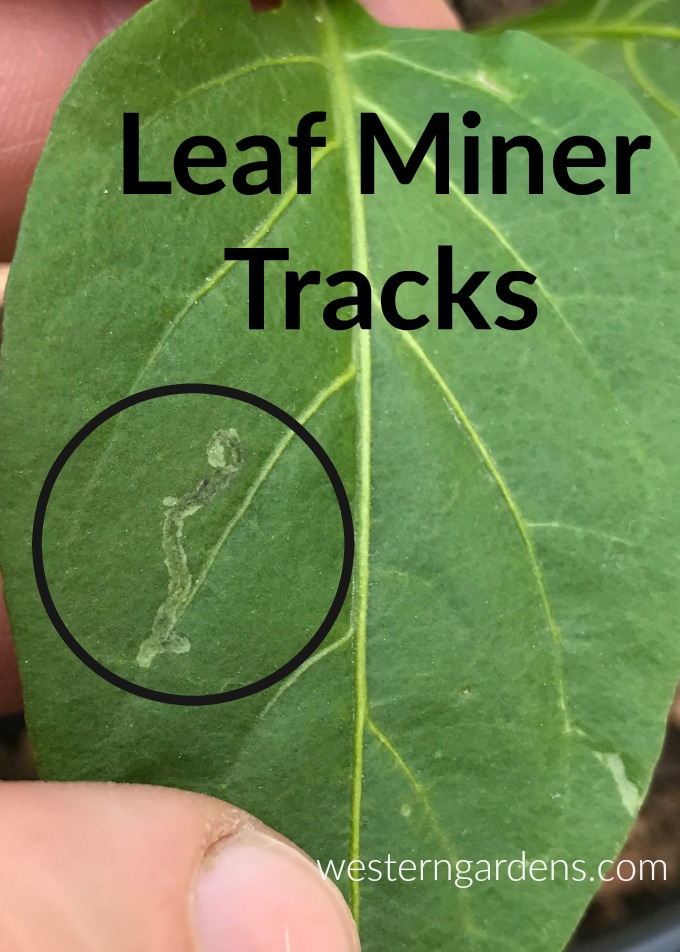
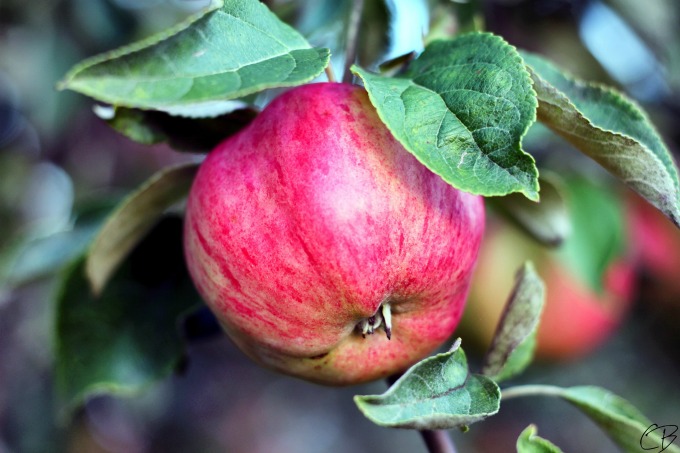
Having someone over for dessert but you have no idea what to feed them because they’re Gluten Free, Dairy Free, or Vegan? Here’s a recipe for gluten and dairy free peach cobbler that will be sure to impress those with or without food allergies. And this recipe is just in time for the ripening of your Red Haven peaches from your tree.
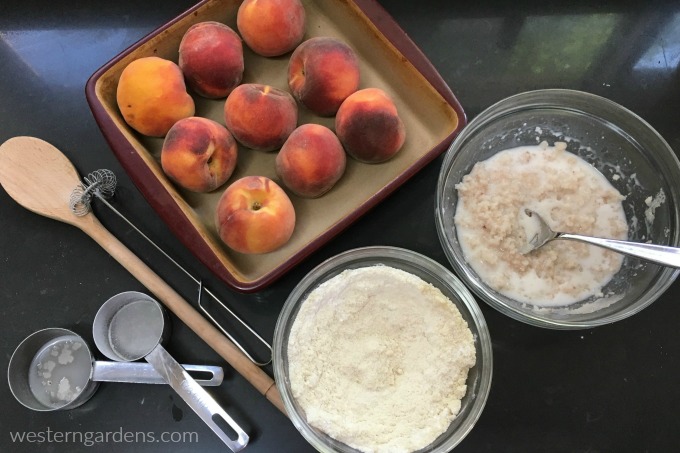
INGREDIENTS
2 cups sliced fresh, frozen, or canned peaches
1-2 tsp lemon juice
3 Tbsp coconut oil
1/2 tsp almond extract
dash of cinnamon (optional, but highly recommended)
3/4 cups sugar
2/3 cup almond flour or brown rice flour
1/3 cup tapioca flour
1 tsp baking powder
dash of salt
1/2 cup coconut milk
1 tsp xanthum gum (you can omit this if you don’t have it, it just makes the flours stick together since they don’t have gluten in them)

DIRECTIONS
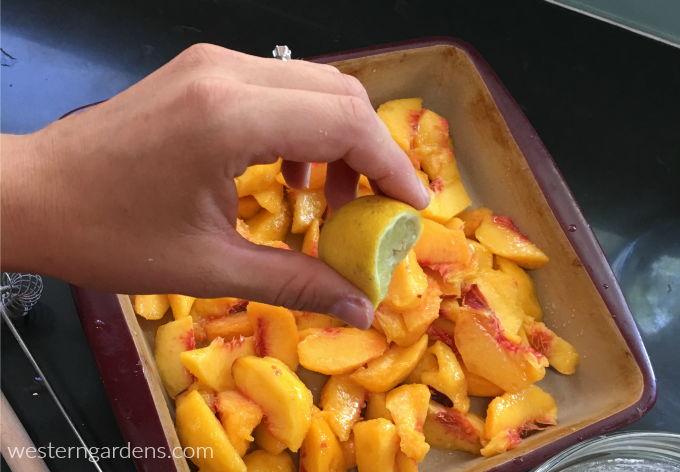
Peach preparation:
First, peel and slice your fresh peaches and place fruit in 2 1/2 quart dish and drip lemon juice over them. If you use canned peaches, drain and dump in dish.
 Batter:
- Cream together melted coconut oil and sugar, then add almond extract.
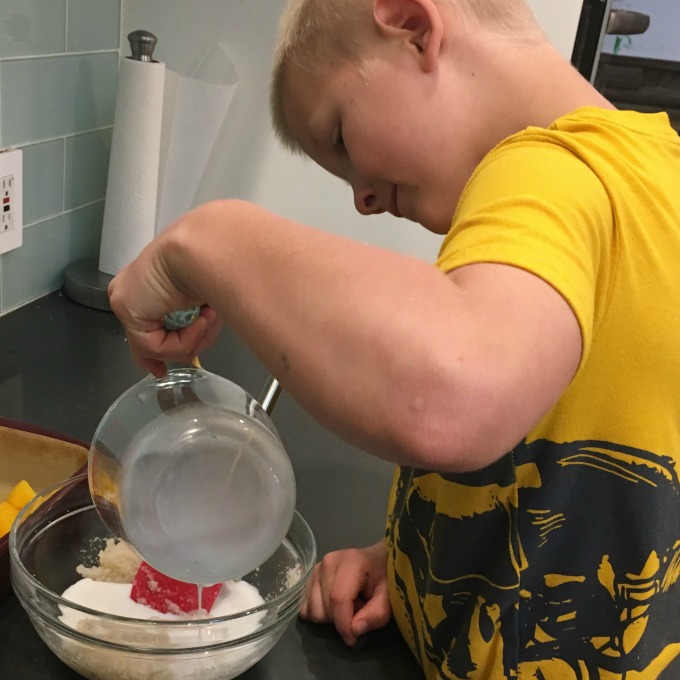
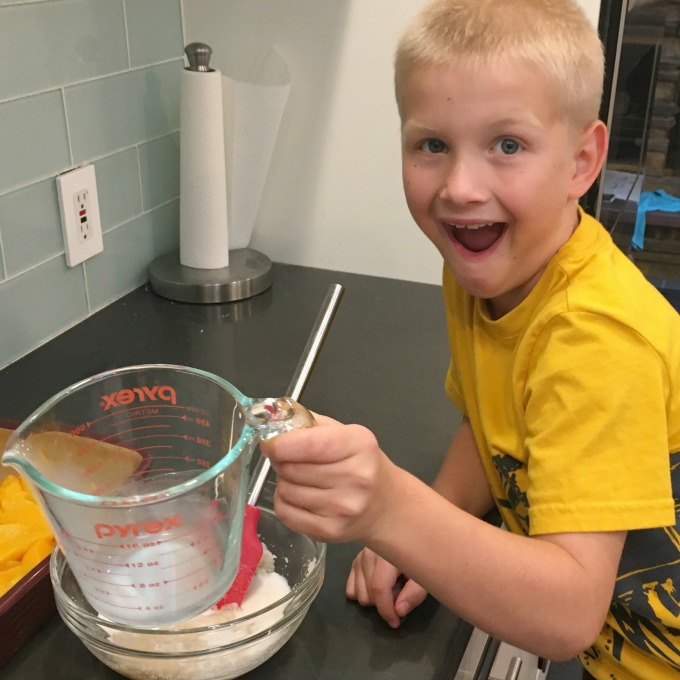
- Add in coconut milk, then rice/almond flour, tapioca flour, baking powder, xanthum gum and dash of salt.
- Mix well and spread over fruit. This will be thick and a tad lumpy.

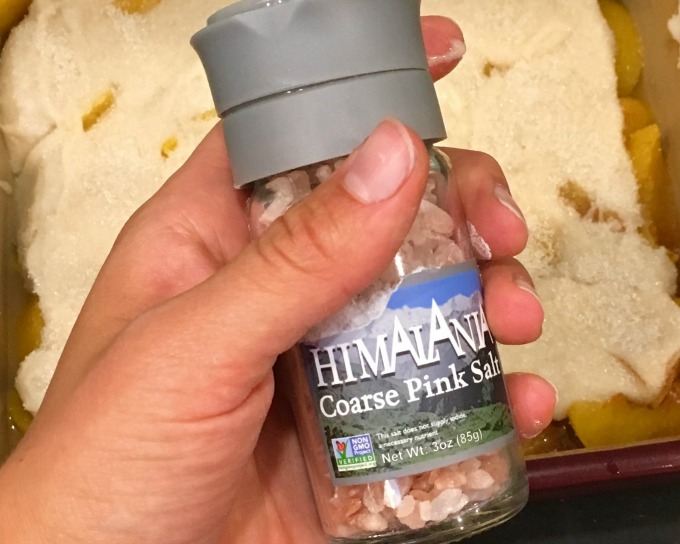
- After this, I like to lightly sprinkle the top with a little sugar and a little freshly ground salt.
Bake at 350 degrees F for about 25-30 minutes. I bake the cobbler until it starts to look caramelized on top, which gives a bit of a crunch to go with the chewy middle.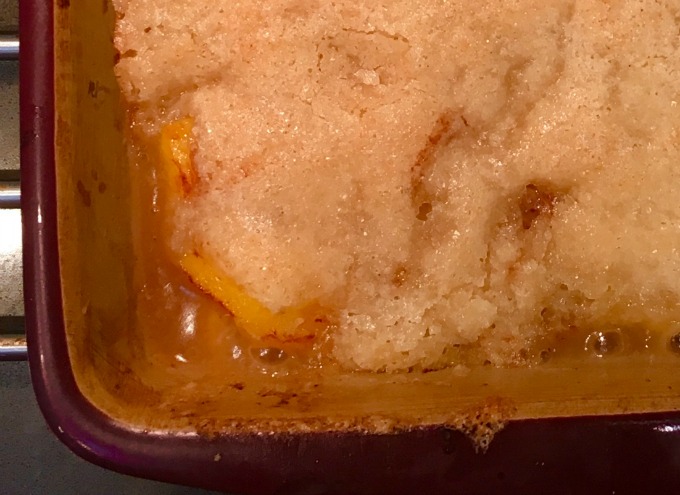
Serve warm plain or with frozen ice cream of choice. I personally like it served up with a little bit of coconut milk if I don’t have any dairy free ice cream on hand. My husband tells me it’s delicious with vanilla ice cream.

This recipe works great with using brown rice flour, or almond flour. After trying both, our favorite is the almond flour version.
Careful, it’s addicting and you might want to eat this entire dish of gluten and dairy free peach cobbler.
NOTE: Cobbler can be made with canned peaches, but it is always best made with fresh picked peaches from your peach trees from Western Gardens. Fall is a good time to plant trees.


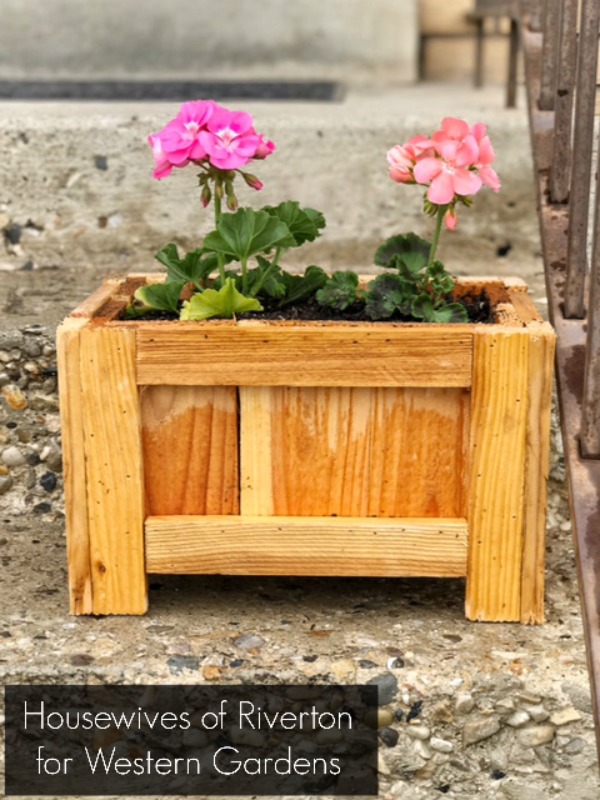 I’m pretty sure it’s a proven fact that anything is automatically cuter when it’s small. That fact holds true with this Mother’s Day Porch Planter Box. I am completely smitten with how cute it looks sitting on my steps and can’t wait to make it a couple of sisters. You’re going to love me when I tell you how easy this was to make too.
 Here is a good photo of the box assembly. The fencing is less than $2 a board and the stakes we had on hand but I’m pretty sure were around a dollar each. I used just over 1 fencing board and 2 stakes for one box. I think with 4 boards and 7 stakes you could make 3 planter boxes, including nails I think you’re looking at 3 planter boxes for under $20, pretty awesome if you ask me!
 I used our miter saw to cut my pieces, if you don’t have a saw at home here is your cut list and the people at the home improvement store can cut them for you.
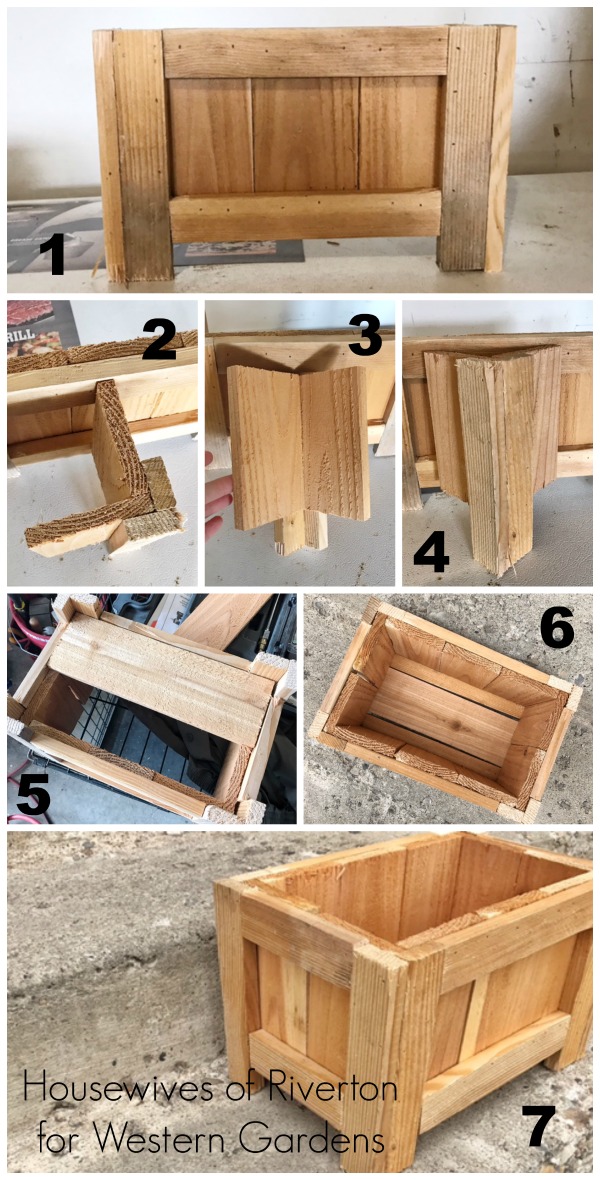
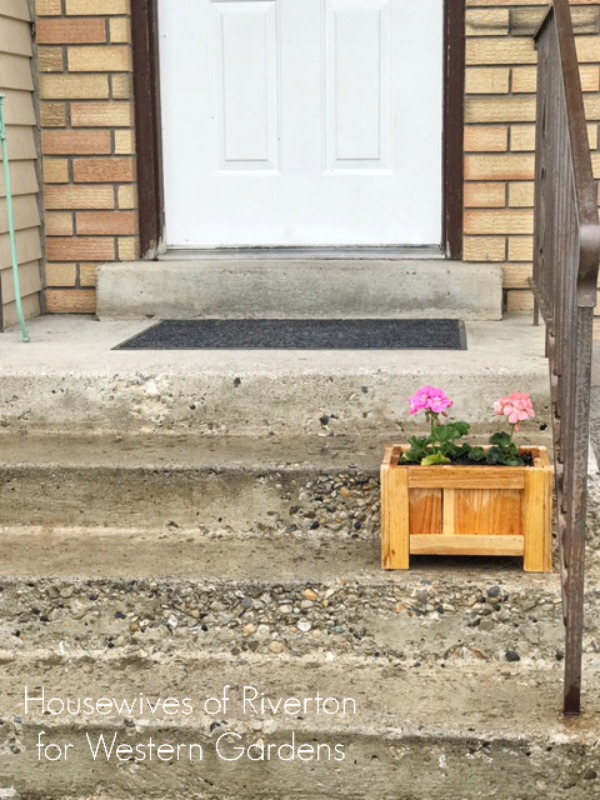 Can’t you just picture a few more of these darling little planter boxes leading all the way up the stairs. I can’t wait to get them all finished and filled with beautiful flowers from my
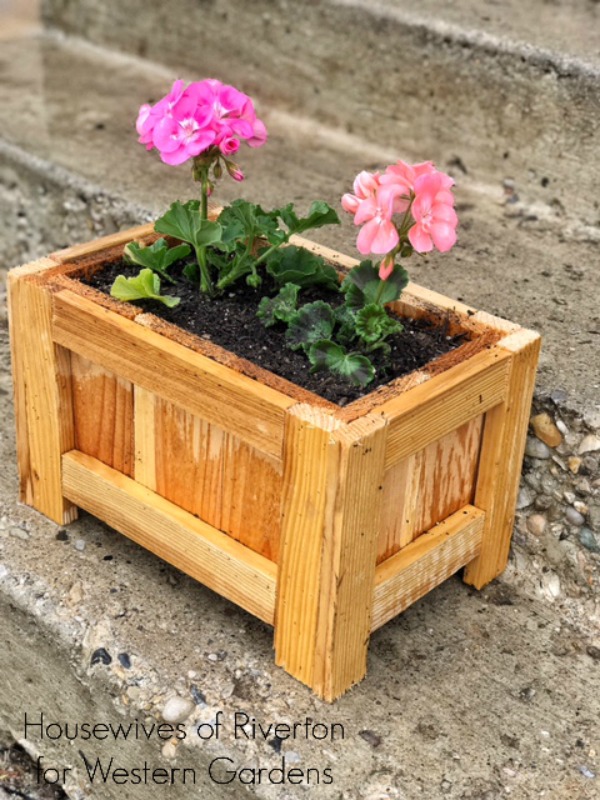
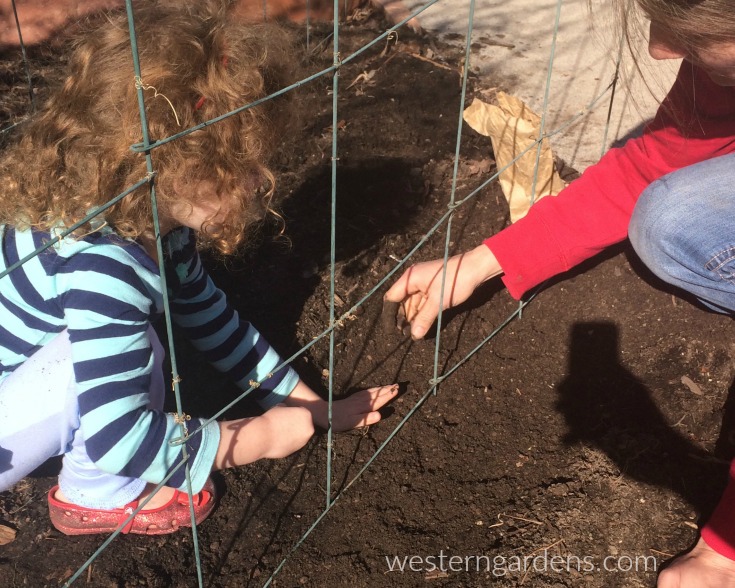
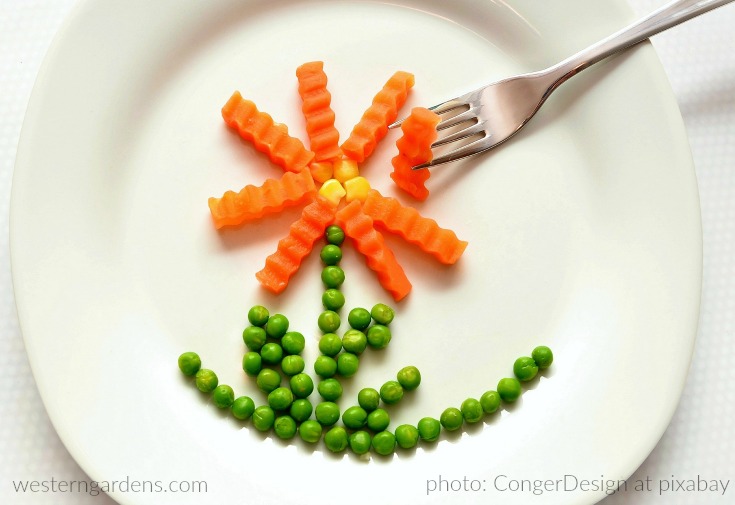
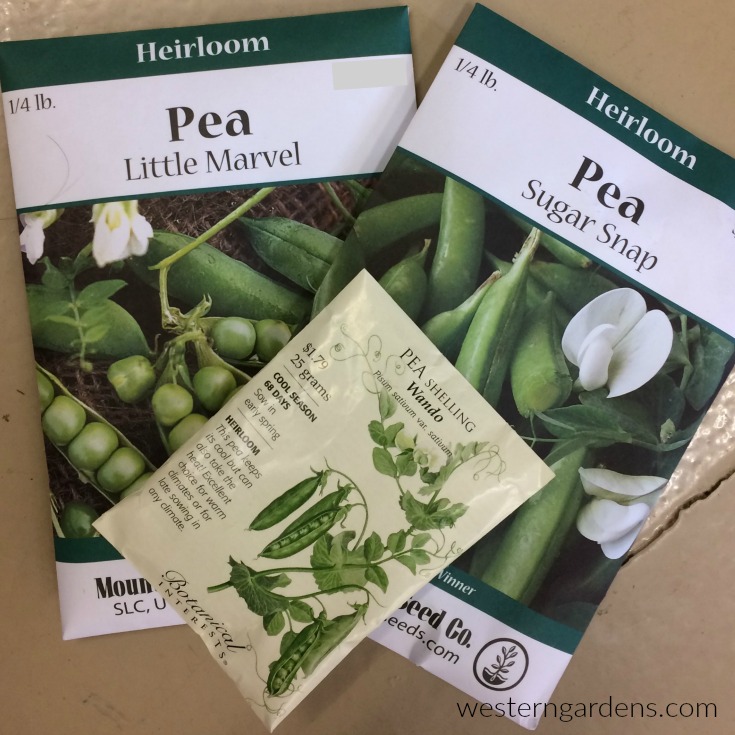
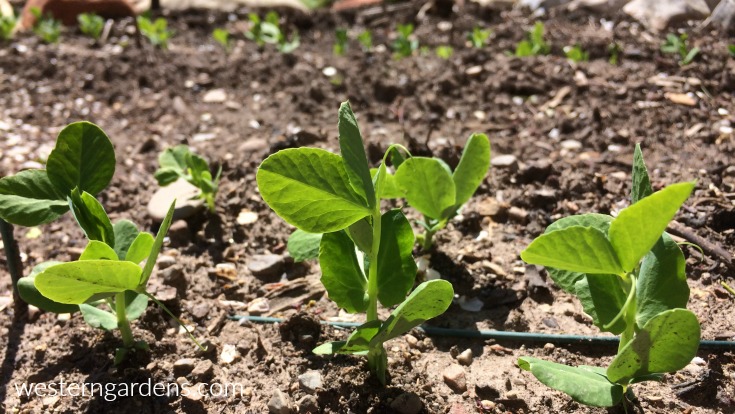
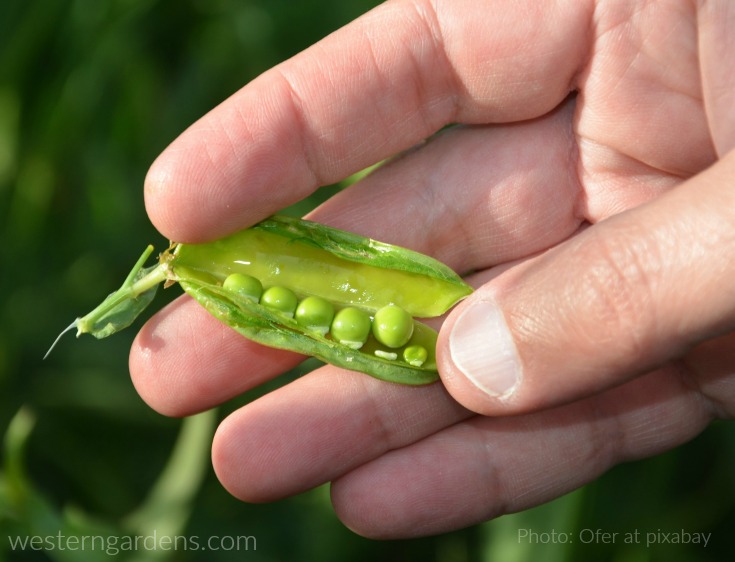
 Each year as we get to the last few weeks of winter, my husband and I watch for the first day when it is warm enough for us to work outside in our garden for a few hours so we can plant peas. We can’t wait to get them in the ground! Though along the Wasatch front, we typically don’t plant until March, we’ve planted them as early as mid-February (straight in the ground; no greenhouse) and still had great success. Peas are a cool weather plant that needs little attention beyond watering and harvesting. They tolerate snow and light frost so don’t be afraid to plant peas early.
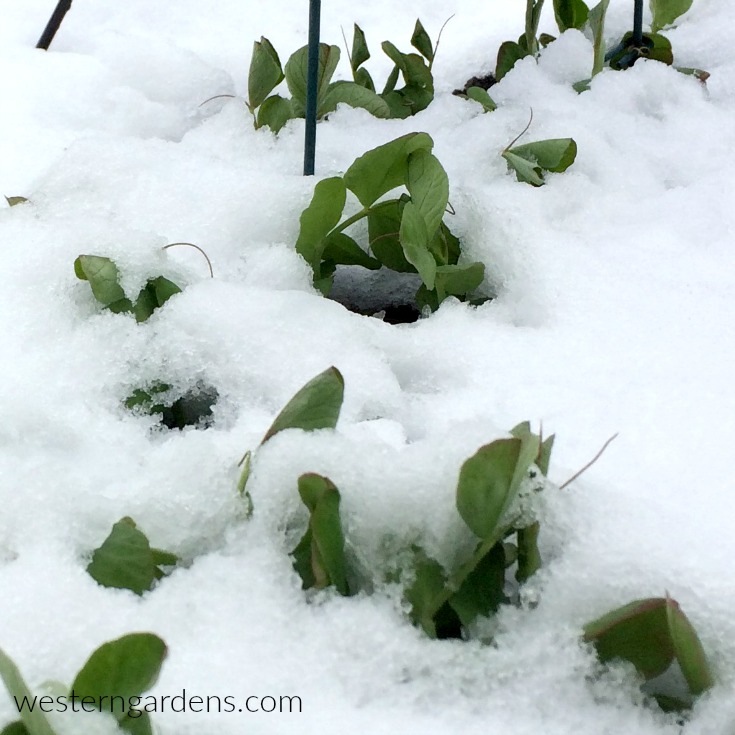

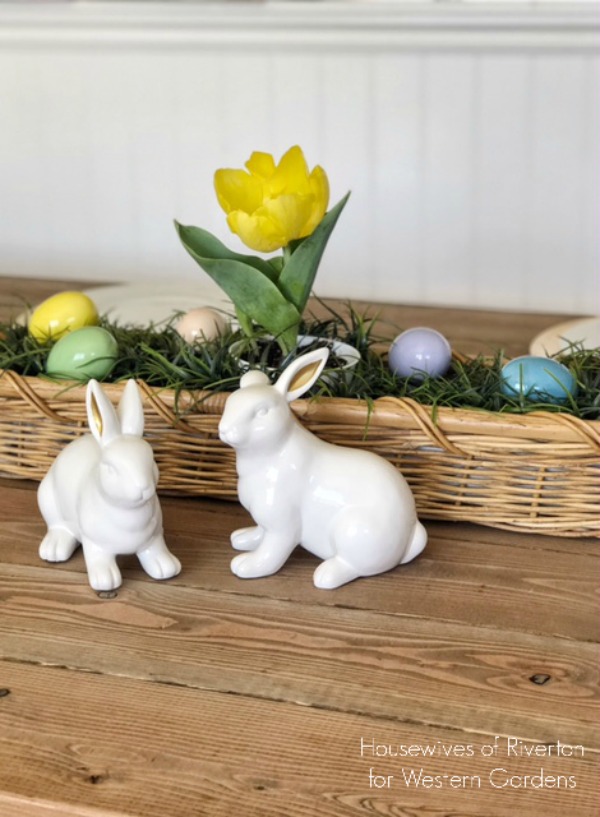 It’s pretty safe to say the very best part of Spring is the beautiful living flowers for centerpieces. I love having fresh flowers in and around my home. I love the instant brightness they bring and the amazing smells…it’s like bringing sunshine right inside the house.
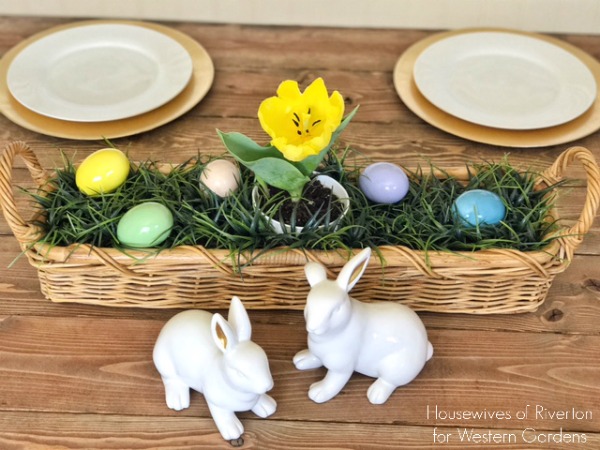 First up I have this adorable Easter Table Centerpiece. Using just a few items (many you may already have on hand) you can create the perfect centerpiece for your Easter dinner that will last for years to come because you can take that Tulip bulb and plant it in your yard!