Welcome! I’m so glad you stopped by!
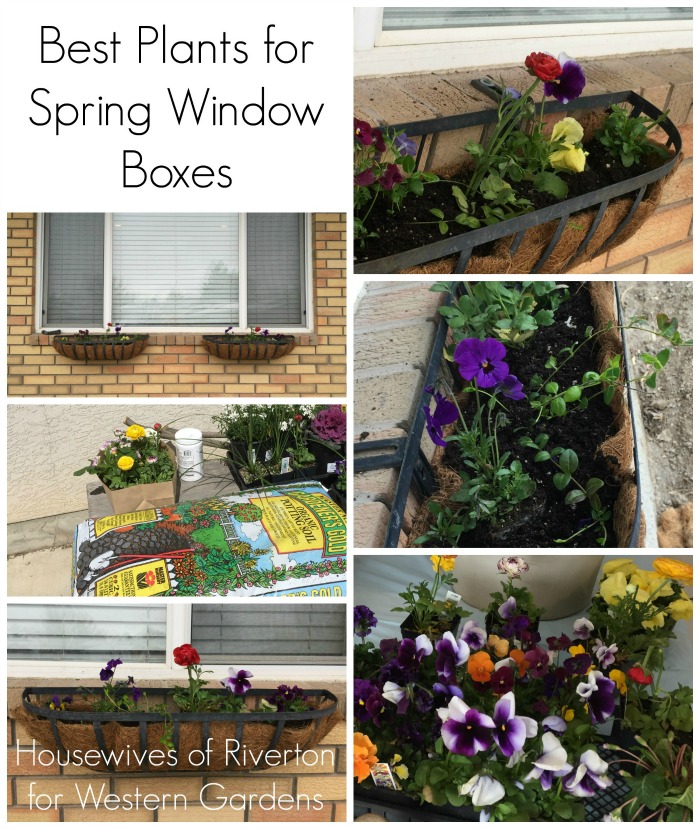
Are you looking for the best plants that will really stand out in your window boxes this year? Flowers that will thrive, even in uncertain Spring weather? Then you’ve come to the right place! I’m sharing 6 of my favorite picks for gorgeous window boxes.
 Those who know me well know that my house and I just aren’t best friends. I probably couldn’t have picked a house with an exterior that I like less! But since an all-new exterior isn’t in the plans, I have to do what I can to make it as pretty as possible.
A few years ago I finally convinced my husband that we needed flower boxes for the windows. We’ve had varying degrees of success, so this year I am determined to get these window flower boxes prize-worthy! You know what I’m talking about, right? Jaw-dropping window boxes like this one from The Lily Pad Cottage.

Isn’t it just beautiful? I’m in awe.
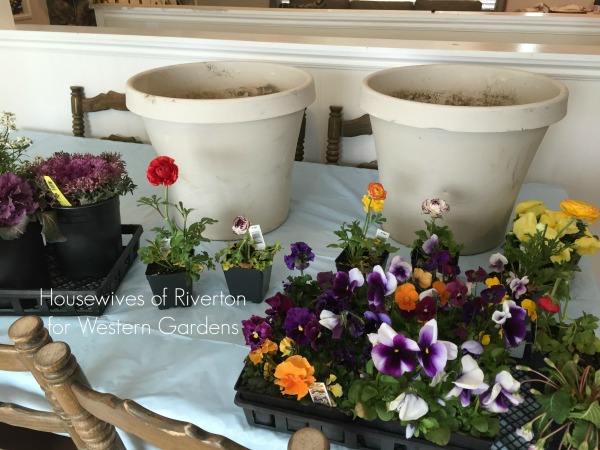
I needed some advice to start out right in my quest for gorgeous window boxes, so I headed to Western Gardens to get some help. Andrea answered all my questions and gave me some great tips that I can’t wait to share with you!
Prep Your Boxes Correctly:
- Replace the liners in each flower box. I was amazed at what this did to make everything look better immediately!
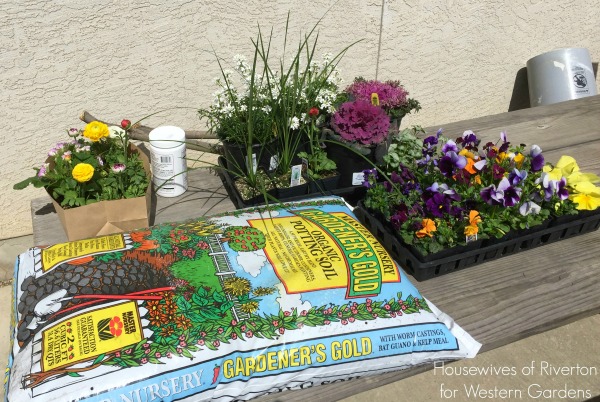
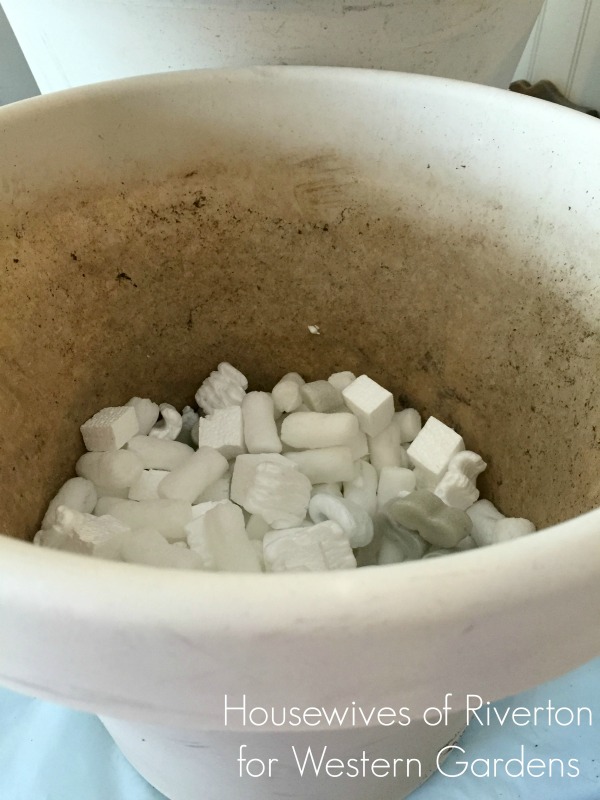
- Fill the liners a little less than half full with styrofoam packing peanuts. This will reduce weight and save potting soil, and allow more air and water to get to the roots.
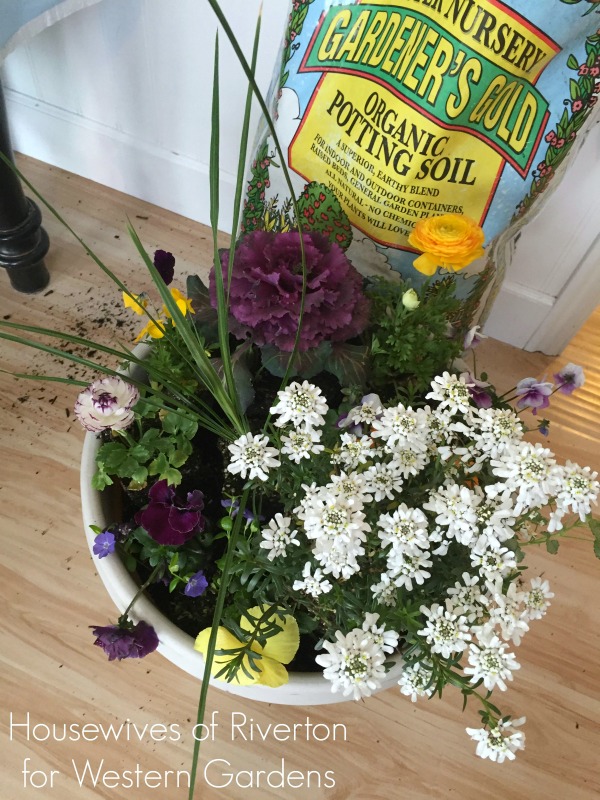
- Fill the rest of the liner with fresh potting soil, like Gardner’s Gold.
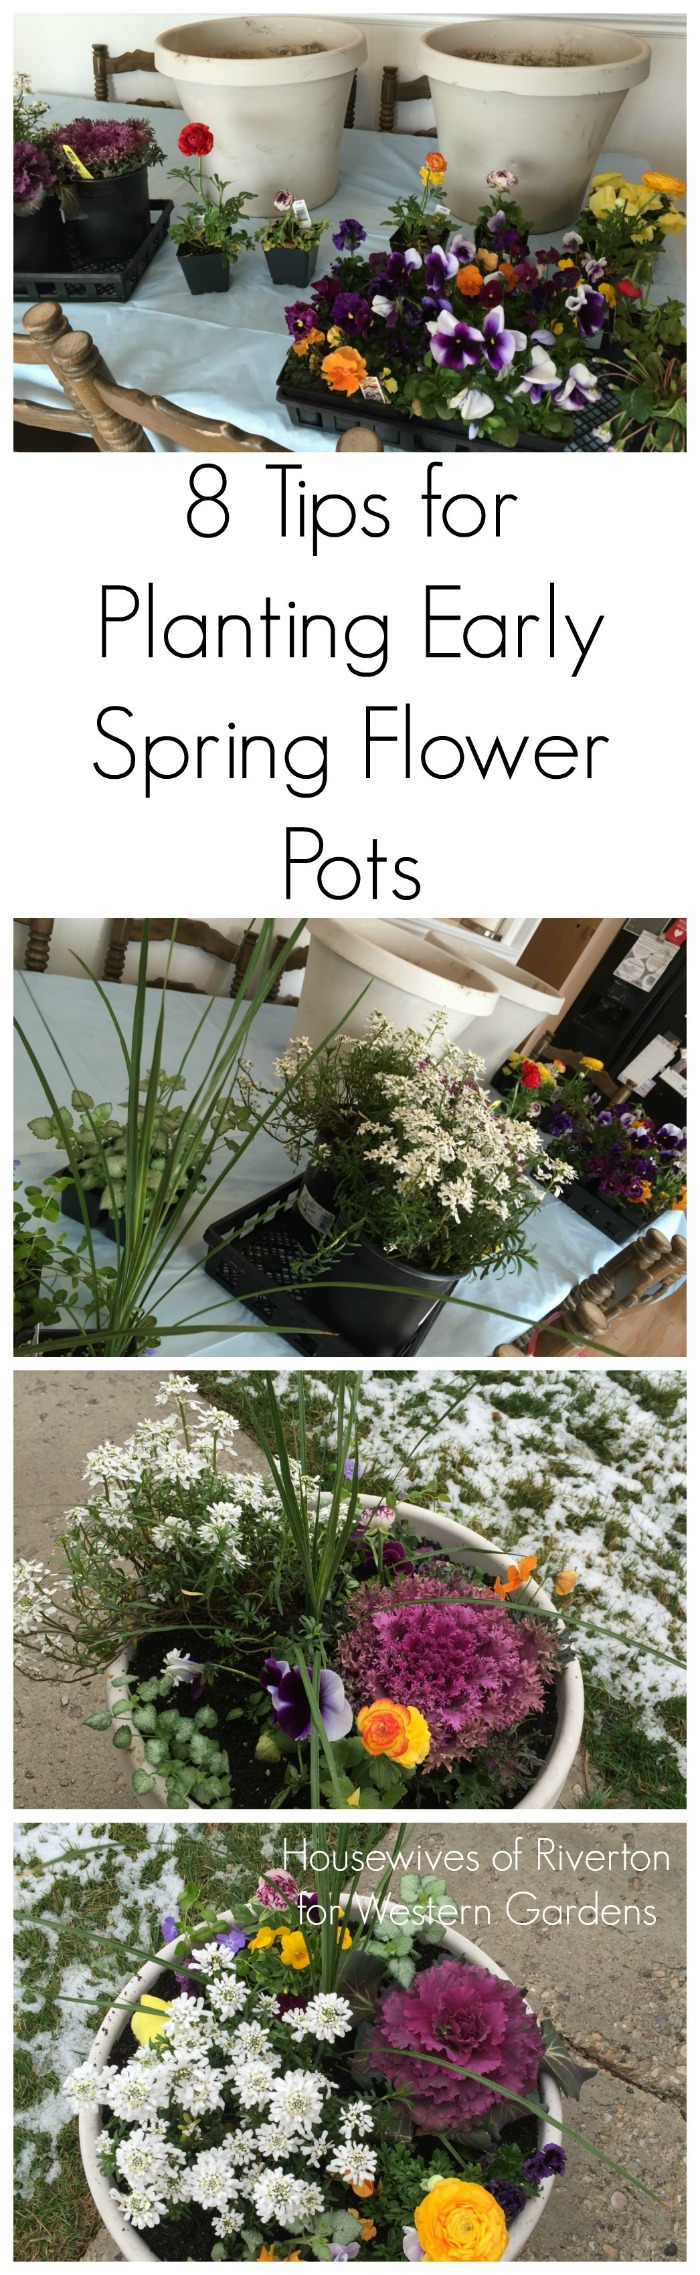
- Plan out your flowers. I planted earlier in the spring than normal, so I made sure to choose flowers that were all cold-tolerant (since April snow is a thing here!)
- Ensure you have doubles of every flower, if you need to make matching boxes like I did.
- Don’t overfill your boxes. Let your flowers get established before you fill in gaps.
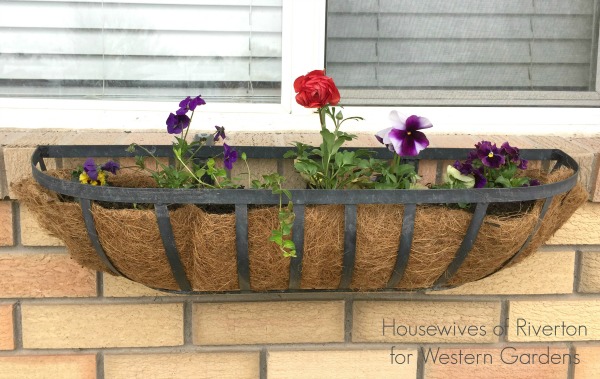
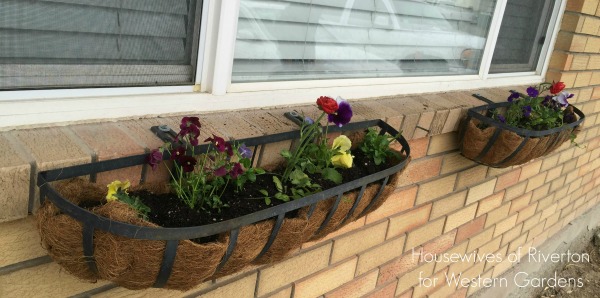
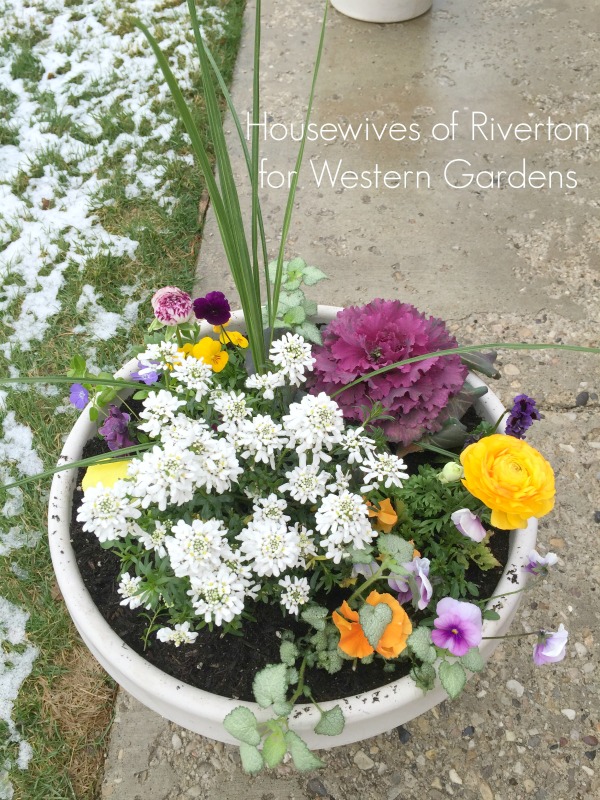
Window Box Flowers (left to right, repeated in each box):
- Pansy Frizzle Sizzle Mix
- Primrose Danova Mix
- Vinca Bowles Cunningham Periwinkle
- Ranunculus Bloomingdale Mix
- Pansy Delta Premium Beaconsfield
- Pansy Matrix Lemon
- Pansy Frizzle Sizzle Mix
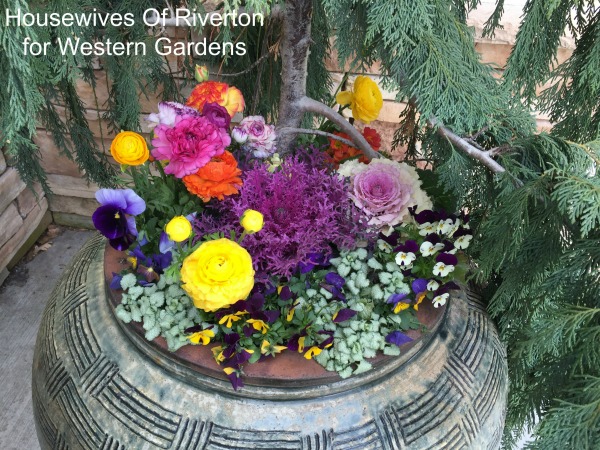
The same rules apply to window boxes as porch pots. To create a truly awe-inspiring display, you need a filler, a spiller, and a thriller. See my tips for porch pots if you’re not sure what this means!
Pansies and primrose are great fillers with a lot of wonderful color. The Vinca will spill beautifully over the sides, and the tall, red Ranunculus is currently thrilling my boxes!
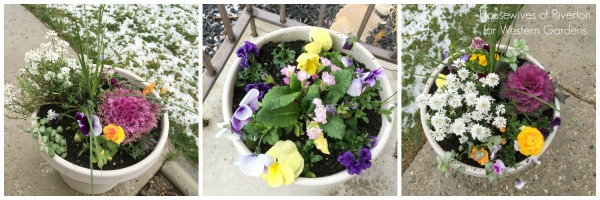
As these flowers grow and spread, they will fill the boxes nicely. These flowers should all last several months, depending on how quickly our Utah weather turns hot.

Two final tips for healthy window boxes:
- Check the water regularly. The heat from the house may increase your boxes’ water needs.
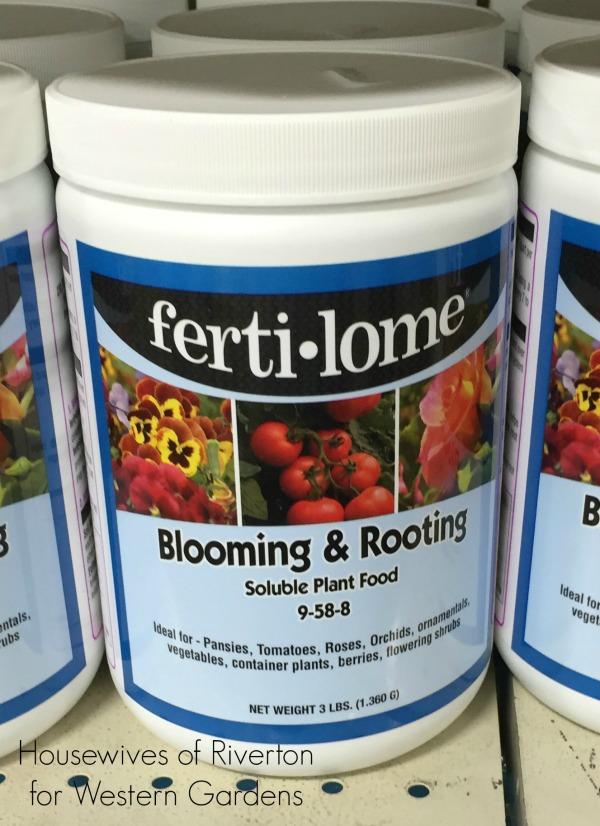
- Fertilize regularly for the best blooms. I use ferti-lome blooming and rooting soluble plant food, which is perfect for big, beautiful blooms. Click here to see why I recommend this one!
I can’t wait to share how my window boxes progress this summer. Here’s to growing gorgeous!
While I’m waiting for my flower boxes to fill out, I’ll be enjoying these delicious recipes with my family:

Gluten Free Oatmeal Cookies ~ Spinach Salad w/Poppy Seed Dressing ~ Strawberry Lemonade Cookies


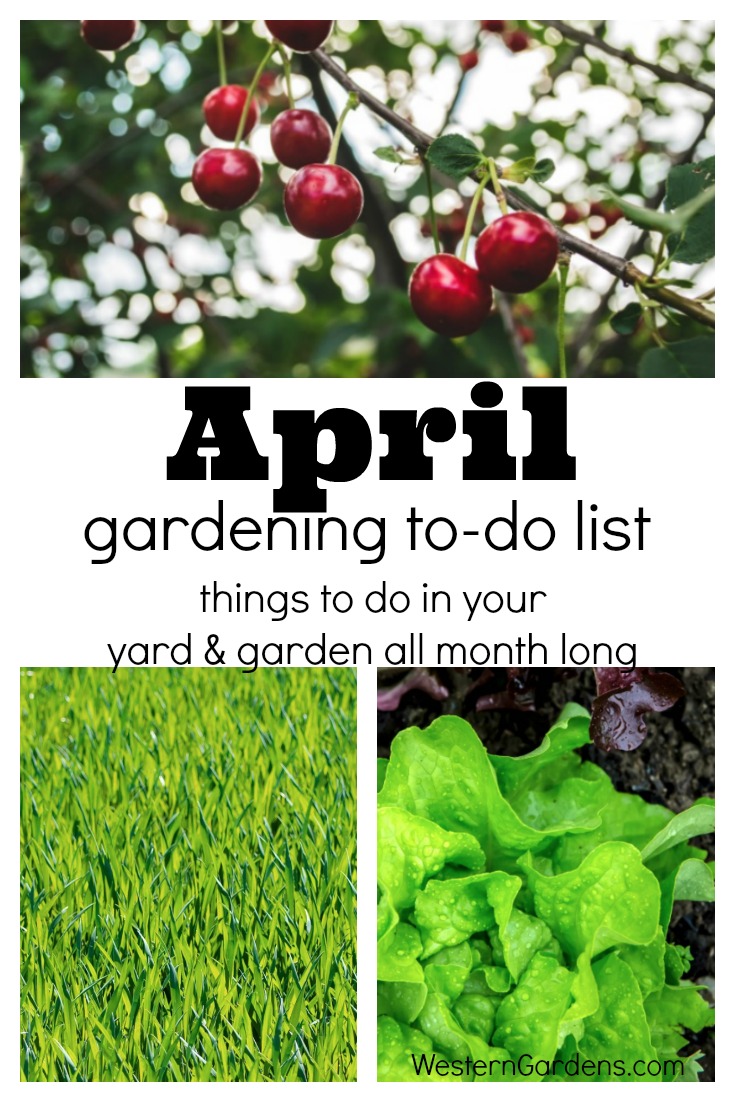


 You may not need to do everything on this list. For example, if you don’t have fruit trees to fertilize or a sprinkler system to check, skip over those items on the list. Just pick what applies to your home and yard and plan out when you will do it all throughout the month!
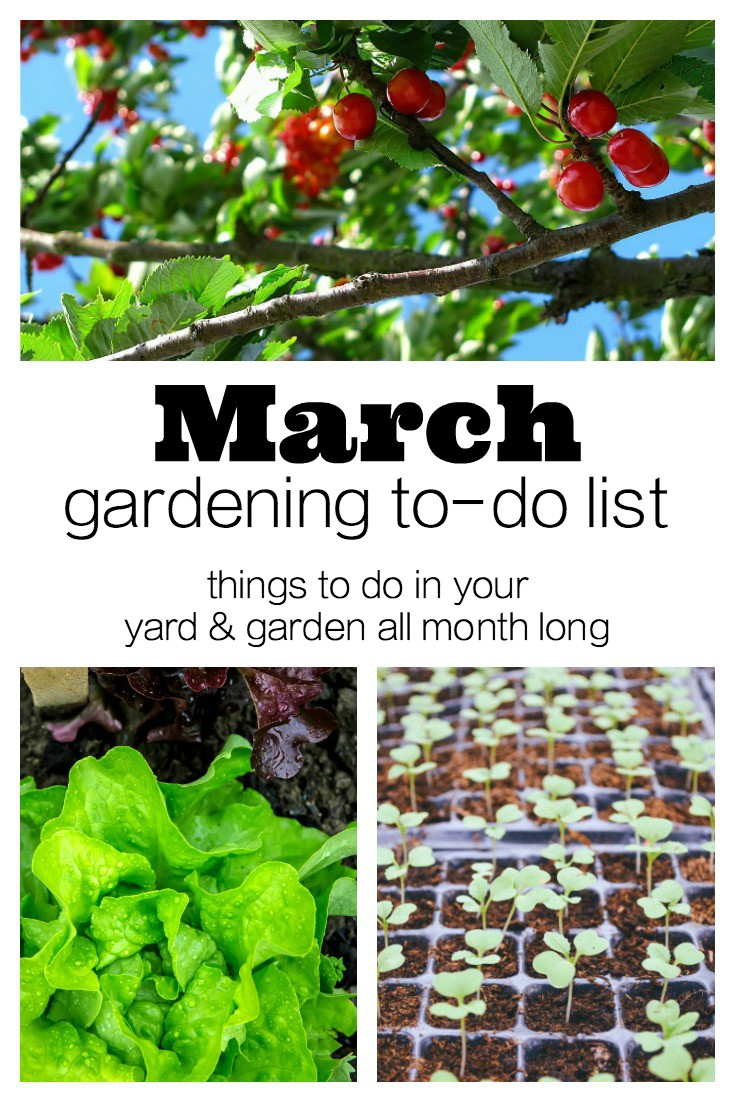
 March Gardening To-Do List